
Auth0
This section explains how to integrate Auth0 as a SAML identity provider with LogScale. It covers creating an Auth0 application, configuring SAML settings, managing user accounts, and testing the integration. Auth0 provides a cloud-based identity platform that allows for centralized user management and authentication for LogScale users.
LogScale allows for the integration of many applications. If you want to integrate Auth0 into LogScale, you can do so by creating an application (i.e., an app) in Auth0. To do this, you have to use Auth0's dashboard. This is used to authenticate and authorize the app.
Prerequisites for Auth0 configuration
Prior to performing the steps below, make sure that you have an Auth0 account.
Create an app in Auth0
Log in to the Auth0 dashboard page:
In the Auth0 dashboard, go to Applications and click .
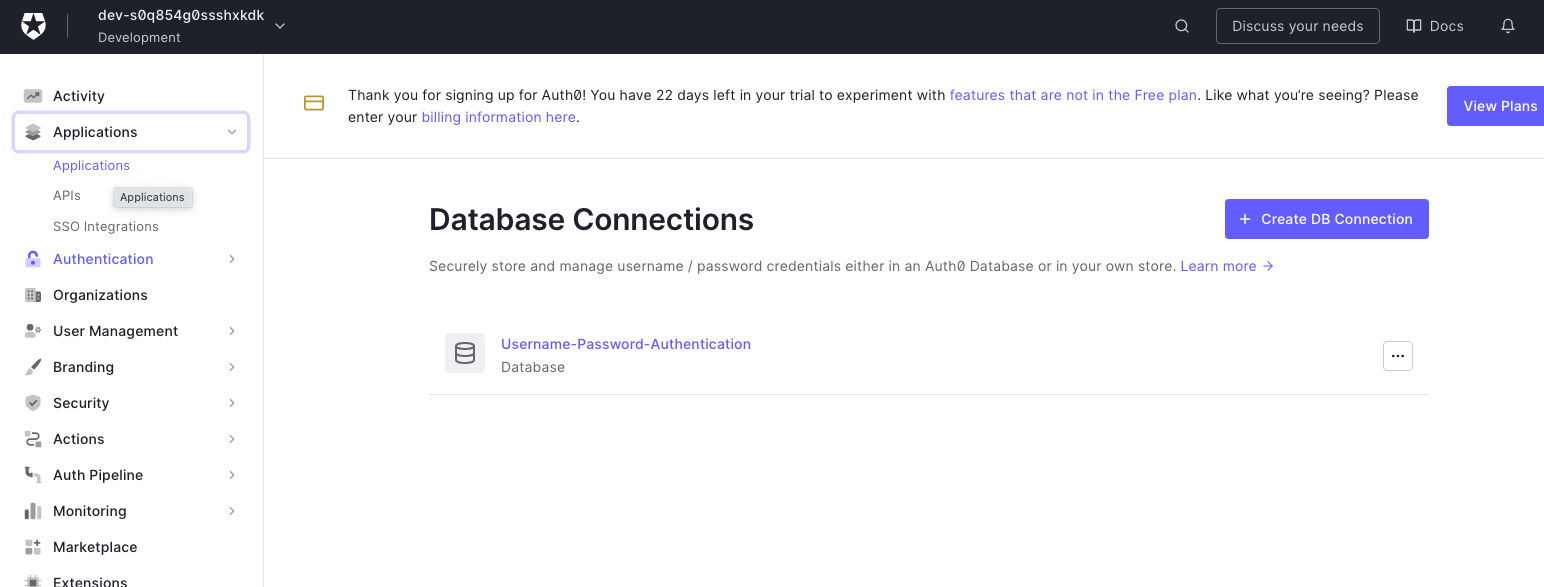
Figure 84. Auth0 Dashboard Applications Section
Click . Name the app and select Native. Click .
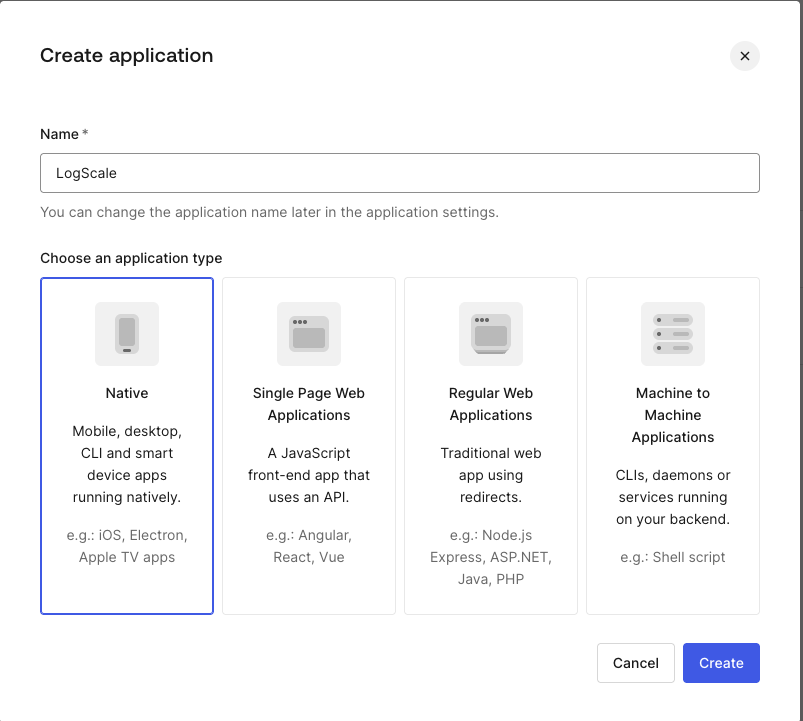
Figure 85. Creating a New Auth0 Application
After you have created the app, make sure you are in the app you created before continuing. Click the Addonscreate tab.
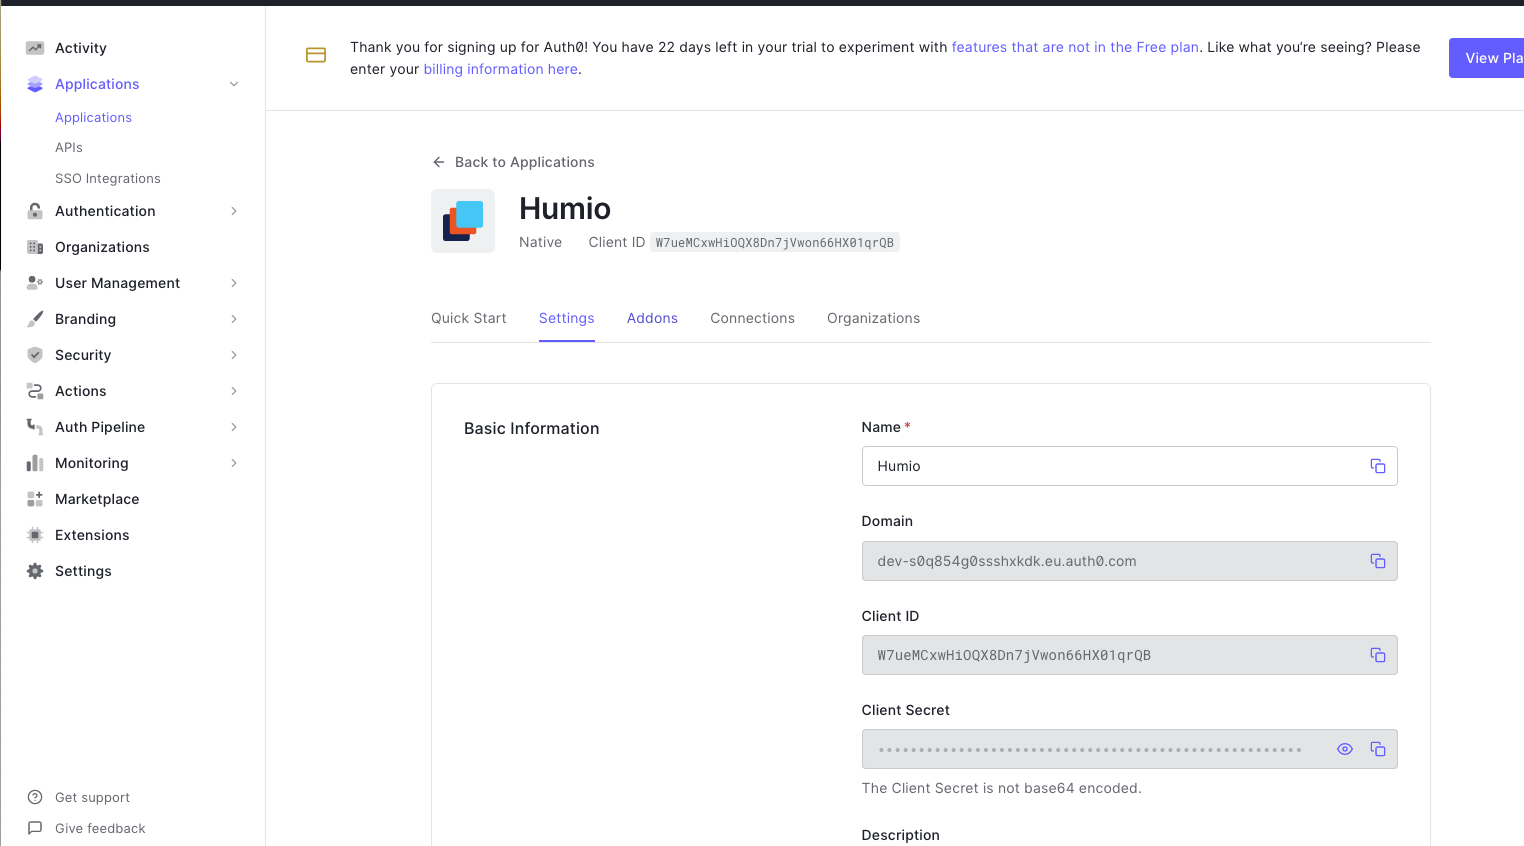
Figure 86. Auth0 Application Addons Tab
An option to enable SAML2 appears. Make sure that is enabled.
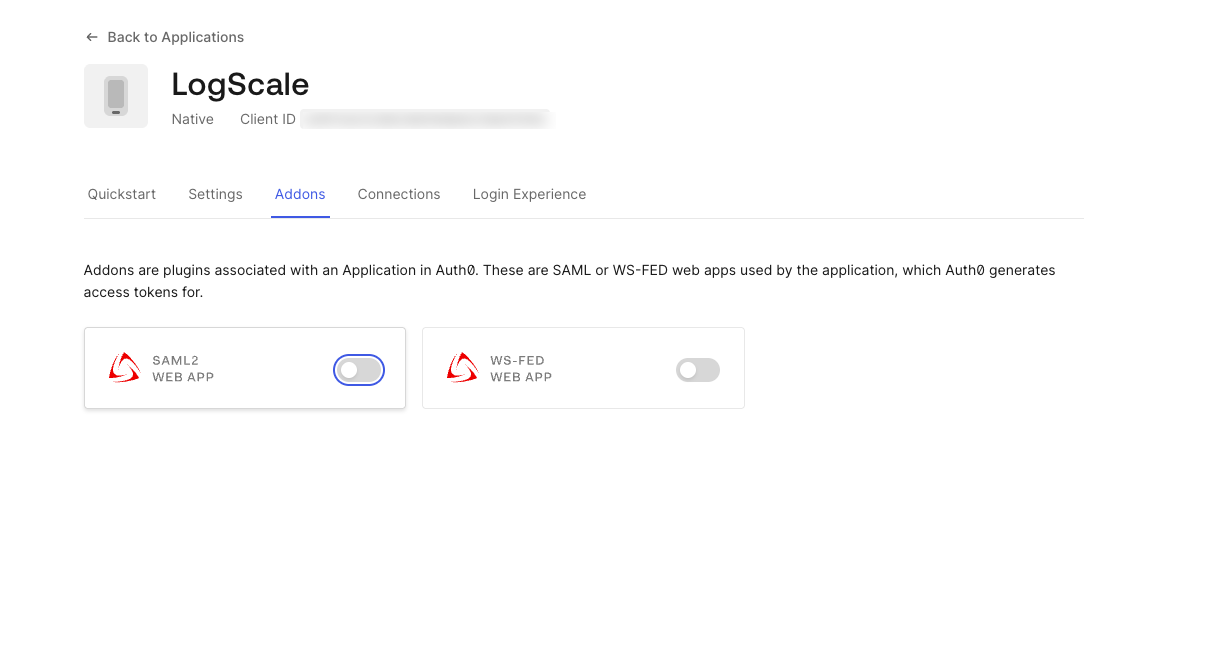
Figure 87. Enabling SAML 2.0 in Auth0
When you click to enable it, the SAML details appear.
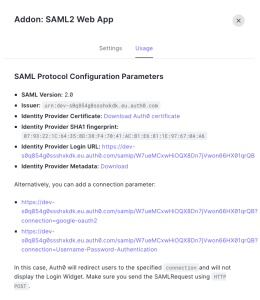
Figure 88. Enabling SAML 2.0 in Auth0
Click Settings and set the Callback URL to
http://$YOUR_LOGSCALE_URL/api/v1/saml/acs. Once you enter the callback URL, be sure to scroll to the bottom and select , otherwise it will not be enabled.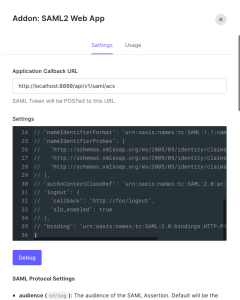
Figure 89. Configuring SAML Settings and Callback URL
Click Usage and copy the Identity Provider Login URL and Issuer and paste them into a text editor to use later.

Figure 90. Accessing the Identity Provider Login URL
Click the Identity Provider Certificate to download it. Save this in a certs directory where your native app is running.
Now you must set up users in Auth0. To do this:
Go to the Auth0 dashboard and click User Management then select Users.
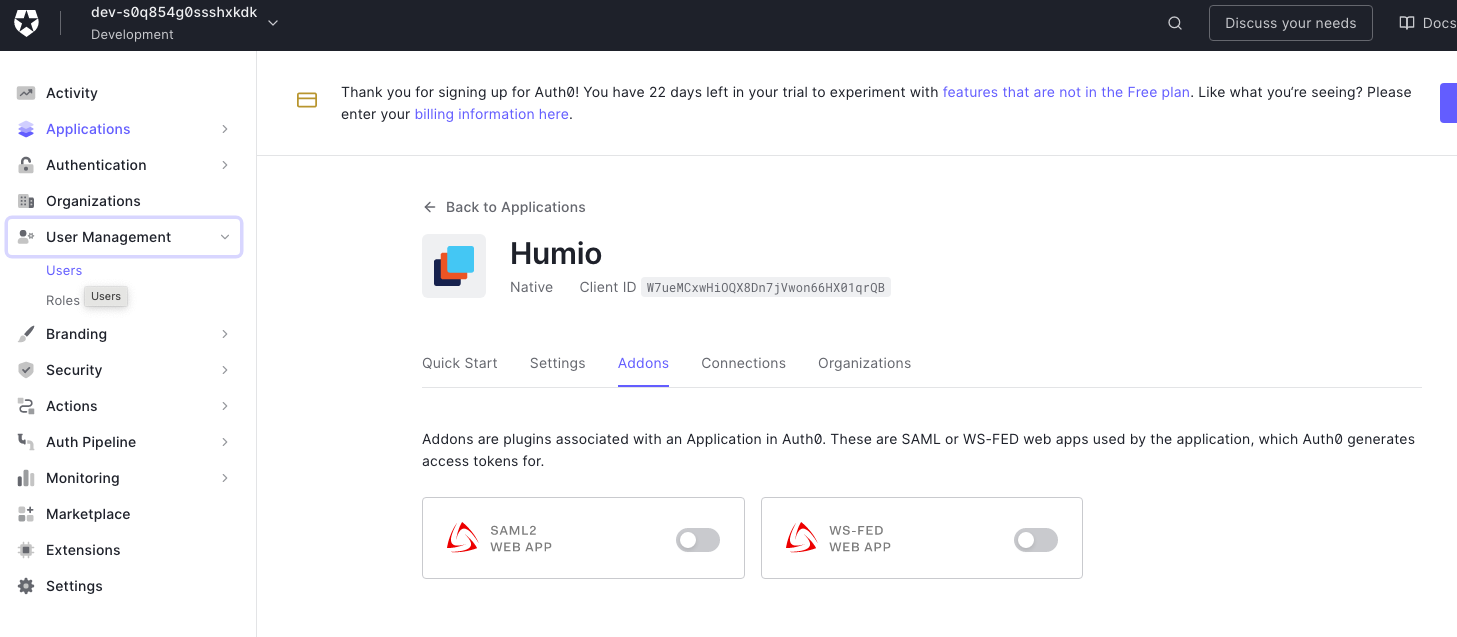
Figure 91. Accessing User Management in Auth0
Click . Select the Username-Password-Authentication Connection Type. Enter the user details and click .
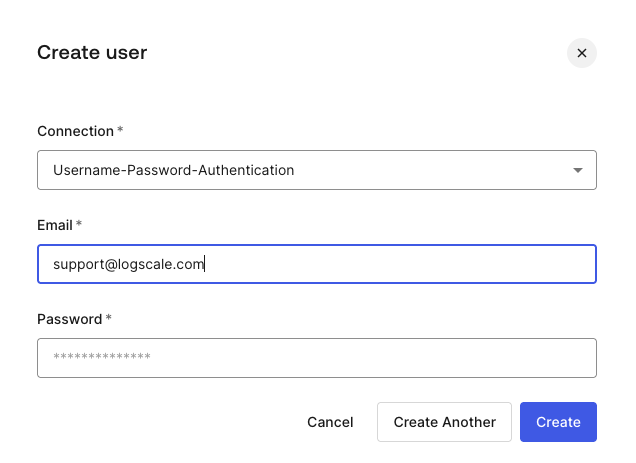
Figure 92. Creating a New User in Auth0
At this point, Auth0 is configured to work with LogScale. If you want to use groups to manage user authorizations, proceed to Create an Auth0 app with groups configuration (optional). Otherwise, the next step is to configure LogScale to work with your Auth0 app.
Create an Auth0 app with groups configuration (optional)
If you plan to use groups to manage user authorizations between Auth0 and LogScale, you can configure this in Auth0 so that single sign-on is managed seamlessly for users.
Prior to doing the groups configuration, make sure that you have created users as described in Create Auth0 users.
To utilize groups with Auth0, add the Authorization Extension:
Click Extensions in the sidebar and type
Authorizationin the search box. When theAuth0 Authorizationapplication appears, click to install the application.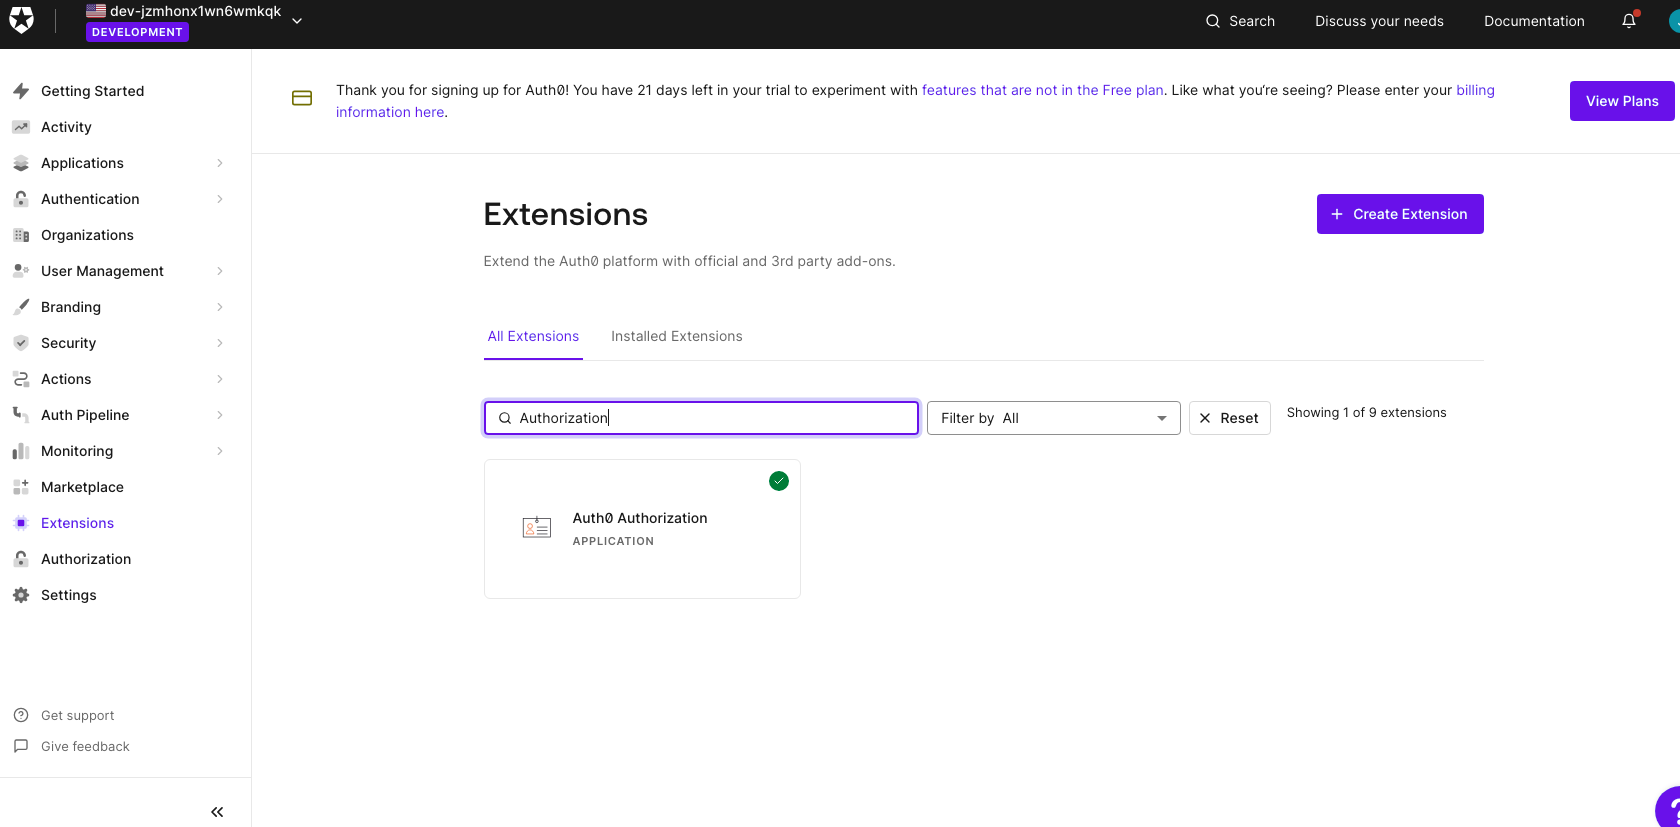
Figure 93. Installing the Auth0 Authorization Extension
Click Groups. If it prompts you to configure the Auth0Extension, go to this list and then come back here to finish setting up the group.
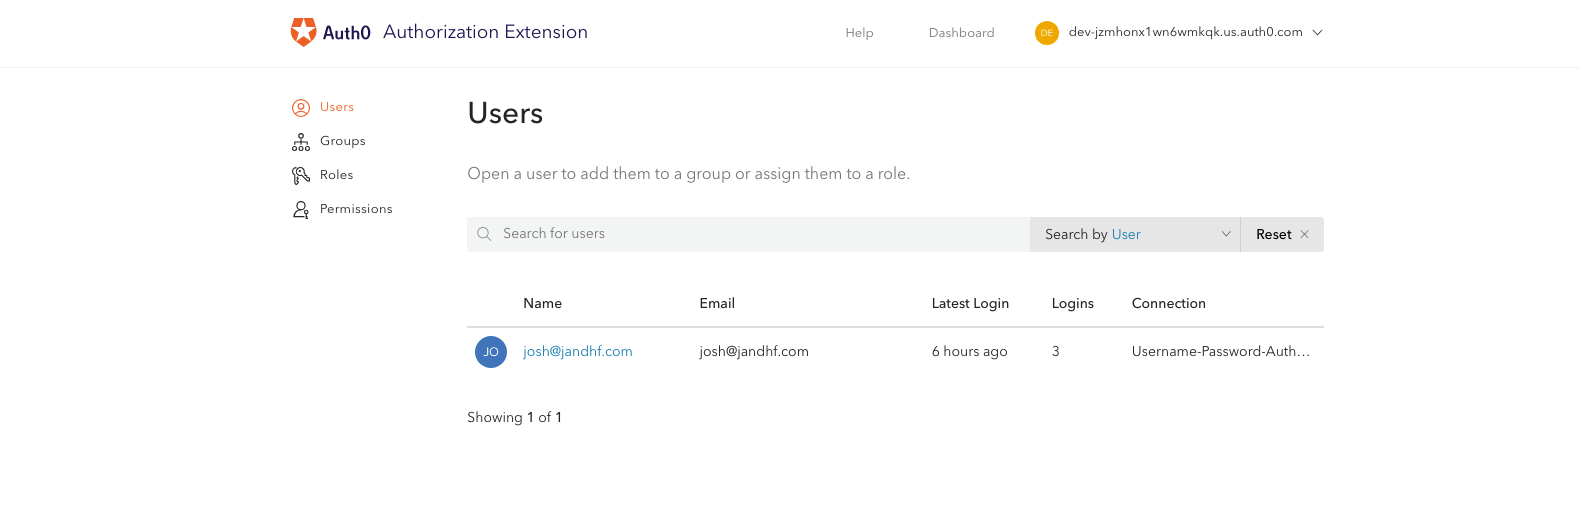
Figure 94. Accessing the Groups Section in Auth0
Click and enter the
NameandDescriptionof the group.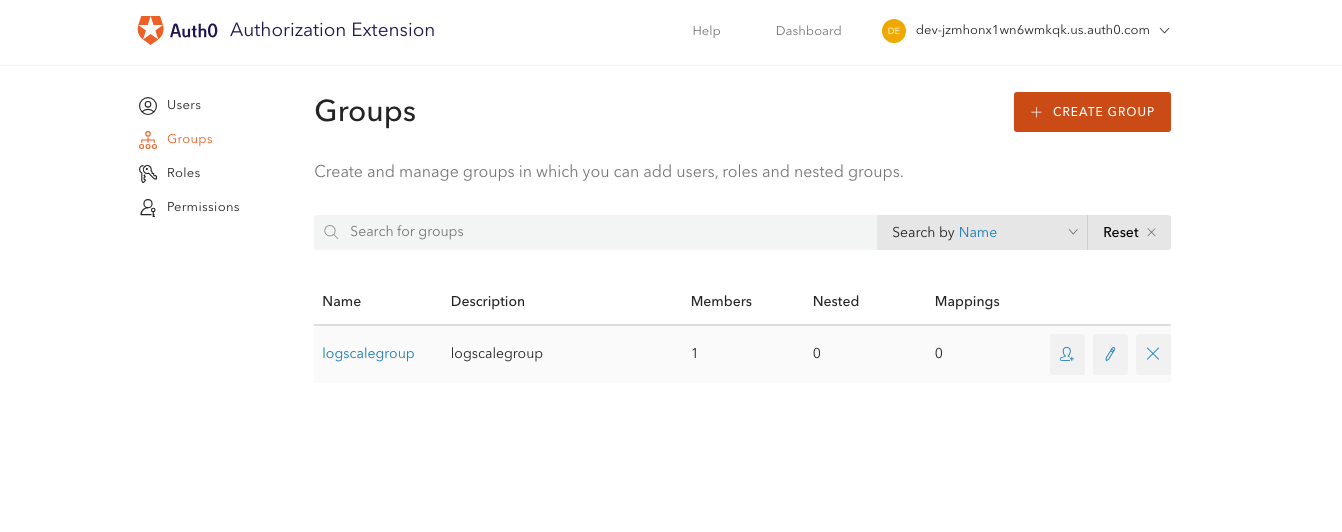
Figure 95. Creating a New Group in Auth0
Click the group name and click to add users to the group.
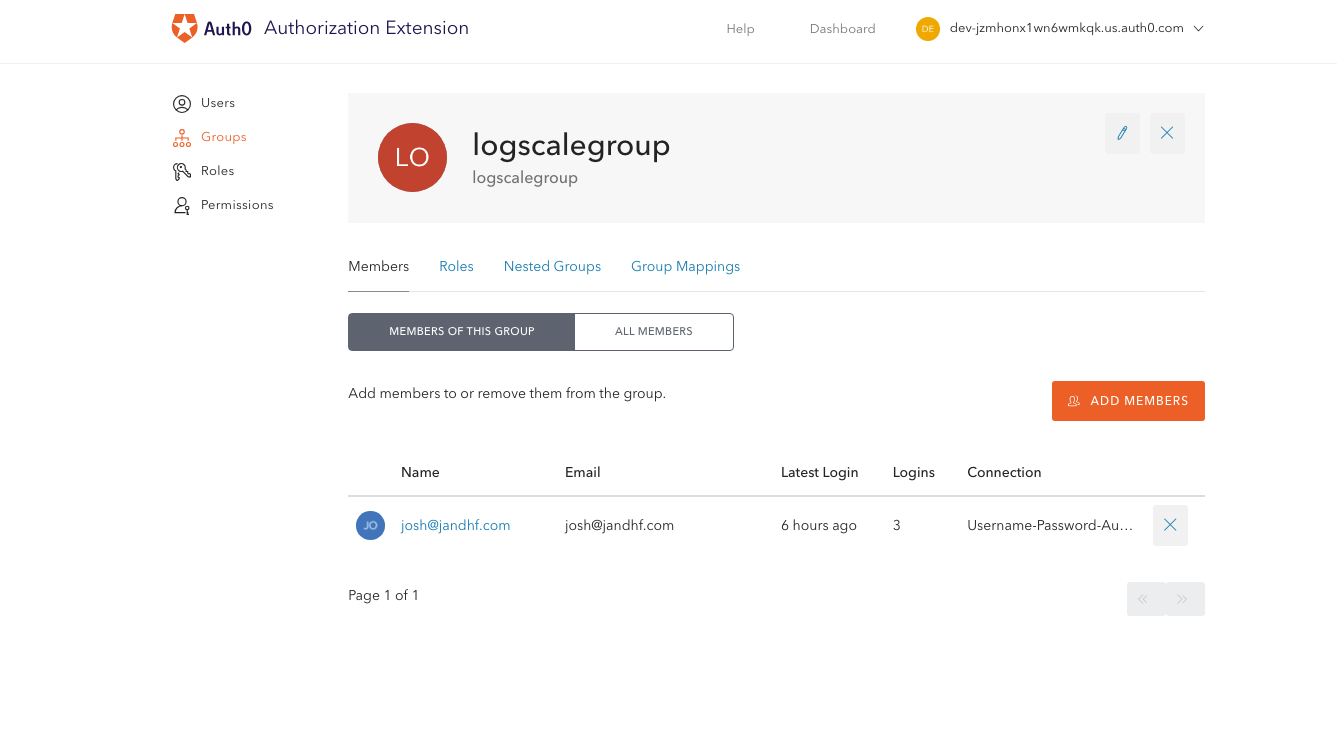
Figure 96. Adding Members to an Auth0 Group
The next part of the process is to configure the authorization extension so it passes the group in the authorization data. To do that:
Click on your name, then click Configuration.

Figure 97. Accessing Authorization Extension Configuration
Configure the extension as shown in the figure. Click after making the changes.
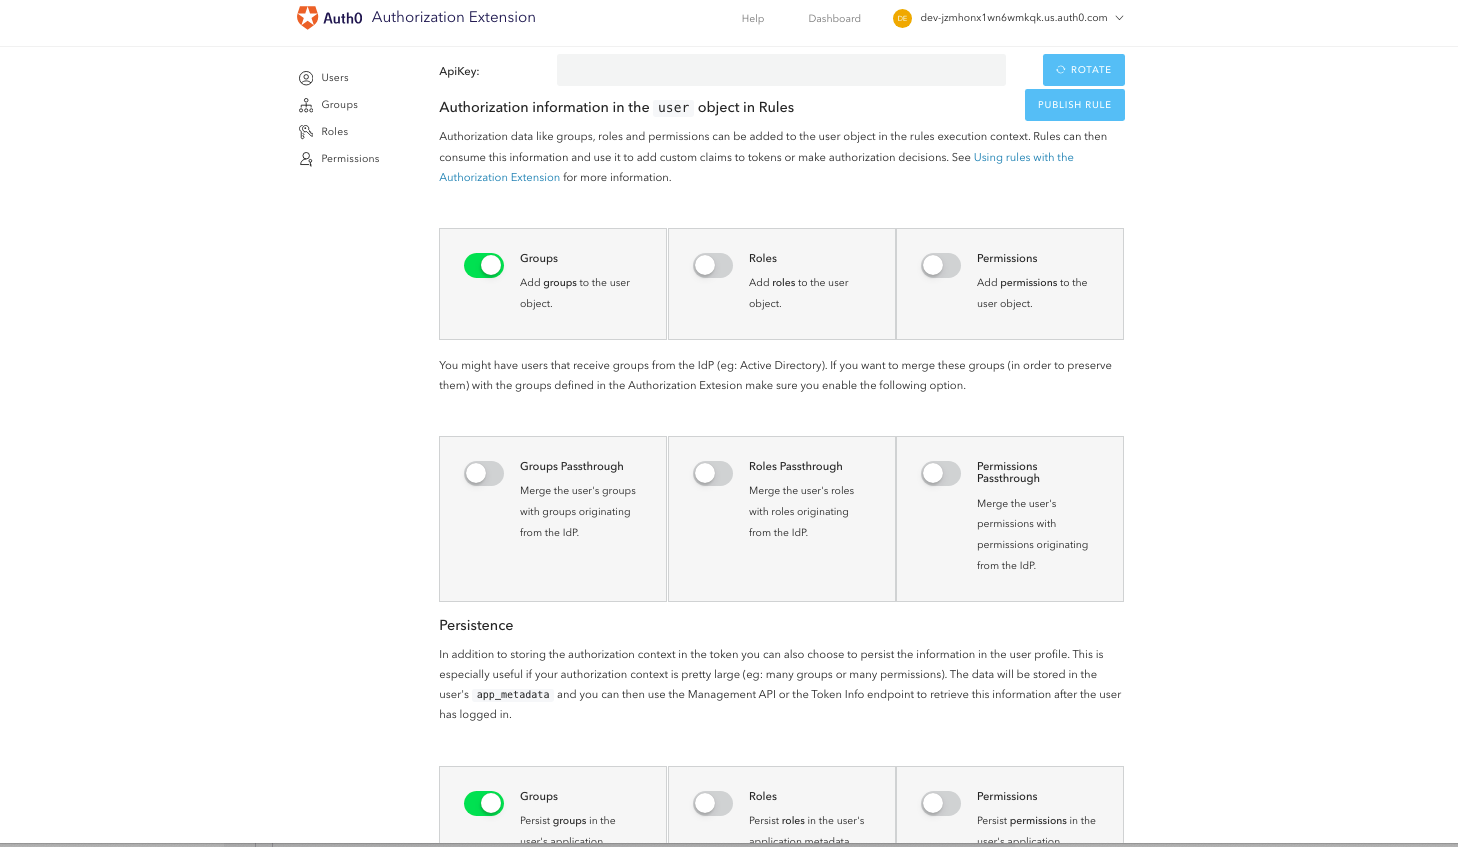
Figure 98. Publishing Authorization Extension Rules
Remember to set up group mapping in LogScale so that the group name from Auth0 matches the external group mapping name in LogScale. For more information, see Group Synchronization.
Configure LogScale for Auth0
After you have prepared Auth0 for integrating with LogScale, you need to configure LogScale.
To configure Auth0 to work with LogScale, you must set the configuration variables as described in Configure SAML for LogScale Self-Hosted using the details that you saved and downloaded earlier.
Test the Auth0 integration setup
Once all of the necessary steps to set up the Auth0 authentication for LogScale are completed, you need to test the setup.
Go to a Terminal and start LogScale with the following command:
shell./run.shAllow two to three minutes for LogScale to start.
Connect to localhost in a browser. It should redirect you to an Auth0 login.
Sign into your Auth0. You should be taken to LogScale.