
Configuring Field Aliasing
Configuration of field aliasing is a three-step configuration process comprising creation of a schema (step 1-3 in the procedure that follows), creation of field alias mapping (step 4-7), and activation of the schema (step 8-10). See Field Aliasing for an overview of this configuration process.
From your avatar icon go to → under Field aliasing on the left navigation panel click .
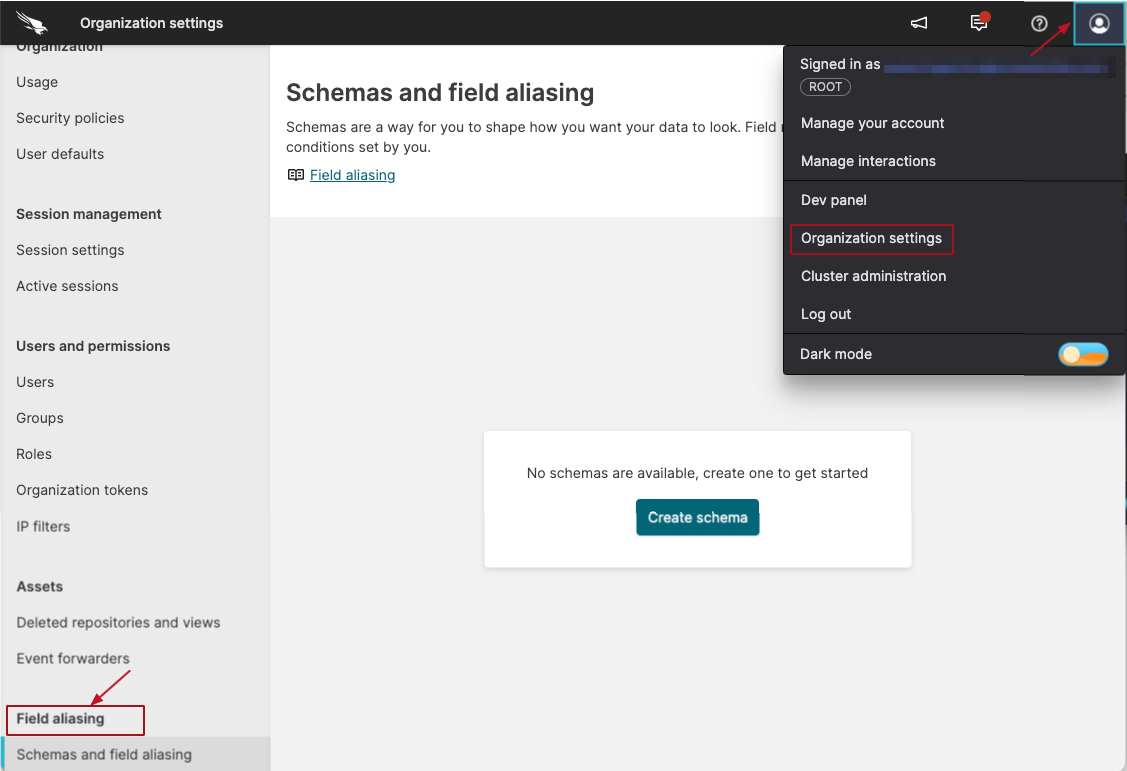
Figure 118. Select field aliasing option
On the
Schemas and field
            aliasing
page, click Configure schemas and field aliasing and click .Option to import the schema from a YAML template:
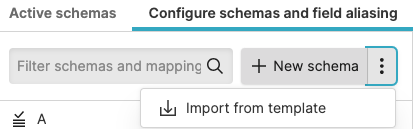
Figure 119. Import schema from template
Provide a name for the new schema and click . Schema names have to be unique.
In the Define schema fields dialog box, enter aliases for your schema and add a description for each alias. Aliases are the names used as standard fields in your schema.
You can add more fields to the schema by clicking . The maximum allowed number of fields in a schema is 1,000.
After you are done entering the desired aliases and descriptions, click : the new schema has now been created, but it's empty and it's not applied to any views or repositories at this stage.
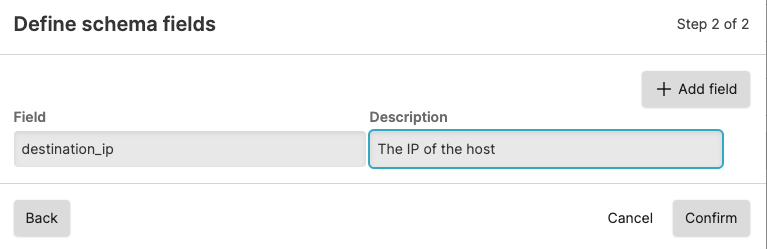
Figure 120. Define fields
Still in Configure schemas and field aliasing, select the newly created schema and click .
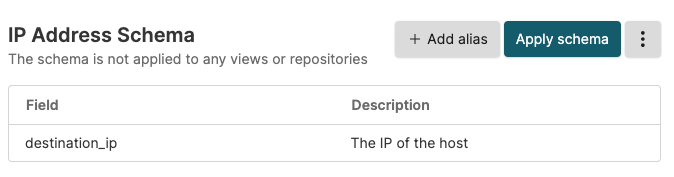
Figure 121. Add aliases
Now you need to create the mapping. In the New field alias mapping dialog box, enter a name for the field mapping, then click .
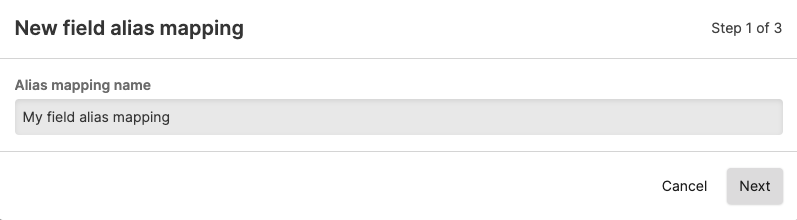
Figure 122. Create mapping
In the Alias into schema fields dialog popping up, do the matching:
Specify the original, vendor field names that correspond to your schema fields.
Enable the checkbox if you want to keep the original field in the mapping (tick to keep all original fields in the mapping). If checked, the original field will still be searchable. If not checked, only the alias can be searched (original field is removed from results). See Searching with Field Aliasing for more information on this behavior.
You can filter rows by vendor field, schema field or description when doing the mapping. Each mapping can have a maximum of 50 aliases configured.
Click .
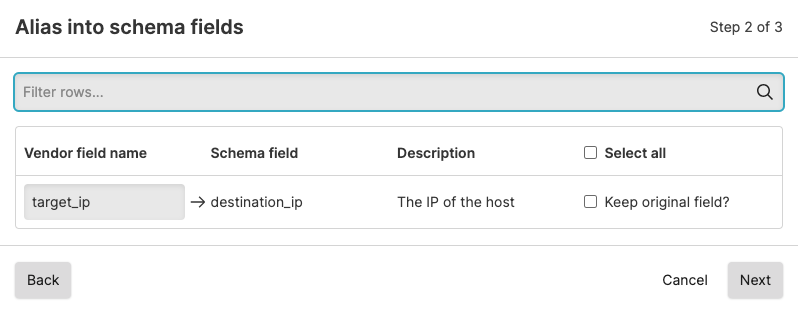
Figure 123. Match fields and aliases
Refer to Understanding Schema Requirements on how to create consistent schemas with valid mappings.
Note
You cannot install a field alias mapping that has no schema, field aliasing must always refer to a schema that you define.
The Set conditions for field aliasing to take effect dialog pops up: enter tag field names and tag field values in order to set at least one condition for your mapping; for example, you want field aliasing to apply when field #kind is equal to value
logsor if field #repo is equal to valuegithub.You can add more conditions by clicking .
Click : the alias mapping is created.
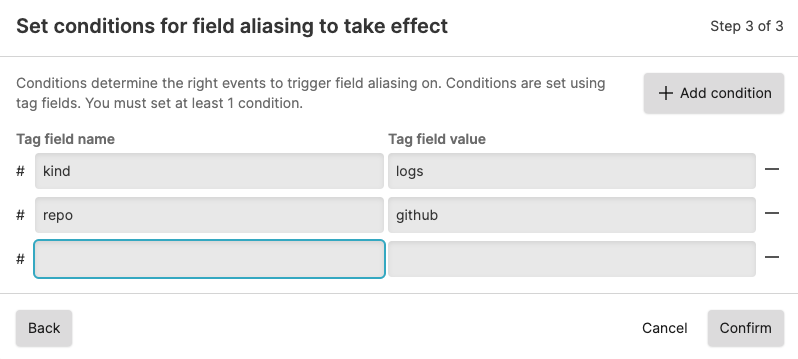
Figure 124. Set conditions
Note
When setting the conditions for a mapping, tag field values do not accept glob patterns for the filtering (
humio*for repository names, for instance). Only literal values are allowed.Now you must activate the new schema. Click the Active schemas page and click , then select your schema from the Select schema dialog, and click .
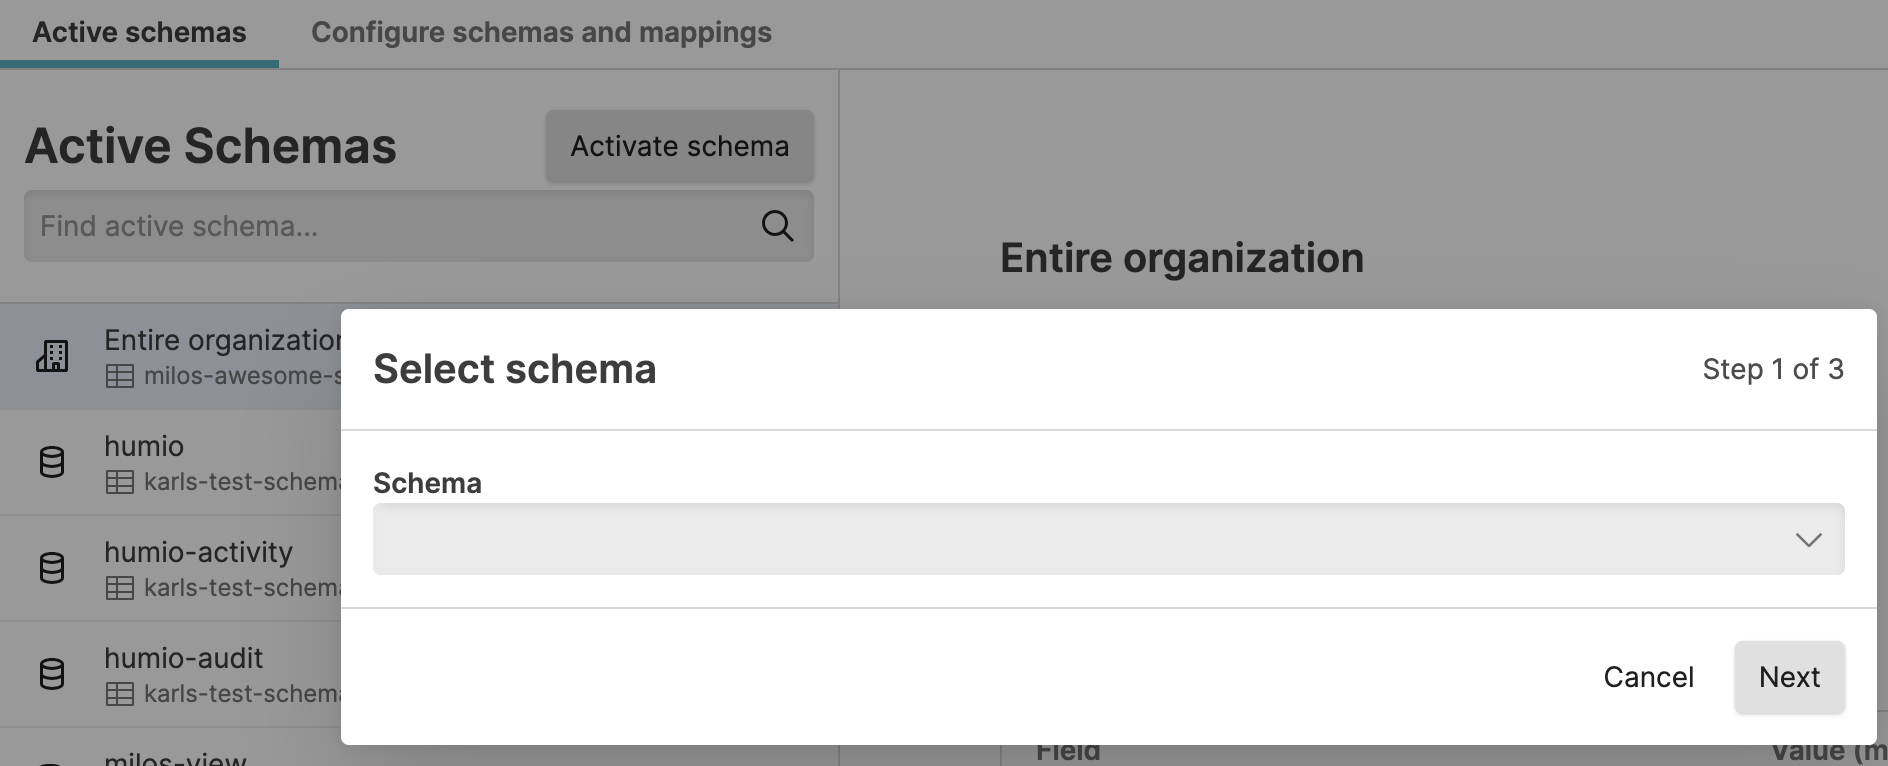
Figure 125. Activate schema
Select the scope for the schema — whether you want to:
— this sets a general rule that would apply the schema to all repositories and views.
— the schema is associated with specific repositories or views that you select from those available; this choice will overwrite the organization level schema for the selected views, if one is applied.
Click .
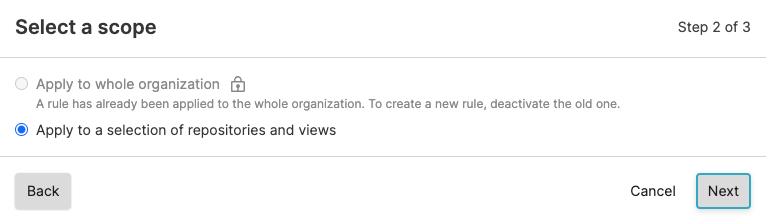
Figure 126. Select schema scope
If you choose to apply to a selection of repositories and views, select the relevant view/repo in the next dialog popping up, then click :
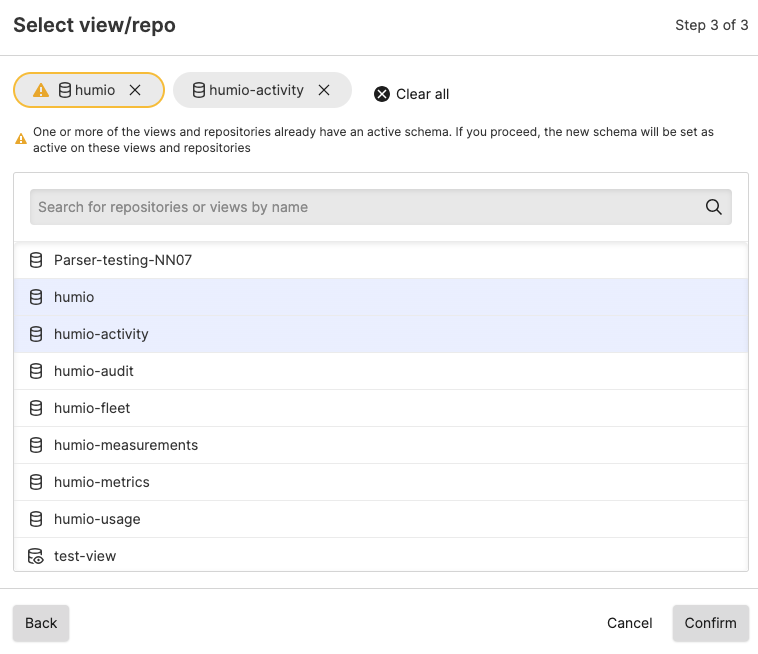
Figure 127. Configuring Selected Repositories and Vies
Your schema is now ready and appears in the list of active schemas. This
means that the fields aliased through the mapping you've done in
step 6) are now
renamed in the Fields panel and ready to use as
such in the Search page. See
Searching with Field Aliasing for information
on how field aliasing works during search.