
Default Time Settings for Dashboards
You can customize the default behavior of the time selectors when editing the dashboard. The default settings will load when the dashboard is opened, while still allowing users flexibility to adjust the settings in the view mode without affecting the defaults.
To edit the default time settings:
Click to enter Dashboard editing mode. When you enter this mode, the dashboard will preserve the last time configuration set in the view mode.
Review the current default time settings. In the side panel for the dashboard, widget, or section, locate Default time to review the current default settings:
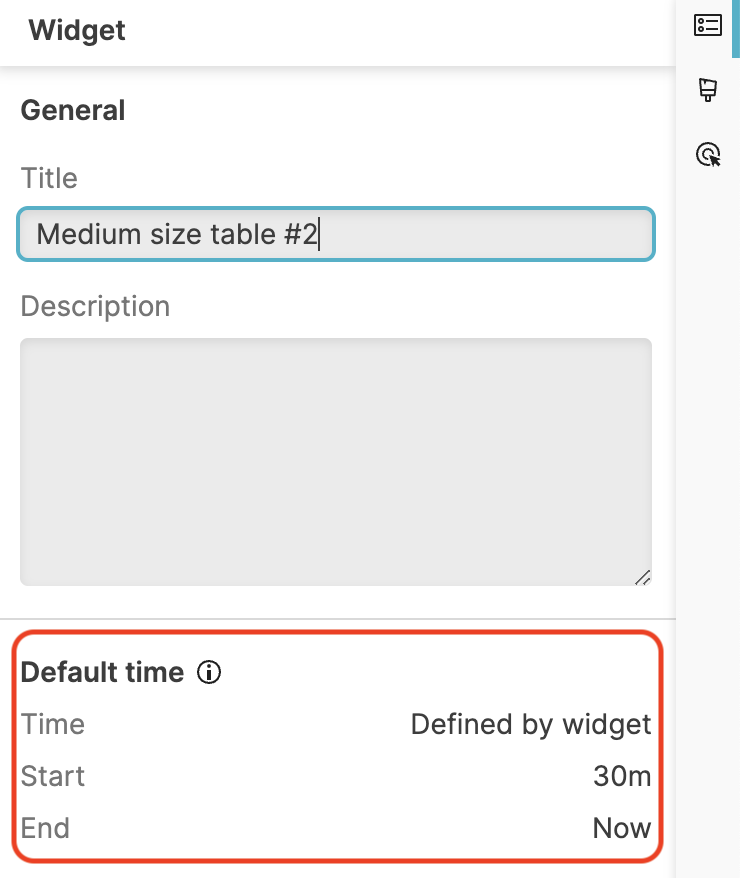
Figure 173. Default Time Configuration
Adjust the time settings:
Shared Time Selector. Enable or disable this selector according to the desired default behavior. If the shared time is ON, select the default time range for this selector.
Widget Time Selector: if is off, adjust the default time range for each widget by selecting the new time range in the Widget Time Selector.
To add a section time selector, ensure that dashboard is off.
In the Section side panel, check the checkbox to add a time selection to the section.
Adjust the default time range in the section's selector panel.
Click to apply the changes. If you changed the behavior or the default time range for any of the time selectors, you will be prompted to confirm the changes. This step helps to prevent accidental overwriting of the default time settings that were carried over from the view mode when entering edit mode.
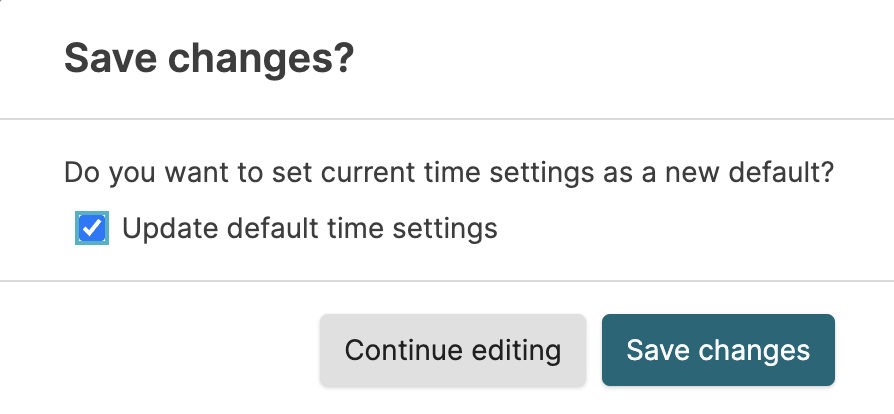
Figure 174. Update Default Time