Effective user management is essential for
maintaining proper security boundaries and ensuring appropriate access
control across your LogScale environment. The Role-Based
Access Control (RBAC) system in LogScale provides
comprehensive tools for managing user accounts and
their access. This section guides administrators through the complete
lifecycle of user management, including creating new user accounts, editing
user information, assigning and customizing roles with specific permission
sets, removing users from the system, and granting granular permissions to
specific assets.
Note
To access the Users page
and to be able to add users, you have to be the Organization
Owner or have Manage
Users organization level permission.
All of the existing users will be displayed. To edit information or
permissions for a user, click their name.
To get a list of users with your own application, use the GraphQL API,
specifically the users() query field. To get
information on the current user, you can use the
currentUser() query.
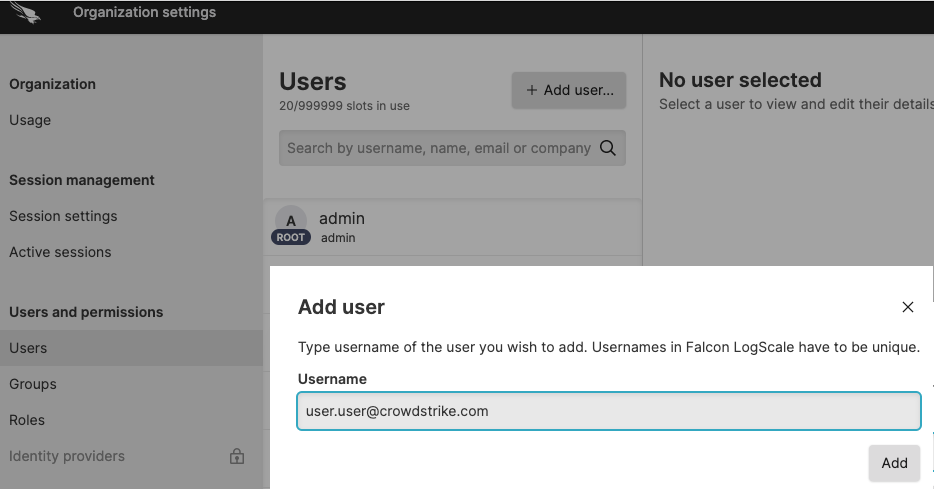
In the input box, provide a username and fill in the form with the
information required.
When finished, click Save.
The new user should be visible in the Users
page. To add a user with the GraphQL API, use the
addUserV2() mutation.
Figure 29. Create a User
Another typical configuration for self-hosted installations of
LogScale is to set the configuration option
AUTO_CREATE_USER_ON_SUCCESSFUL_LOGIN to
true.
This will automatically create the user in LogScale after a
successful login.
Click the name of the user to view or edit from the list.
Click the Permissions tab to
view a list of all the repositories on which the user has permissions.
Click the name of the Repository or View for a detailed list of the
user's permissions and roles on that specific repository or view, or
to see a user's
Aggregate permissions.
Click the Information tab to
view and edit the details of a user, such as their first or last name.
Click Save to save the
changes.
To get information on a specific user with the GraphQL API, use the
user() query. To change information about a user with
GraphQL, use the updateUser() mutation.
Click the name of the user to remove from the list.
Click Danger zone, type the user's name, and
click Remove. Confirm to
delete the user permanently.
To remove a user with the GraphQL API, use the
removeUser() mutation to do so based on their
user name. To remove a user based on their user ID, use
removeUserById().