
Manage User Roles
Security Requirements and Controls
Manage userspermission
You can create a user specific role in order to grant a single user additional permissions. You can also unassign a role from a user.
User roles are roles added directly to users, in contrast to group roles, where the user is given permissions via group membership.
Edit a user role
To review or edit a user's roles, do the following:
Click the name of the user to view or edit from the list.
Click the Permissions tab to view a list of all the repositories on which the user has permissions. Select the name of the Repository or View for a detailed list of the user's permissions and roles on that specific repository or view.
Then click in Role Source to change the roles assigned or to create a new role to assign to the user. You may need to switch between the user's roles to be able to edit or create a new role.

Figure 30. Edit User Role
To apply a new role for the user, select a role and click .
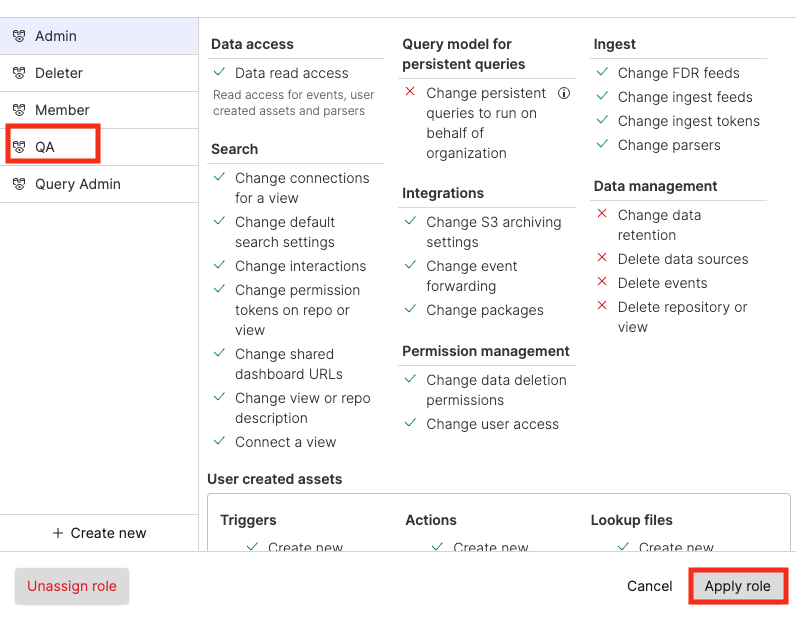
Figure 31. Change User Role
To edit a role with the GraphQL API, use the updateRole() mutation. To get a list of roles with GraphQL, use the roles() query. To unassign a user from a role for a search domain, use the unassignUserRoleForSearchDomain() mutation.
Add a new user role
At the end of the section above, there are only a couple more steps to create a new user role while viewing an existing user role. However, to start from the beginning, follow the steps below:
Click the user menu icon and select → . Select a user for which you want to create a new user role.
Under the Permissions tab, select any role. Then click the button next to the role you're viewing and a dialog box will appear with the user's existing roles.
Next, click the button.
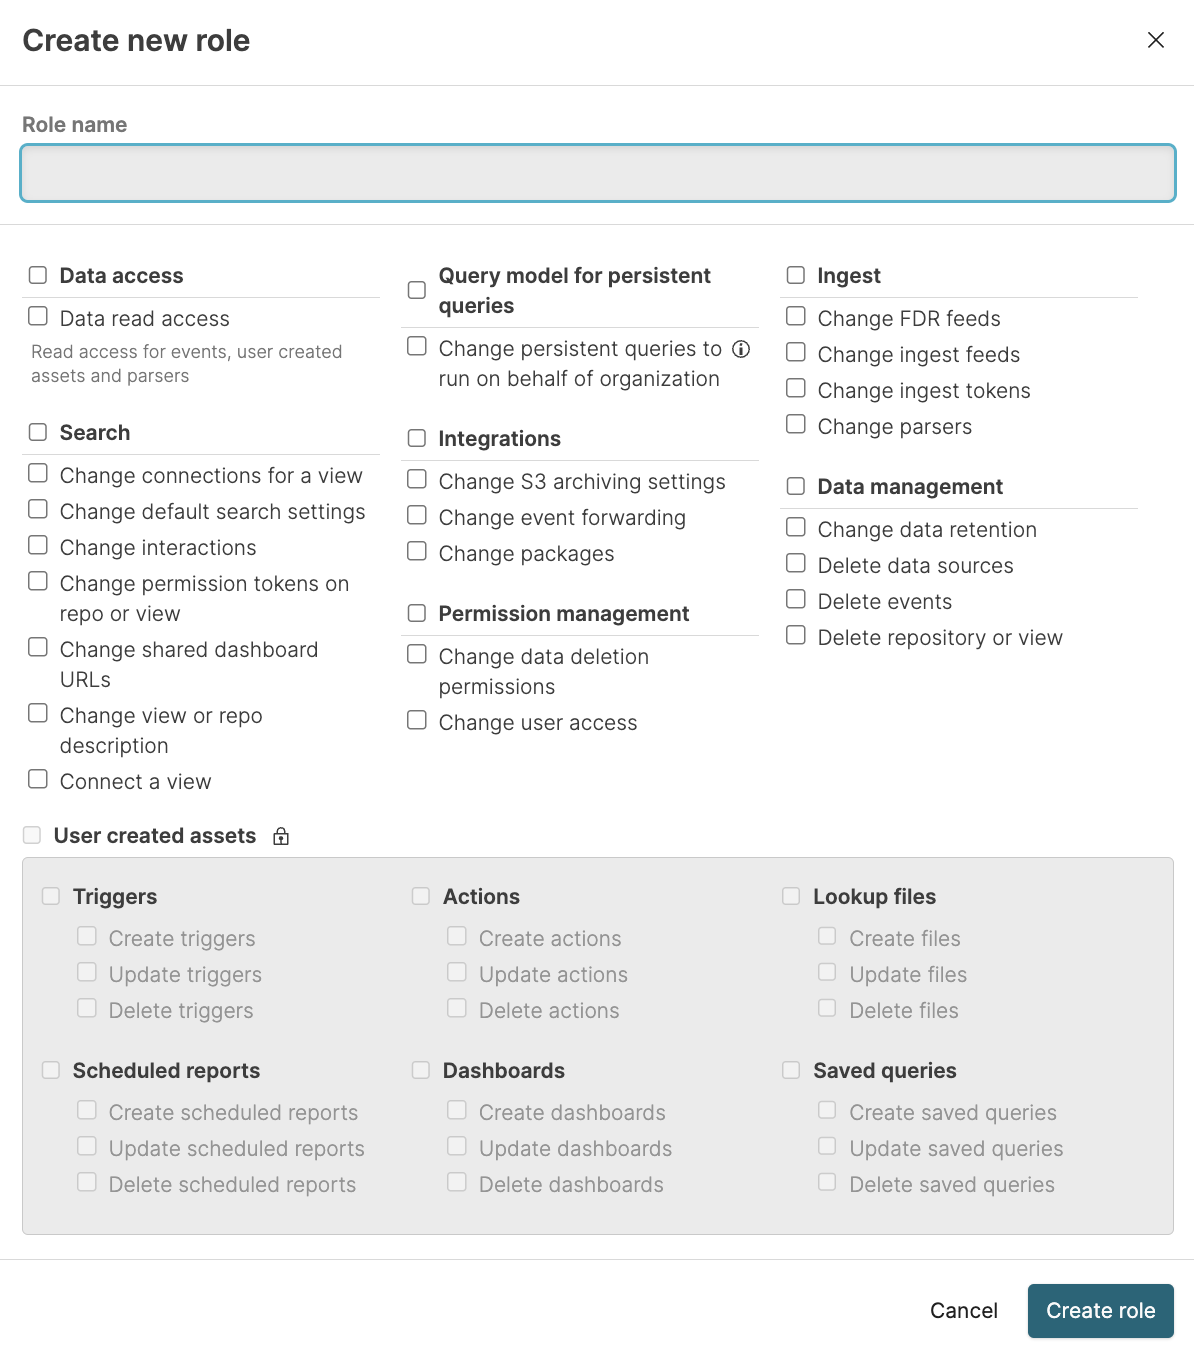
Figure 32. New Role for User
Specify a name for the new role and select the permissions to grant. When you're done, click .
Now select the new role and click to assign it to the user.
To create a role with the GraphQL API, use the createRole() mutation. To get a list of roles with GraphQL, use the roles() query.