
Configure a Destination
The documentation explains how to configure Destinations in CrowdStream, which are downstream receivers of events that require specific authentication and parameters. Users can set up multiple Destination instances including CrowdStrike Falcon LogScale, Amazon S3 Compatible Stores, Data Lakes, and DevNull, with two main configuration approaches available: QuickConnect's drag-and-drop interface or the Data Routes method through the Routing UI.
A CrowdStream Destination is a model of a downstream receiver of events, enabling you to configure authentication and/or other needed parameters.
As with Sources, you can configure multiple instances of a given Destination type, each with different parameters. You can attach processing that's specific to each instance. CrowdStream provides the following Destinations:
CrowdStrike Falcon LogScale — Set up your LogScale endpoint, token, and other parameters here.
Amazon S3 Compatible Stores — Route full fidelity data to cost effective storage for later replay and analysis.
Data Lakes > Amazon S3 — Store full fidelity data for later retrieval or analysis. Compatible with Cribl Search (a separate product).
DevNull — This output simply consumes and discards events, to facilitate development and testing.
Using QuickConnect
To connect a configured Source to a Destination tile already present on the right, just drag from the Source and drop the connector onto the Destination. A pop up will prompt you to configure the connection via a Passthru, Pipeline or Pack (explained below).
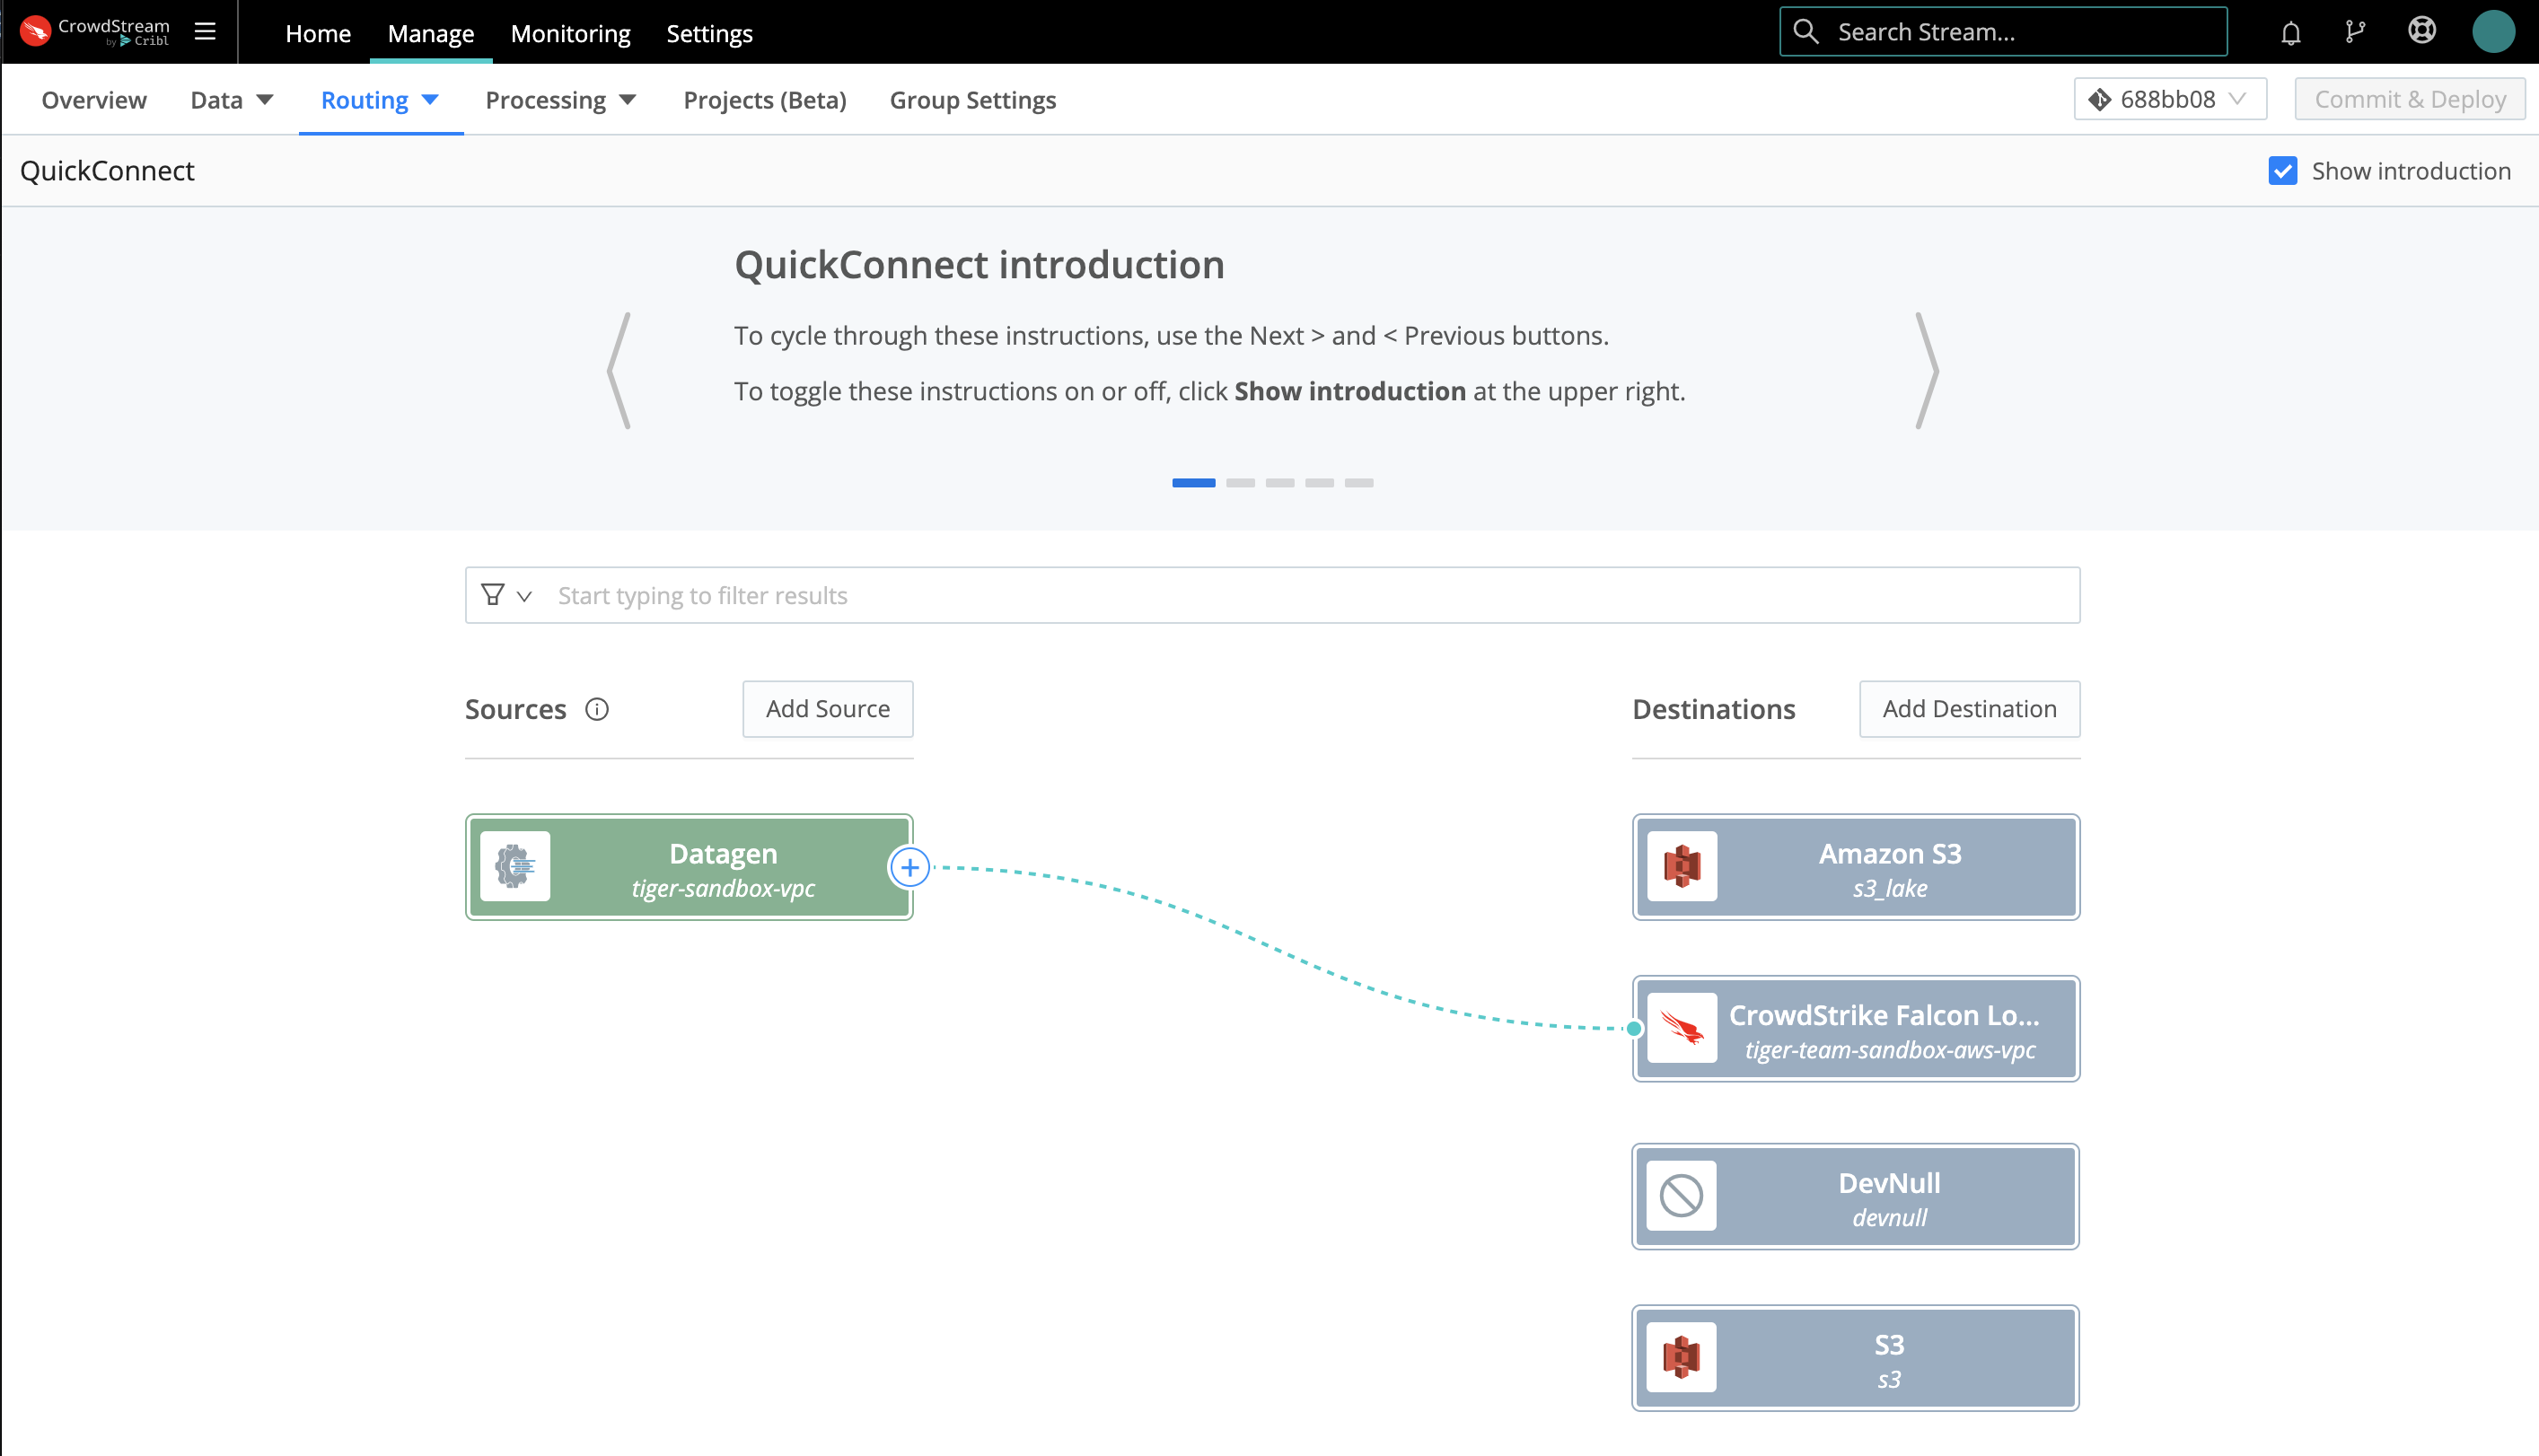 |
To configure (or reconfigure) the Destination, hover over its tile and click the Configure button. For multiple Destinations of the same type, tiles will display stacked until you hover over the stack.
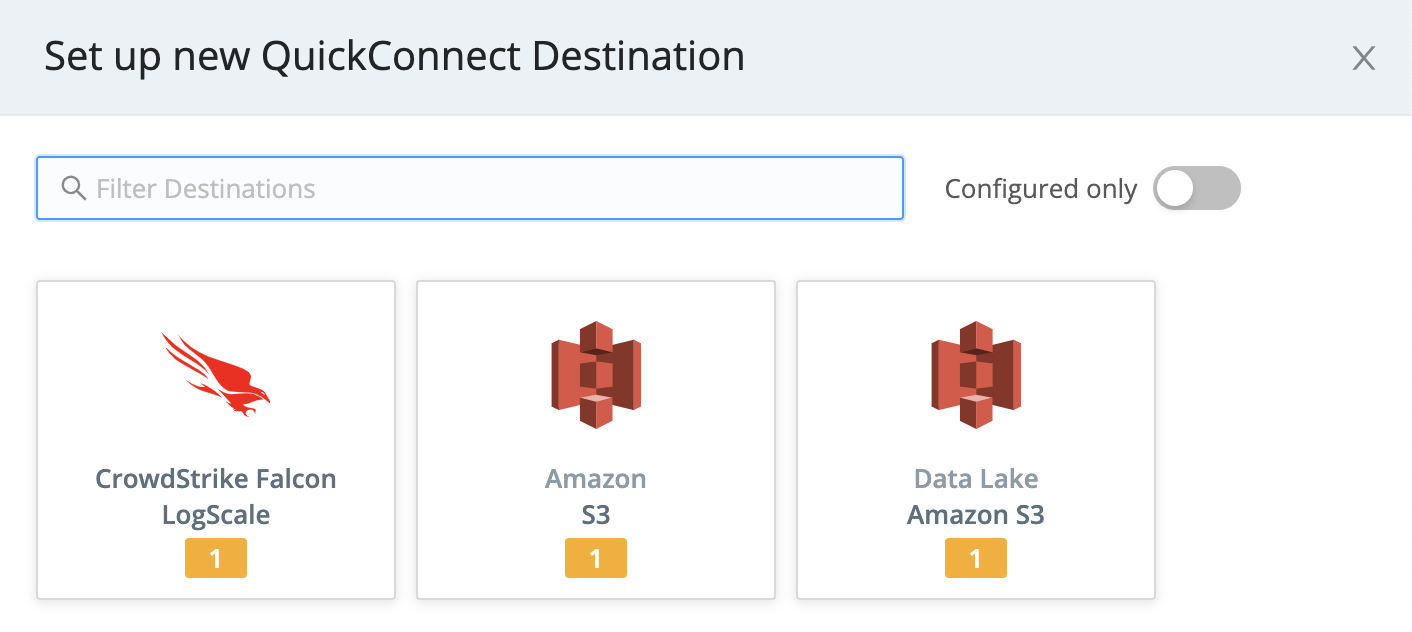
To add a new Destination, click the Add Destination button on the right (Destinations) side. In the resulting right drawer, search for and click your desired Destination type to begin configuring a new instance of that Destination.
 |
Using Data Routes
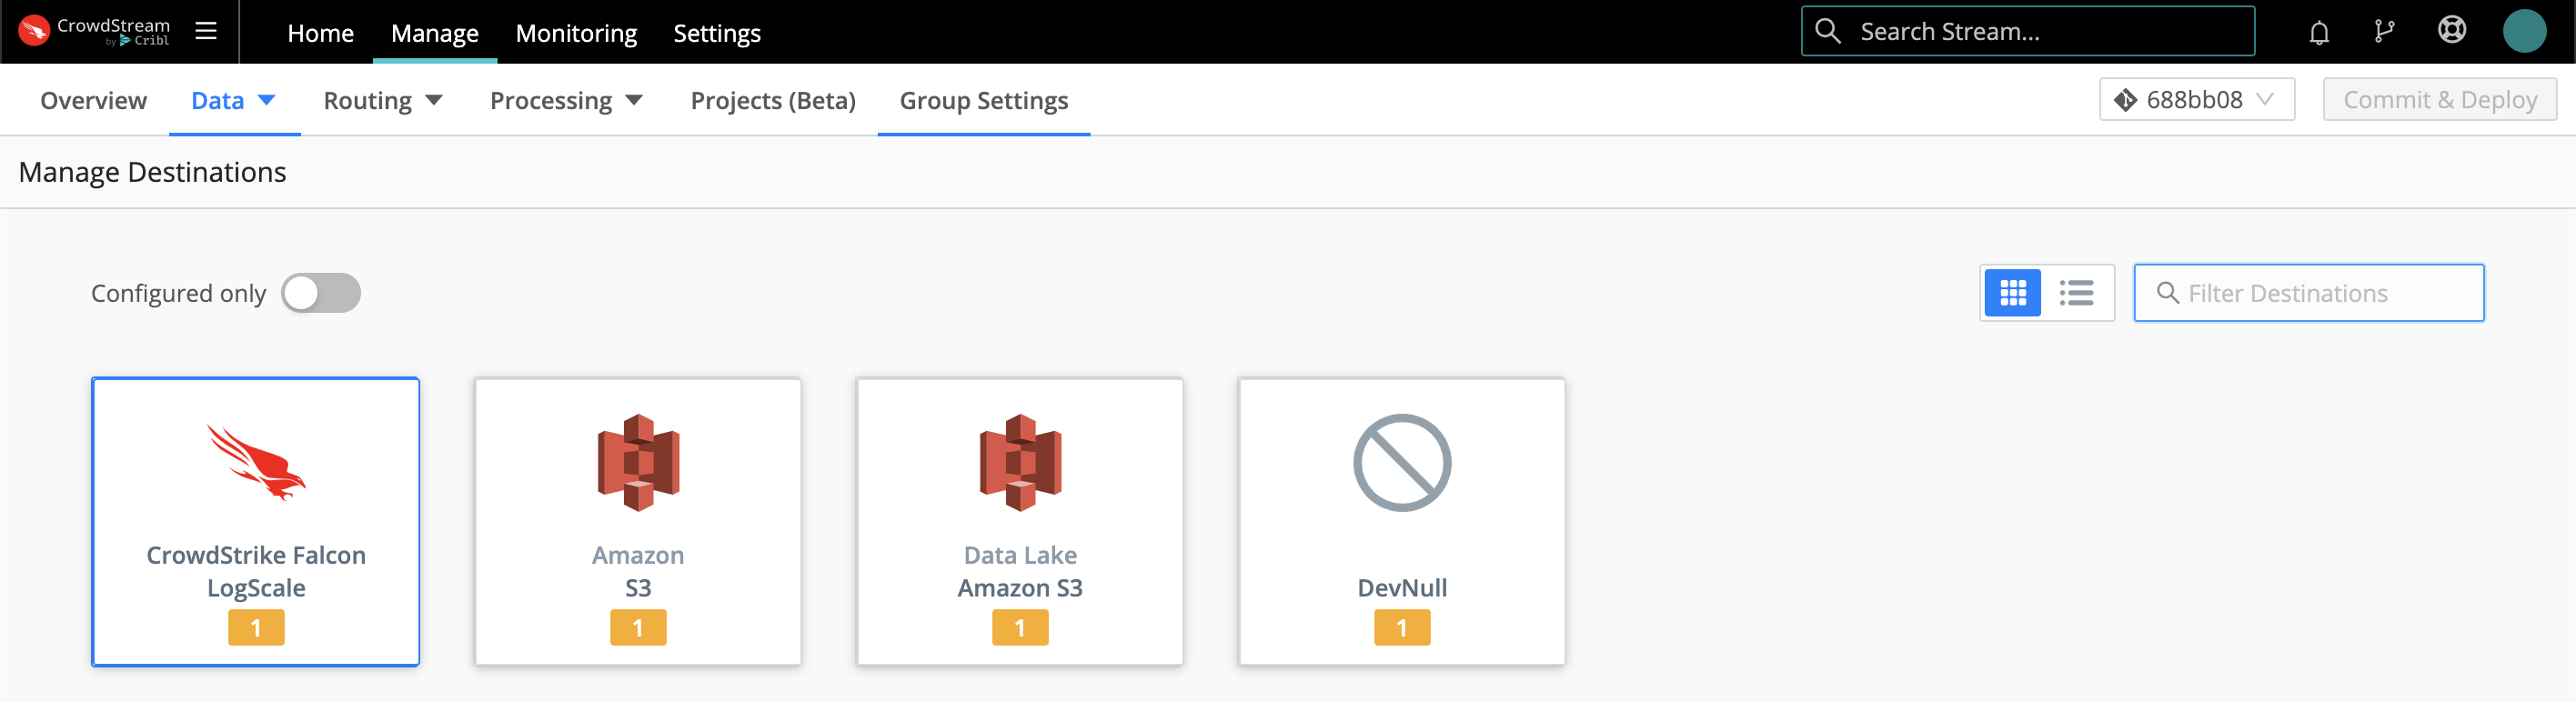
In the Routing UI, first click Data > Destinations. On the resulting Manage Destinations page, search for your desired Destination type, then click its tile to begin configuring it.
(After you click through to a Destination, the same set of peer Destinations will be available in the left nav.)
 |
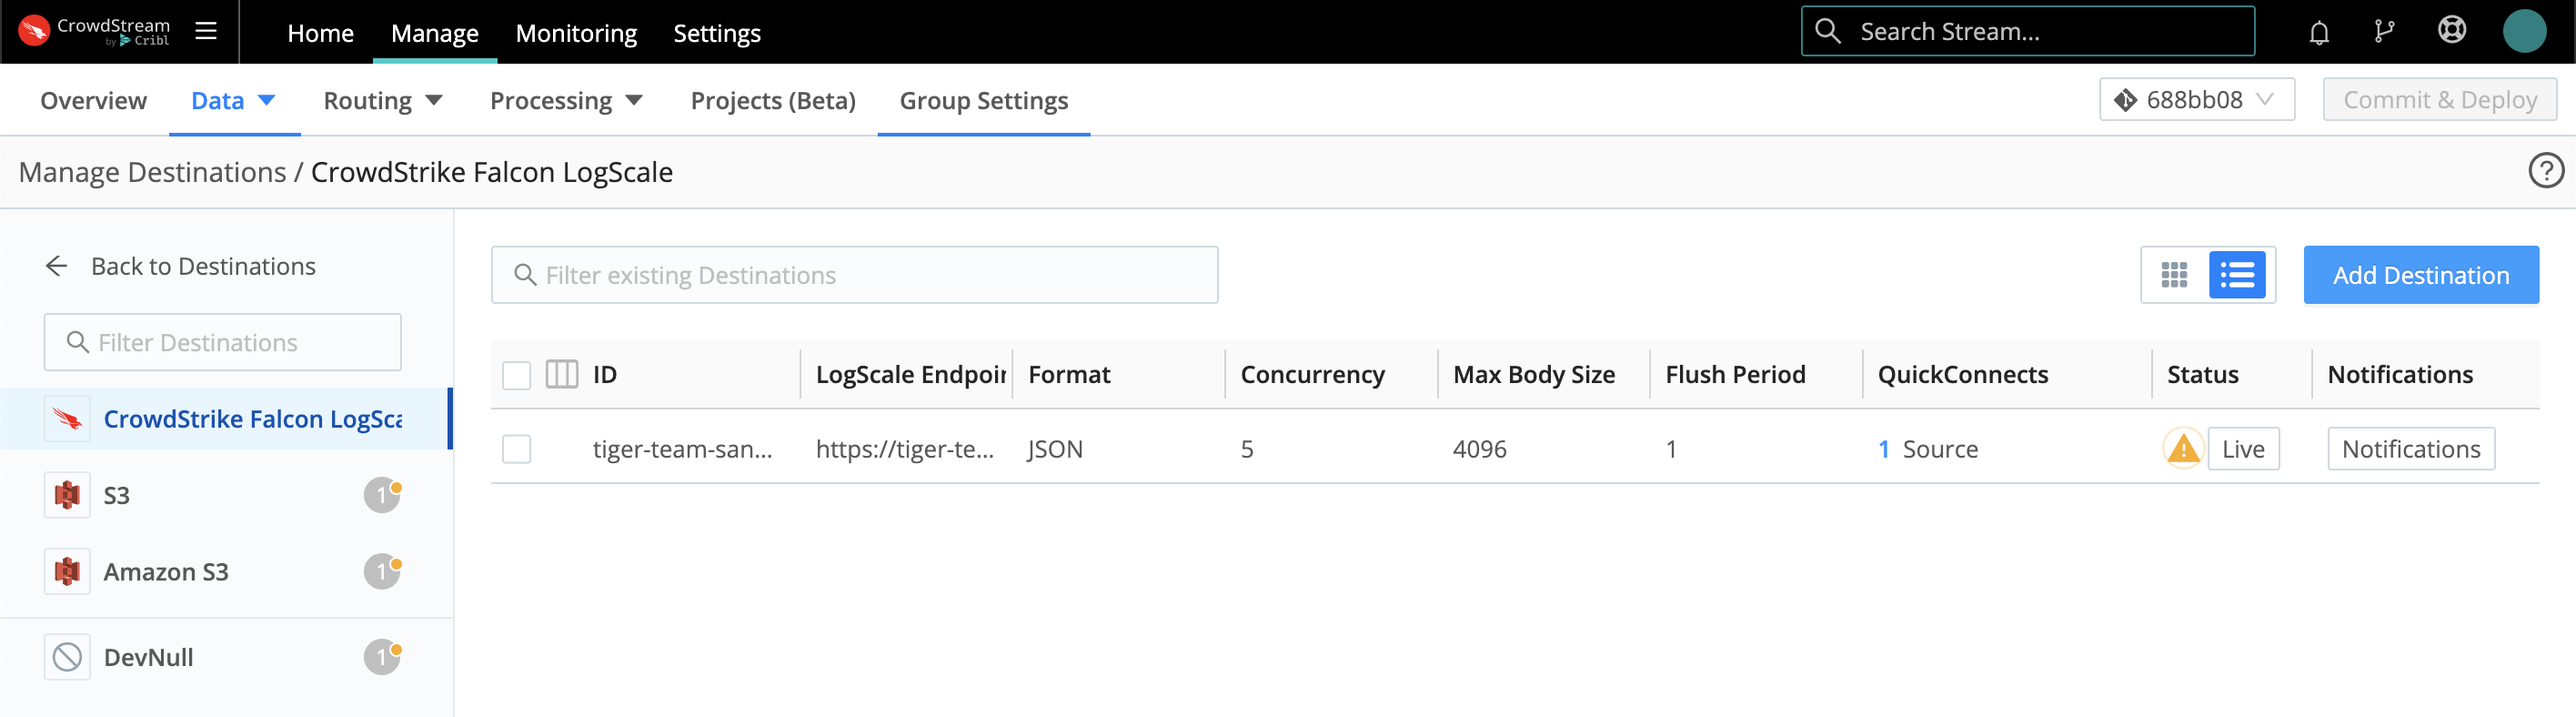
Click an existing Destination's row here to access its configuration, or click Add Destination to configure a new instance of that Destination.
 |
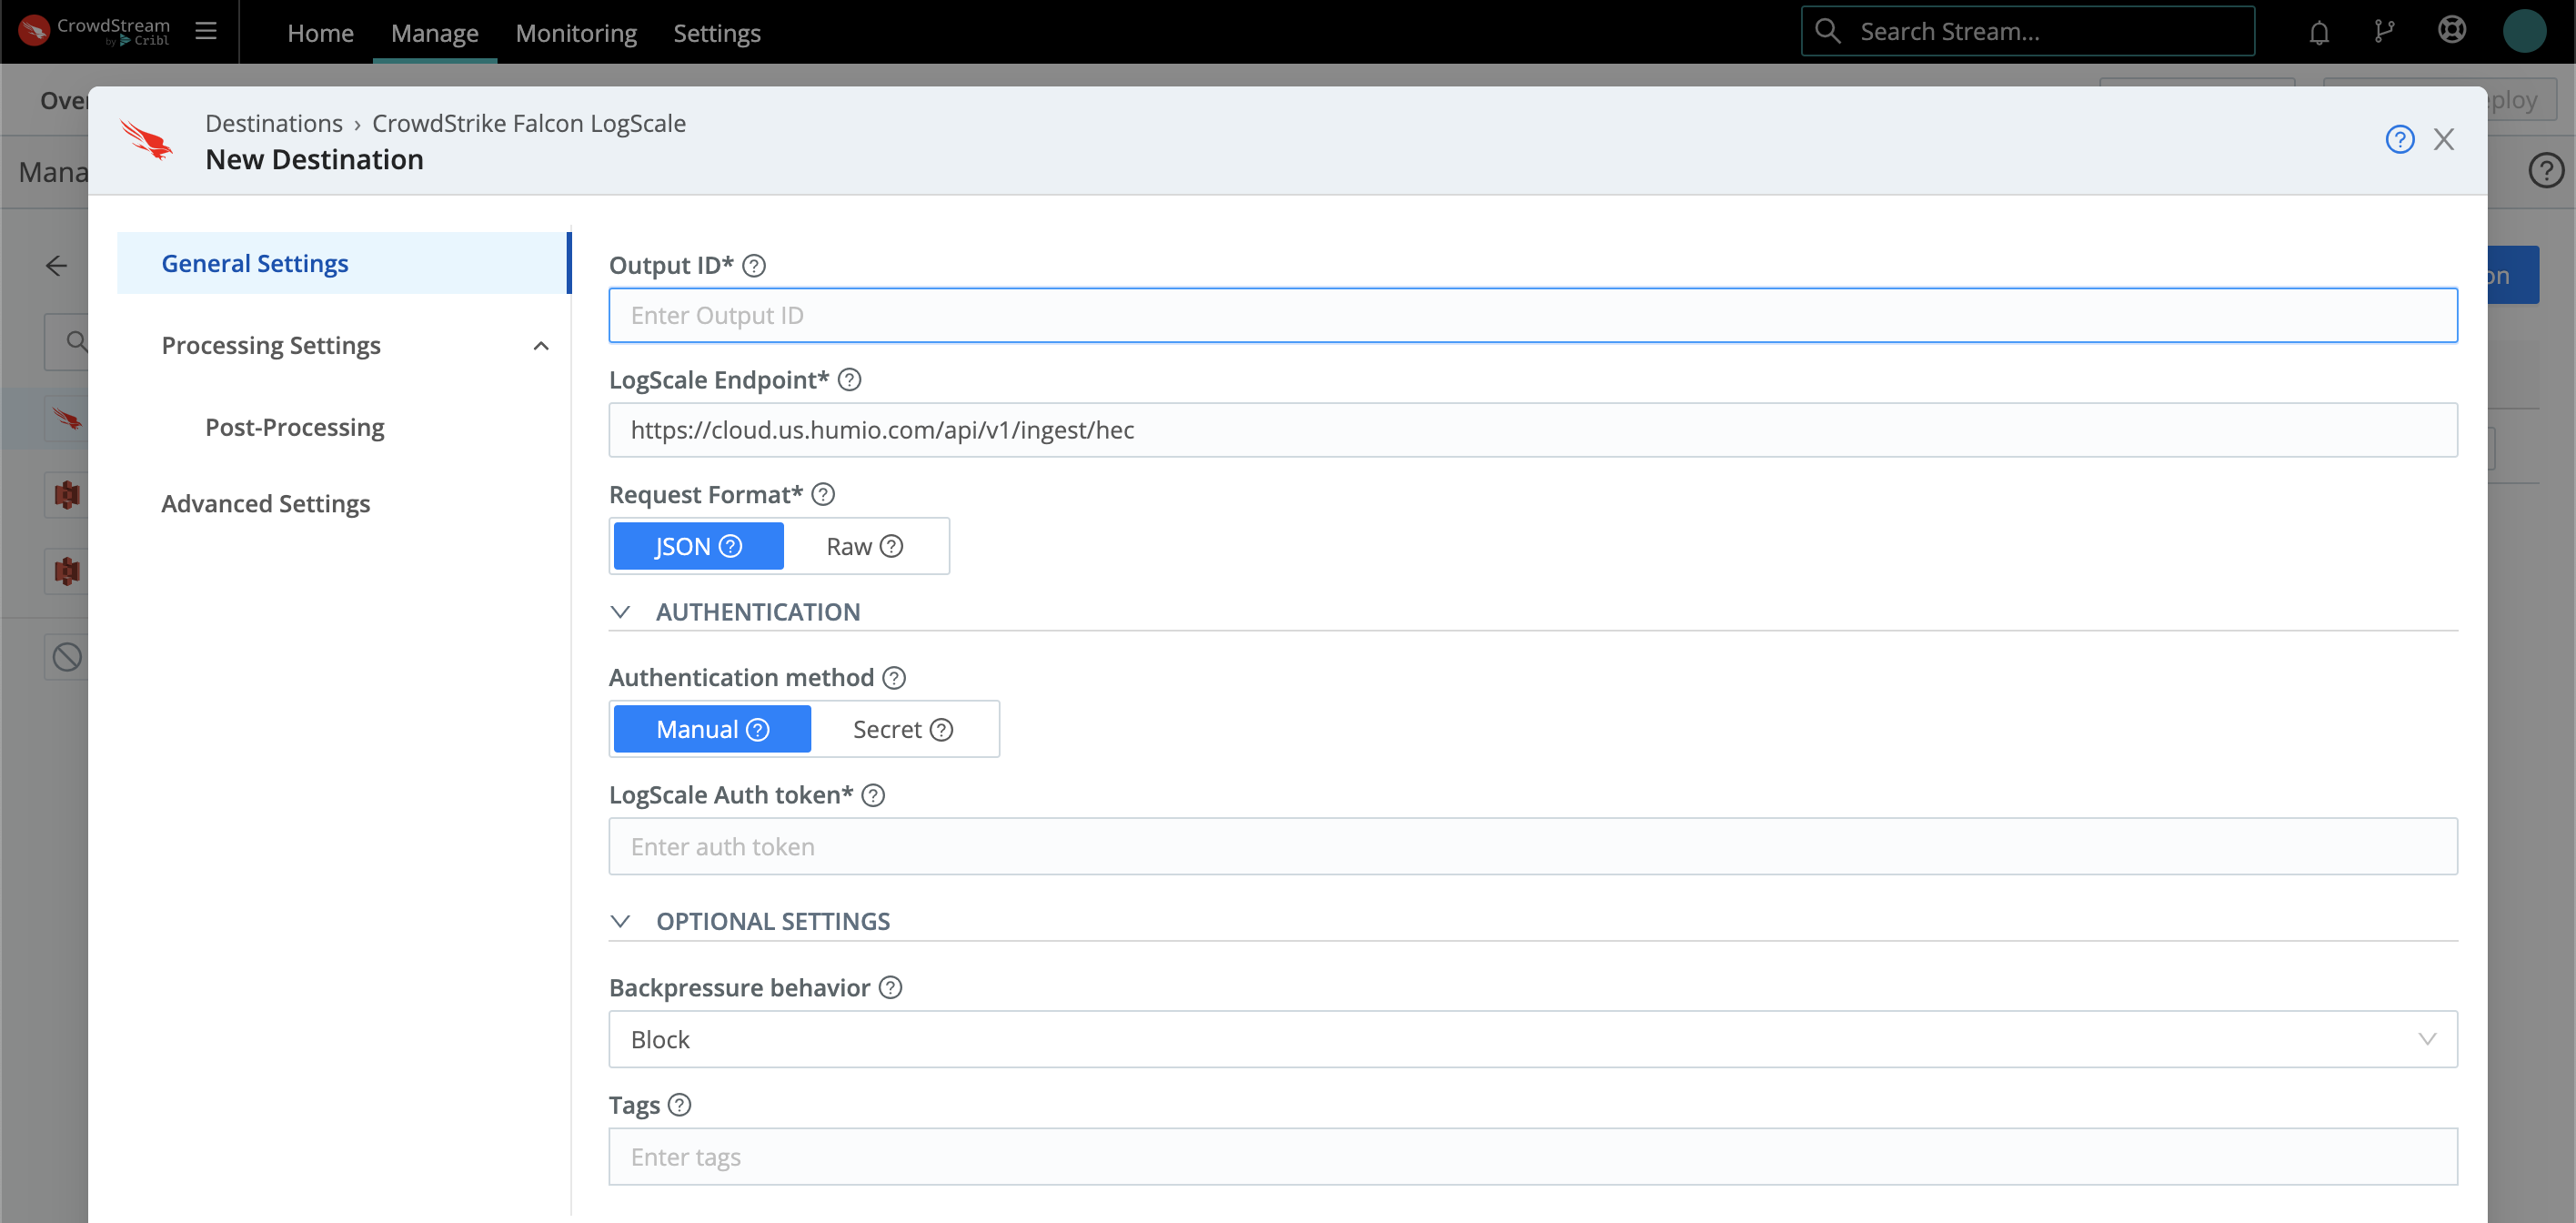
You then configure (or reconfigure) the Destination in a modal like this:
 |
For More Information see Configure a Destination