
Grant permissions to specific assets to groups
Security Requirements and Controls
Manage userspermission
Click on the profile menu icon and select Organization Settings →
Groups.Click the name of the group to view or edit from the list.
Click the Asset permissions tab. The list shows all available assets for the repositories and views the group can access. Use the filter buttons to narrow the list of assets.
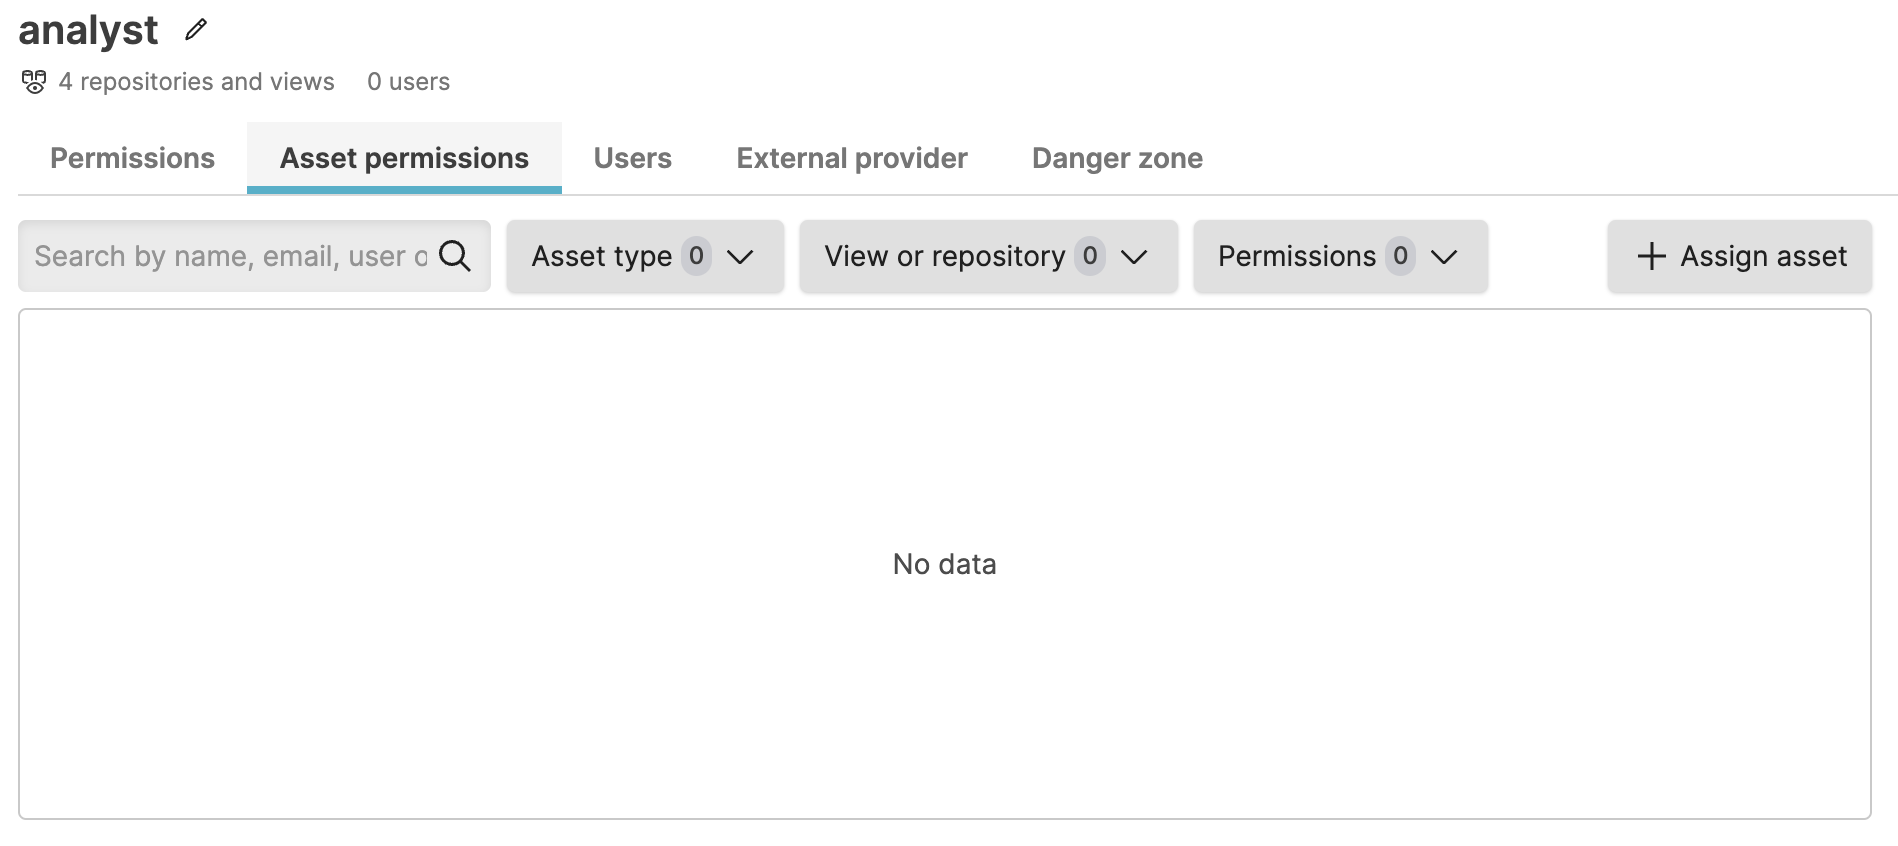
Figure 107. Asset permissions list for group
Click .
Select the asset to give the group access to and click . Use the filter buttons to limit the list of assets.
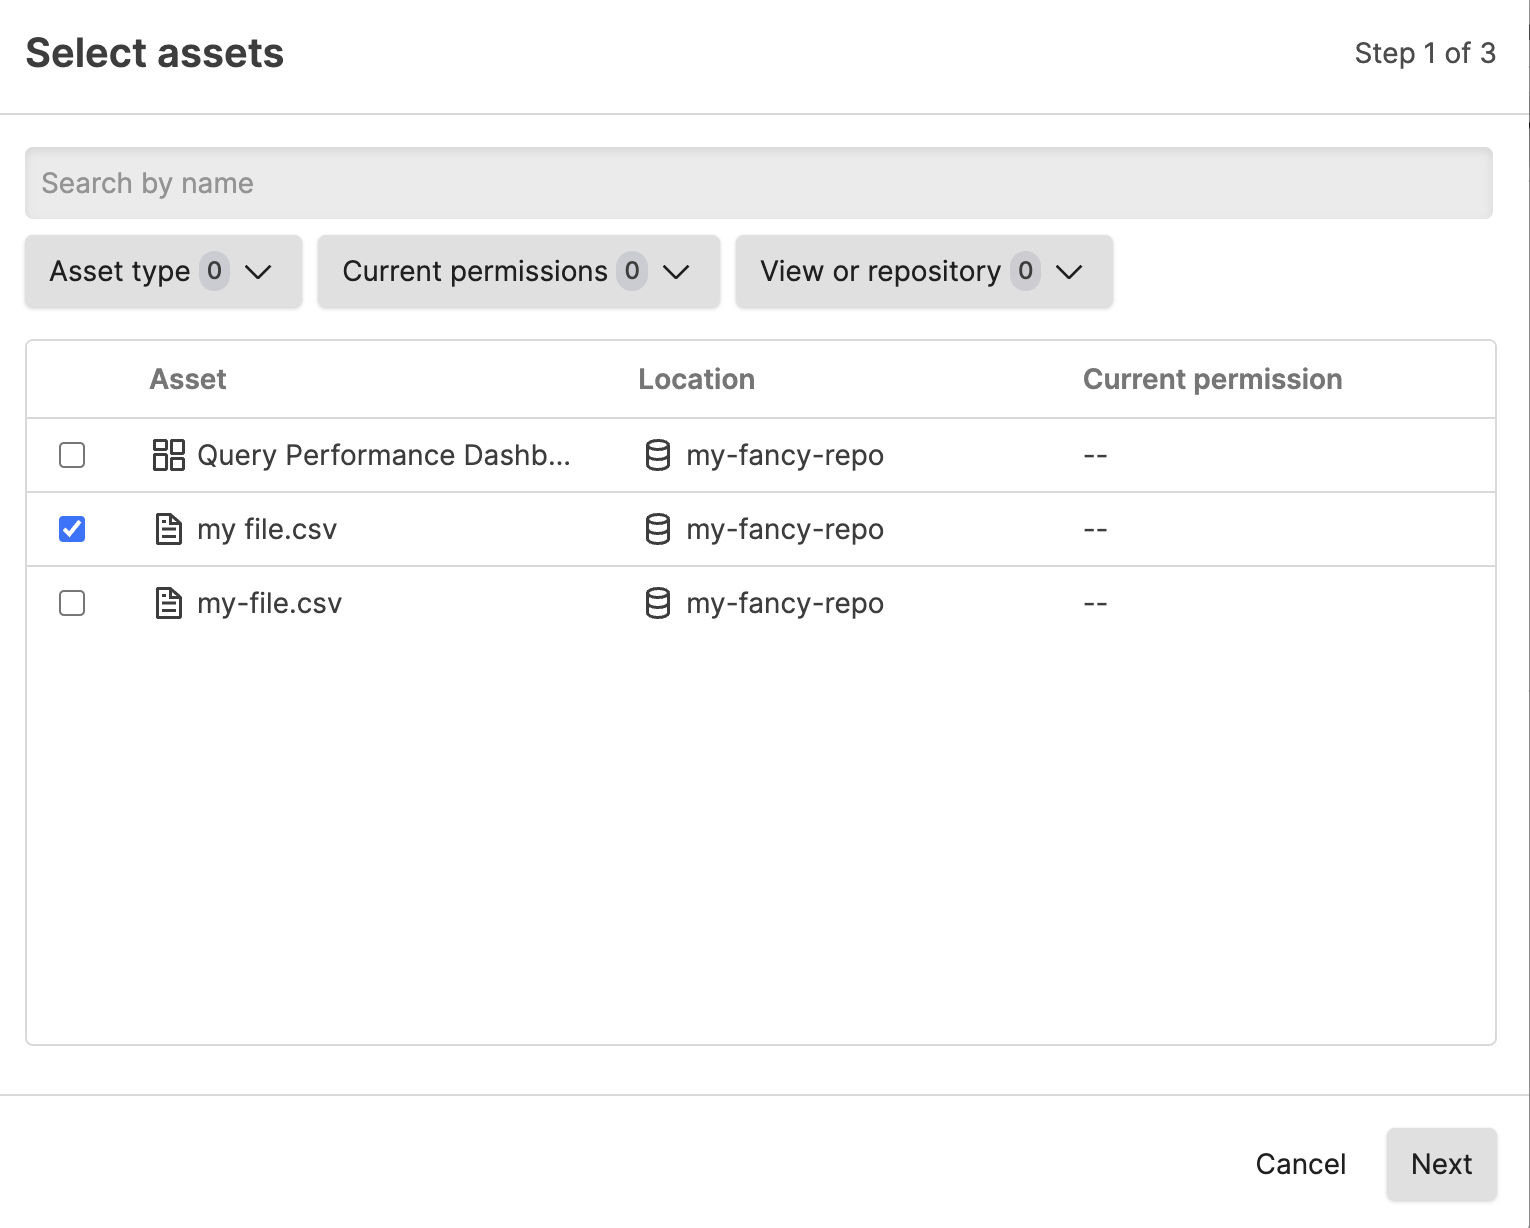
Figure 108. Select asset to assign
If the asset is in a repository to which the group does not have read access, you see a dialog when setting the additional asset permissions that the group will be granted read permissions automatically to ALL assets in the view.
If the group already has read access to the view where the asset is located, you will not see this dialog.
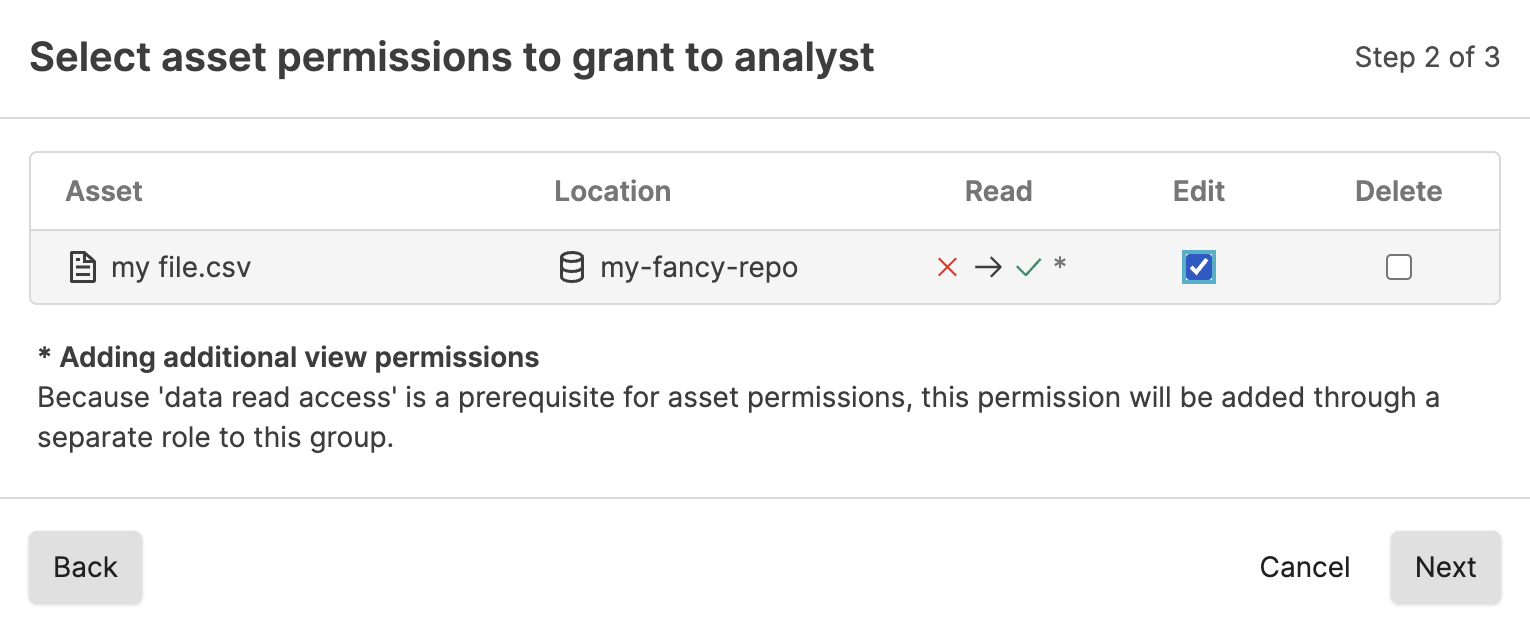
Figure 109. Select asset to assign when group has no read access to view
When granting permission to an asset in a repository or view the group does not have permissions to, you are required to acknowledge that by granting permission, the group is automatically given read access.
Select the permission(s) to assign to the group for this asset. Click and then .
If assigning permissions to an asset in a view for which the group does not have read access, you must check the box that you understand that the group will be granted read permission to the view before you can click .
Direct asset permission assignments are automatically removed from a group if that group loses all access to the view.