
Installing & Updating Packages
Security Requirements and Controls
Change packagespermission
Packages are available in the online Package Marketplace and as standalone files, either shared as a Zip file or through a repository such as Github.
There are three methods available for managing packages:
Using the UI you can Install a Package via UI, Update Packages via UI and Uninstall a Package via UI
Using a file you can Install a Package from a File and Update a Package from a File
Using the CLI you can Install a Package in CLI with humioctl and Uninstall a Package using the CLI
If you decide to use the User Interface, you will be able to merge local changes with changes made in the new version of the package.
Install a Package via UI
Security Requirements and Controls
Change packagespermissionChangePackagesAPI permission
To install a package from the LogScale
Marketplace:
Go to the Marketplace under the Settings tab in your view.
Choose a package from the list in the package summary.
Choose the version of the package you want to install. The default version will be the latest version available, but you can select to install an earlier version if you wish.
Click the button.
You will be presented with a summary of the components that will be installed.
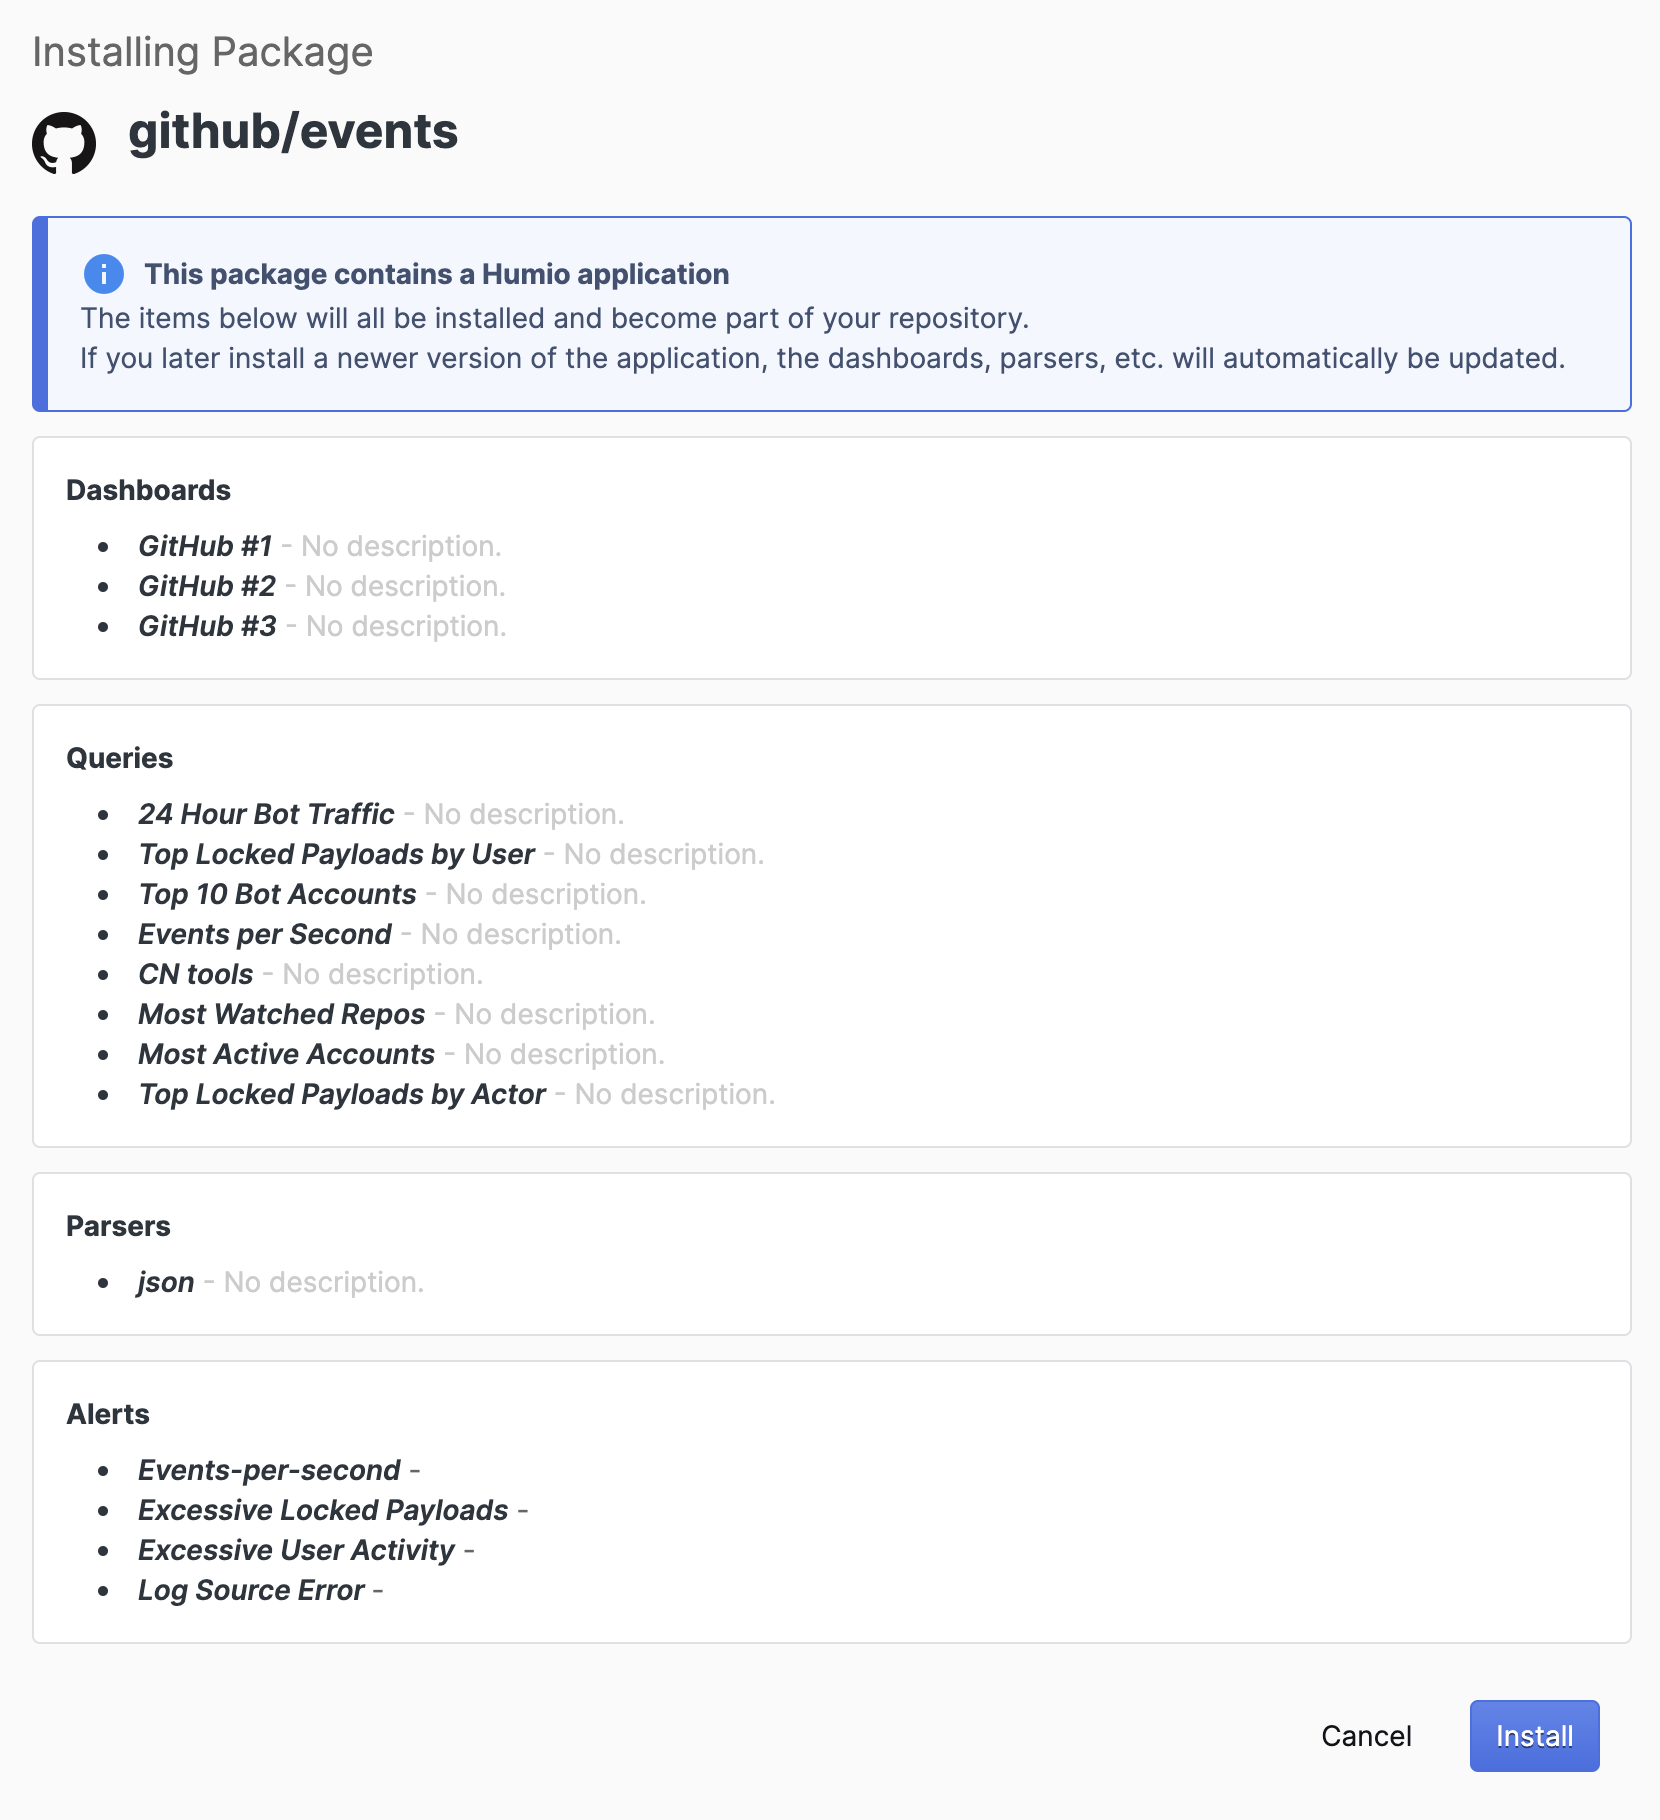
Figure 62. Installing Packages UI
Click the button to install the package. Click the button to return to the package summary.
Once the package has been installed, you will be taken to the Installed package list
Once you have installed a package, it will appear under the
Packages →
section of the
Settings tab.
If you installed a library, you will now be able to navigate to dashboards , saved queries, alerts and parsers and from there create a new component based on a template from that library.
If you installed an application you will also be able to create new components based on the components within the application in the same way as when you install a library.
When using a component, you will find a grouping in the lists of components with the name of the application and under that you will find these managed components. Application components are freely customizable, including deleting parts not required. However, care should be taken as deleting components may implications when Update Packages via UI as updating an application will re-install deleted components.
Update Packages via UI
Security Requirements and Controls
Change packagespermission
To update a package through the UI:
Go to the Packages section under the Settings tab in your repository or view.
You can either go to:
Marketplace. If a package update is available, an Update Available note will be shown next to the installed package in the list of available packages.
Installed packages.
Selec the package to show the Package summary; you will see a button. You can update a different version and not just the latest version available.
You will be presented with an update dialog that lists the components that will be updated or changed with this update.
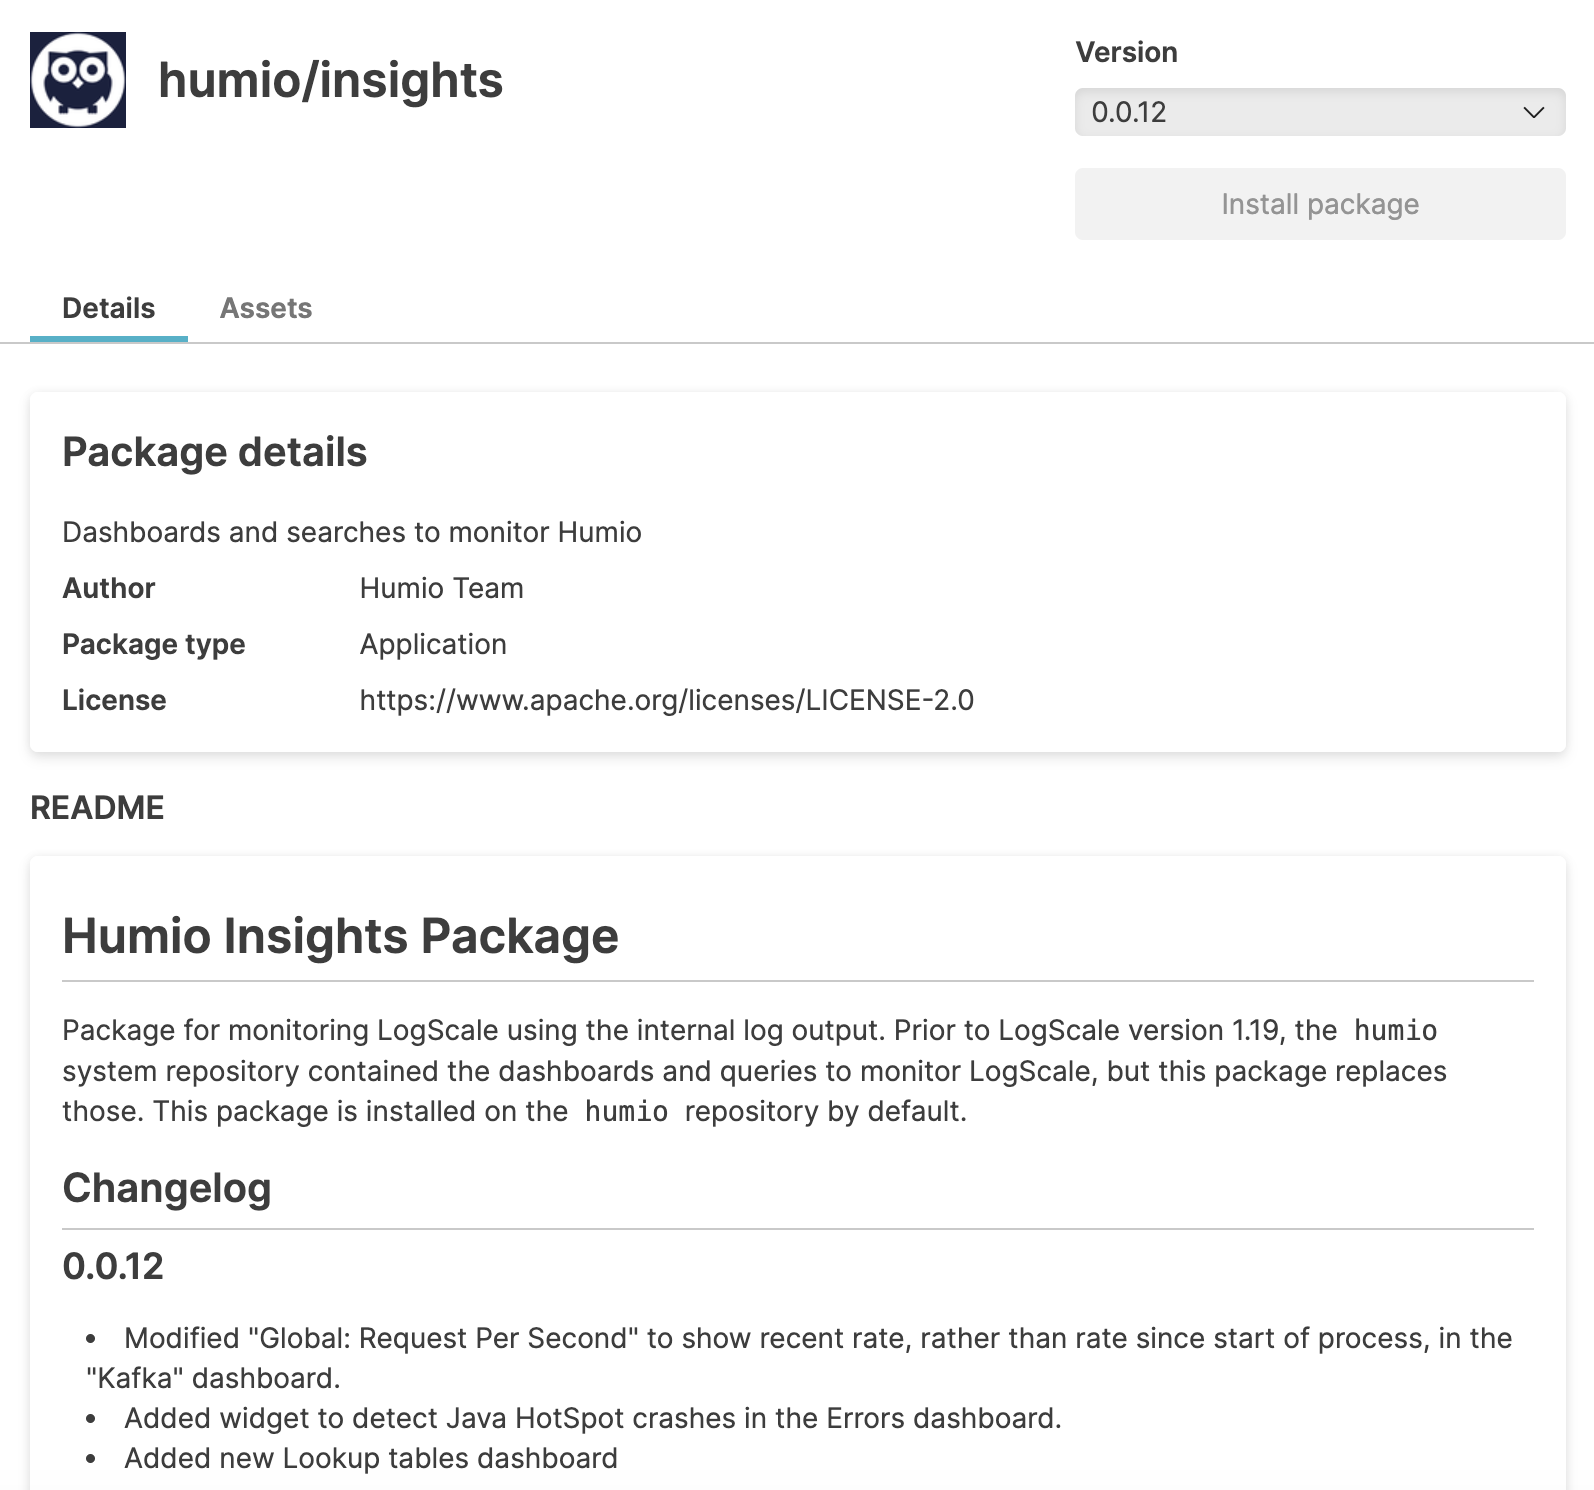
Figure 63. Updating Packages UI
To update click Update, this will take you through the update process. Once the update has been completed you will be sent to the Installed section of the Packages view.
In the case of libraries, the component templates from the package are updated. Templates that have been modified from the original package remain unchanged.
For applications, where component templates are materialized during installation and afterwards managed by LogScale, you may encounter conflicts during the upgrade process. Conflicts arise when you have made local changes to an application component prior to updating it. For example, if you installed an application with a dashboard and you've changed a widget of that dashboard , a conflict may occur when you update that application. In order to resolve conflict while updating an application LogScale supports a basic Use Ours/Theirs merging view that lets you choose what to do with each conflicting component, meaning you either keep the modified version or replace it completely with the new version.
If you are using the LogScale CLI you are able to entirely overwrite the installed package without handling update conflicts.
Uninstall a Package via UI
Security Requirements and Controls
Change packagespermission
If you want to uninstall a package you can do so through the UI or the CLI. Doing so will remove the components and templates previously installed by the package, even those that might currently be in use on your system.
To uninstall a package through the UI
Go to the Marketplace under the Settings tab in your view
Go to Installed packages list under the Settings tab
Choose the package you want to Uninstall
Click the button
You will be prompted that uninstalling the package will remove all components, including those you are currently using from your system. You will need to enter the full name of the package to confirm deletion.
Install a Package from a File
Security Requirements and Controls
Change packagespermissionChangePackagesAPI permission
To install a package from a Zip file that you have downloaded:
Go to the Marketplace under the Settings tab in your view
Go to Installed packages list under the Settings tab
Click the button.
You can either drag and drop a package from your machine, or use the file selector to navigate and choose a package Zip file from your local machine.
You will be presented with a summary of the components that will be installed when the package has been added to your system.
Click the button to install the package. Click the button to return to the package summary.
Once the package has been installed, you will be taken to the Installed package list
Once you have installed a package, it will appear under the
Packages →
section of the
Settings tab.
Update a Package from a File
Security Requirements and Controls
Change packagespermission
To update an existing package from a file:
Go to the under the
Settingstab in your viewGo to Installed packages list under the
SettingstabClick the button.
You can either drag and drop a package from your machine, or use the file selector to navigate and choose a package Zip file from your local machine.
You will be presented with an update dialog that will list the components that will be updated or changed with this update.
To update click Update, this will take you through the update process.
Once the update has been completed you will be sent to the Installed section of the Packages view.
Install a Package in CLI with humioctl
Security Requirements and Controls
ChangePackagesAPI permission
Installing packages this way will override any manual modification made in the UI. This is equivalent to a force push in git terminology. Any changes must be exported and placed in source control.
Let's install the package we just exported and unzipped:
humioctl packages install /path/to/my/packages/root/Alternatively, if you're maintaining your package on Github you can install from the Github URL,
humioctl packages install https://github.com/myorg/my-package/Or you can point directly to the zip file you just created:
humioctl packages install /path/to/my/package.zipFor additional options, use humioctl packages install --help
Uninstall a Package using the CLI
Security Requirements and Controls
ChangePackagesAPI permission
To uninstall a package using the CLI, you must quote the package name:
humioctl packages uninstall github/eventsInstall a Package from a Zip File using GraphQL
You can install a previously downloaded package directly into LogScale using the installPackageFromZip() GraphQL mutation.
To do this, you must specify the name of the file on the command-line using curl you will need to specify a multi-part form entry, one part consisting of the mutation and the other the name of the file of the package to bee installed. For example:
$ curl --location 'https://$YOUR_LOGSCALE_URL/graphql' \
--header 'Authorization: Bearer XXXXXXXXXXXXXX\
--header 'accept: application/json, multipart/mixed' \
--form 'file=@"package.zip"' \
--form 'json="{\"query\":\"mutation {installPackageFromZip(viewName: \\\"Package_Testing\\\",overwrite: true) {wasSuccessful}}\"}";type=application/json'
When completed successfully you will get the success message back:
{
  "data": {
    "installPackageFromZip": {
      "wasSuccessful": true
    }
  }
}