
Manage Groups
Security Requirements and Controls
Manage userspermission
LogScale's group management system enables organizations to efficiently control user permissions by creating and managing groups of users with specific access levels and roles across repositories and views. Organizations can create new groups, assign permissions, manage user memberships either directly or through external system synchronization, and modify group roles as needed, with the requirement that users must have the "Manage Users" permission or be root users to perform these administrative tasks.
Assigning permissions to individual users in larger organizations can be a cumbersome task. LogScale allows you to create groups and either manage user memberships directly in LogScale or by synchronizing with an external system.
Either way you need to create groups in LogScale first.
Then you need your group to have users and permissions assigned to it. Any
user who is assigned the Change user access permission can assign permissions to groups for a
repository.
Note
You need to be a root user or have the
Manage Users on
self-hosted installations to create groups and assign them users and
permissions.
Note
If you intend on administering access to repositories and views
centrally by an organization owner or root only be sure not to give out
the Change user access
permission to anyone. In practice this means removing the permission
from all roles thus not allowing any users to go to a repository or view
and add another user or group directly.
Create New Groups
Click on the user menu icon in the upper right corner and select then Users and permissions → on the left.
Click to create a new group.
Enter a group name, such as "Operations", and select the permission levels your new group should belong to (see all types described at Permission Levels), then click :
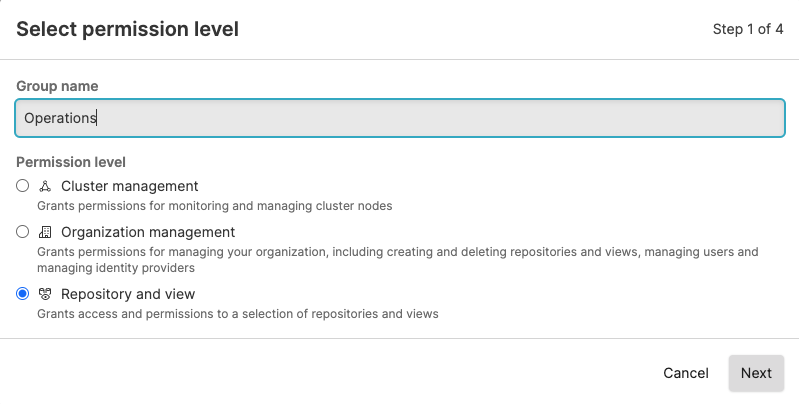
Figure 104. Creating Groups
For the Repository and view level, choose whether the group should apply a role to a selection of repositories and views or to all current and future repositories and views: select the preferred repositories or views and click
Select a role for the new group e.g. Admin, then click , you now have an empty group with no users assigned but the Admin role is given to all the selected repositories or views:
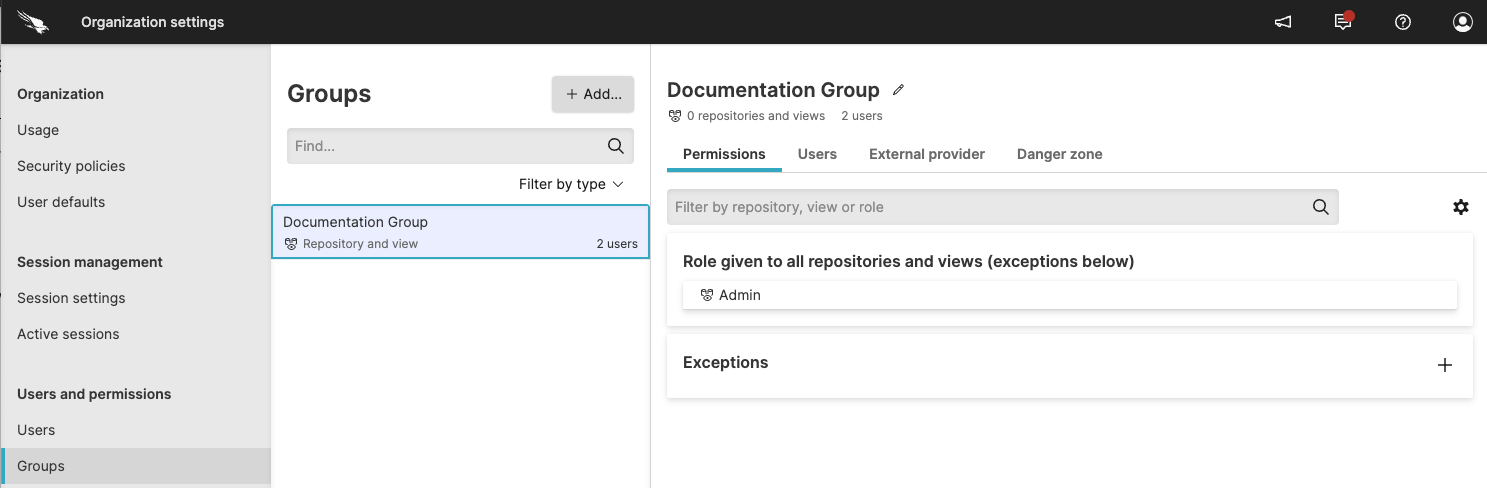
Figure 105. New Group Created
Afterwards the added users will be in the
Userslist.If you have a few repositories that need to be treated differently, click Exceptions to apply different permissions to selected repositories.
Note
Only users who have accepted the email invitation and completed the first log-in process can be added to a group.
Change Roles
You can modify the role assigned to a group — that is, its set of permissions — at your convenience.
Go to Users and permissions →
Groupsand select your group from the list of available groups. You can search if the one you are looking for is not immediately visible in the list, or filter by type.Click the Permissions tab of the selected group and click .
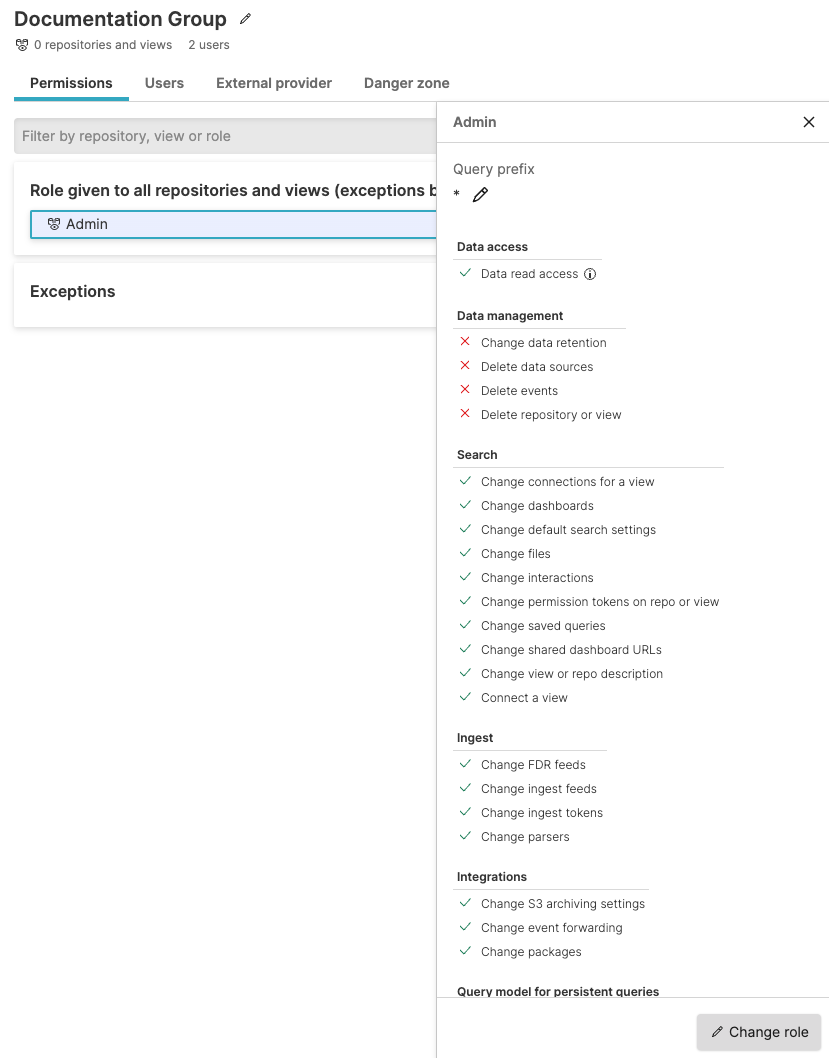
Figure 109. Changing Permissions to Groups
In the dialog popping up, click Apply role, this will update the default role for the entire group.
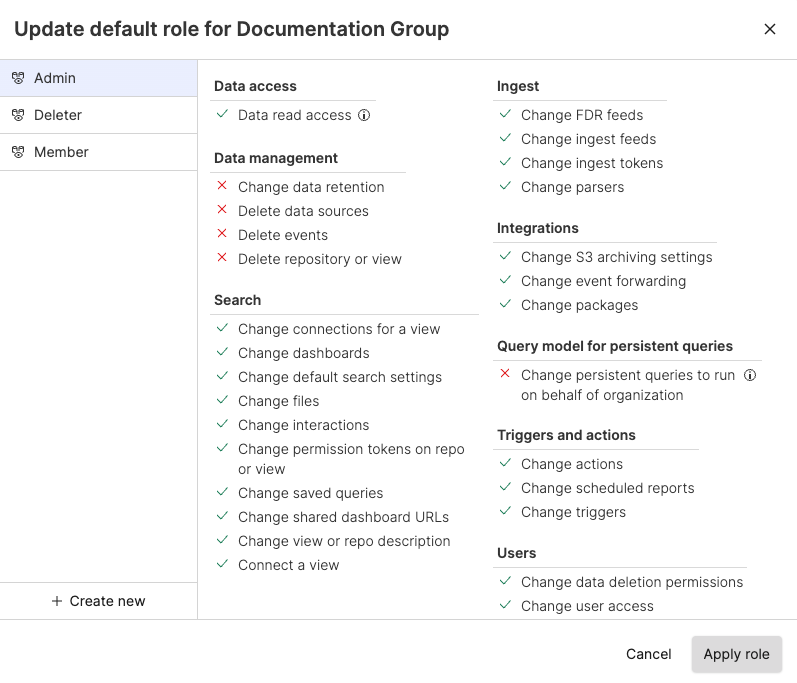
Figure 110. Apply Roles to Groups
To assign a group to a role through your own application, use the assignRoleToGroup() mutation of the GraphQL API. To unassigned a roll from a group, use unassignRoleFromGroup().