

Azure Active Directory
Security Requirements and Controls
Change identity providerspermission
Azure Active Directory is Microsoft's enterprise cloud-based identity and access management (IAM) solution. It can be used to access your LogScale repositories. Microsoft365 also uses this interface, for more information see Microsoft 365 E-mail Package.
Important
For Cloud customers, please gather the information on Authentication & Identity Providers, and contact Support, and they can work with you to setup your chosen IdP service.
Integrating Azure AD with LogScale
To integrate Azure AD with LogScale, three main operations are required:
Create Azure application
Set up LogScale IDP configuration
Set up group mapping (optional).
Step 1 — Create Azure application
Sign in to the Azure portal and choose the Azure Active Directory card:
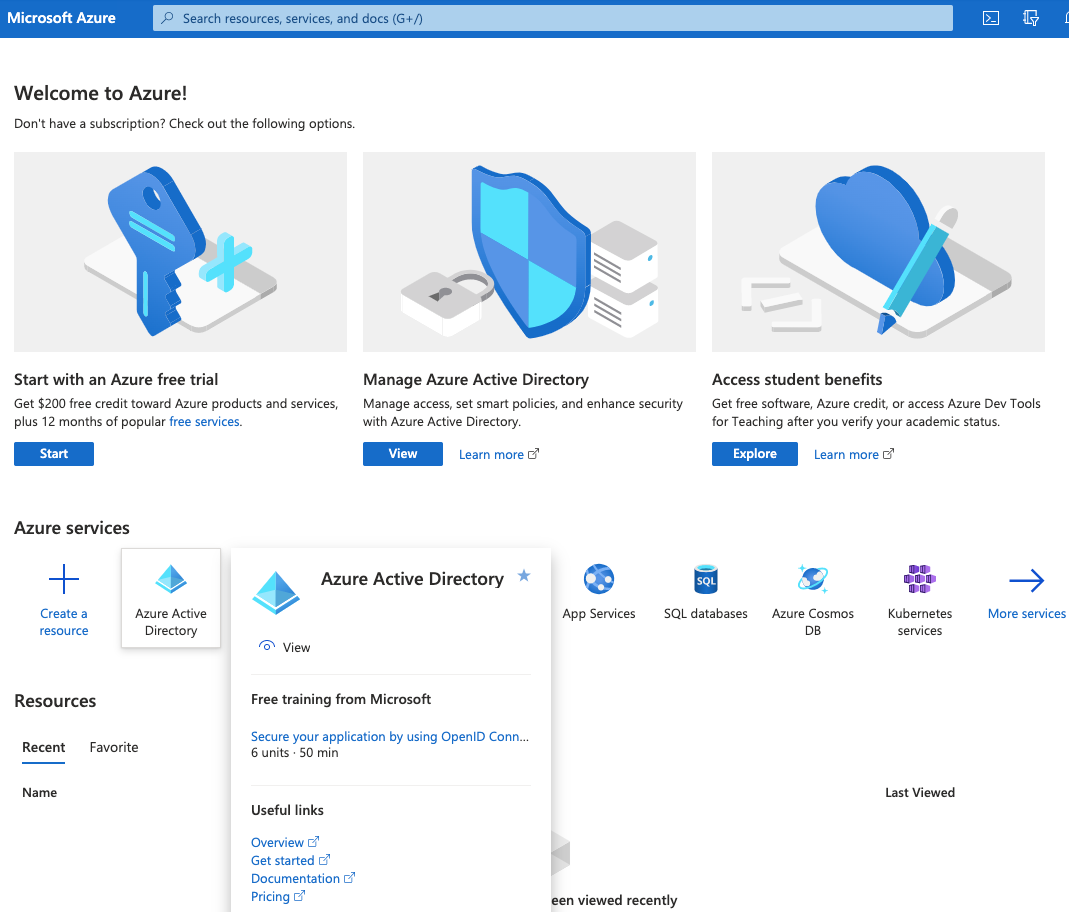
Figure 28. Azure Active Directory
Open Groups and click : here you create the groups that will be added later in LogScale for synchronization. For example, you can create a logscale_admin group.
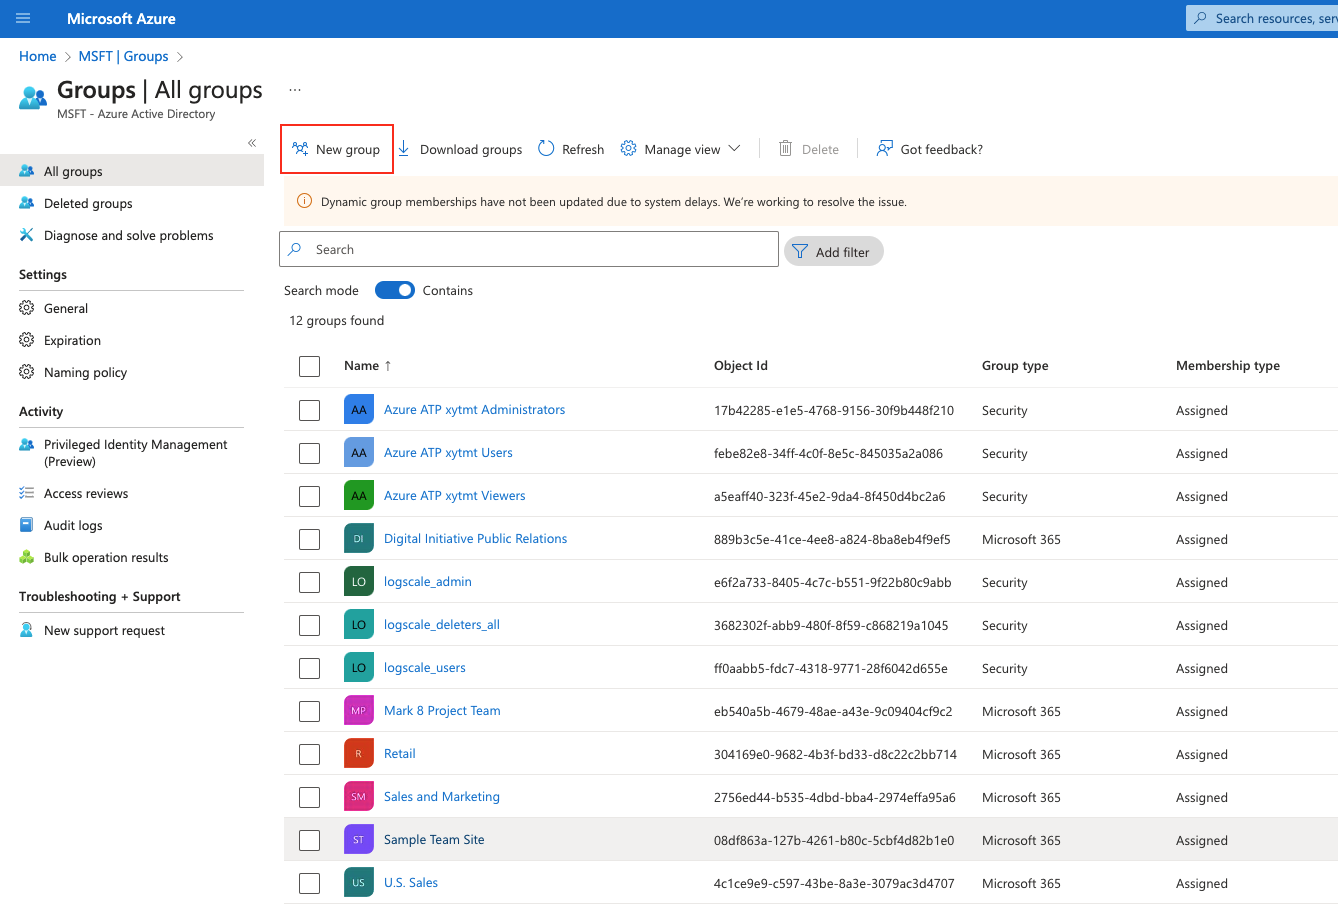
Figure 29. Groups in Azure AD
Open Enterprise Applications and click :
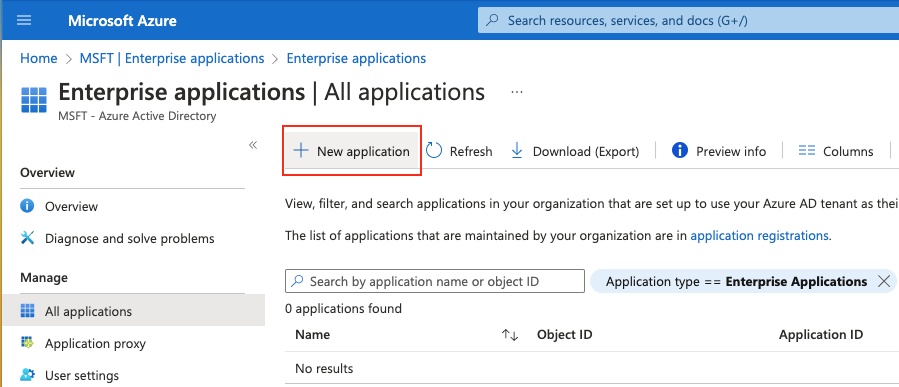
Figure 30. Enterprise Applications in Azure AD
From the Browse Azure AD Gallery page:
Click
Enter a name for the app, e.g., logscale_idp
Choose Integrate any other application you don't find in the gallery option
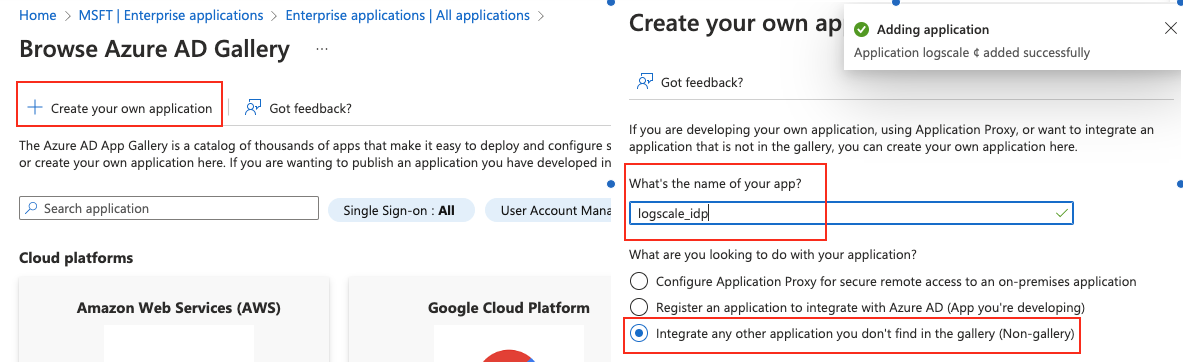
Figure 31. Create your application in Azure
Click : your application is now added successfully.
Step 2 — Set up LogScale IDP configuration
In the new application page, click Single sign on and then choose SAML as your single sign-on method:
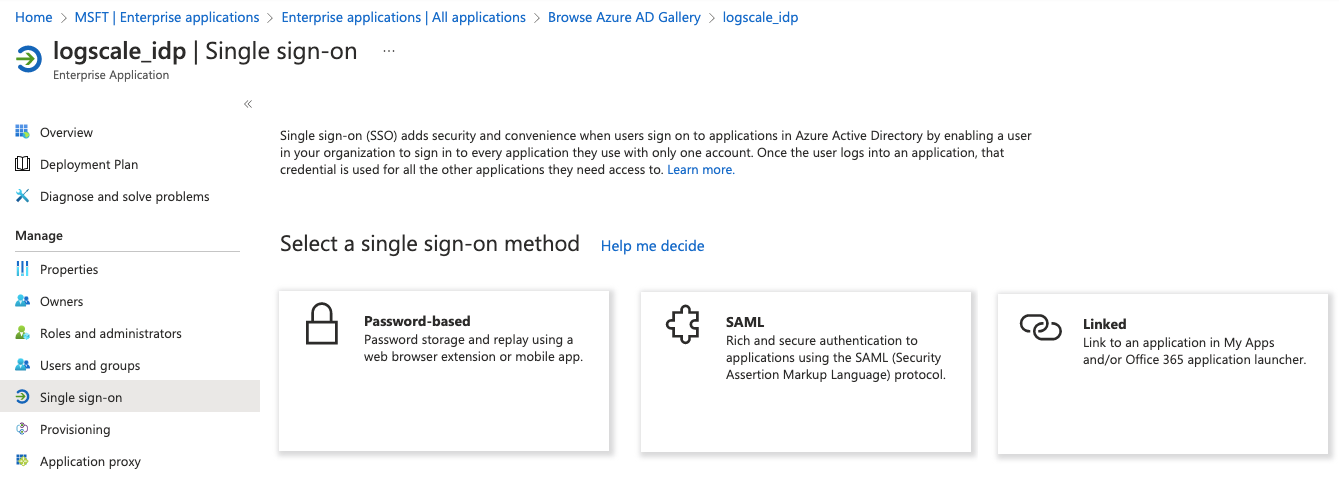
Figure 32. Select SAML single sign-on
In the Basic SAML Configuration window:
Set Identifier (Entity ID) to
$YOUR_LOGSCALE_URL/api/v1/saml/metadataSet Reply URL to
$YOUR_LOGSCALE_URL/api/v1/saml/acsSet Sign on URL if you want to perform identity provider-initiated single sign-on.
PopulateRelay State with an integration URL to instruct the application where to redirect users after authentication e.g. the URL to a specific location within the application.
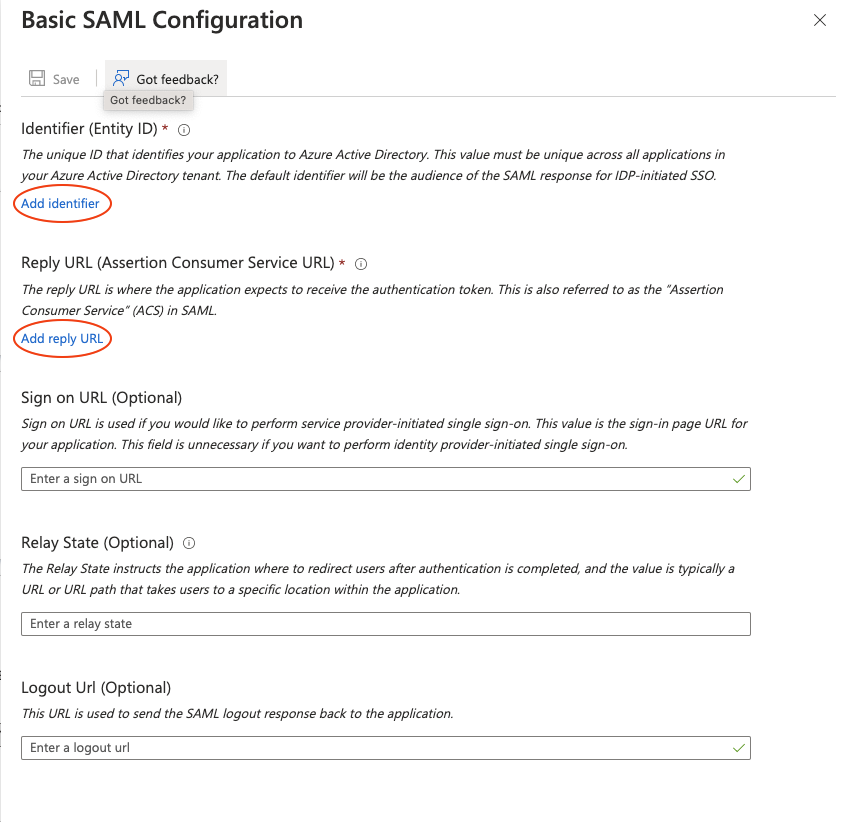
Figure 33. Basic SAML Configuration settings
In the SAML-based Sign-on page of your newly created application, copy Login URL, Azure ID Identifier and the text of the Certificate (Base 64) and note them down, as you will need to copy them later in LogScale.
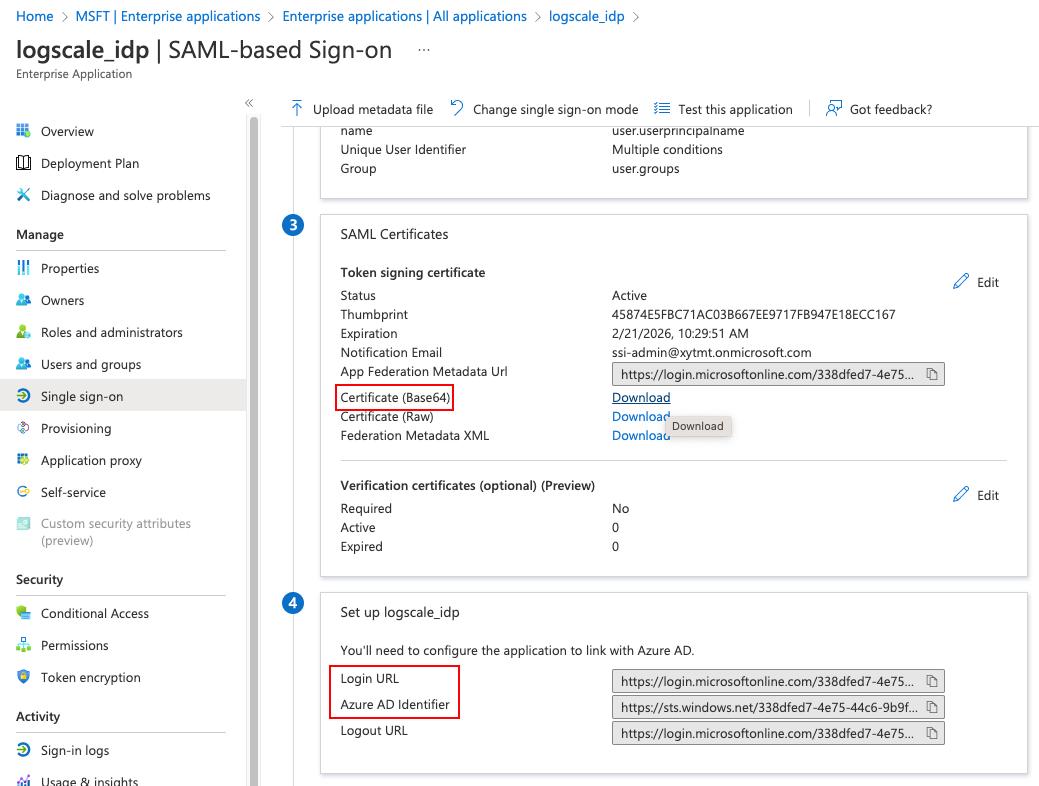
Figure 34. SAML-based Sign-on information
Step 3 — Set up group mapping (optional)
Click and select which groups you want to be associated with the users e.g., Security Groups:
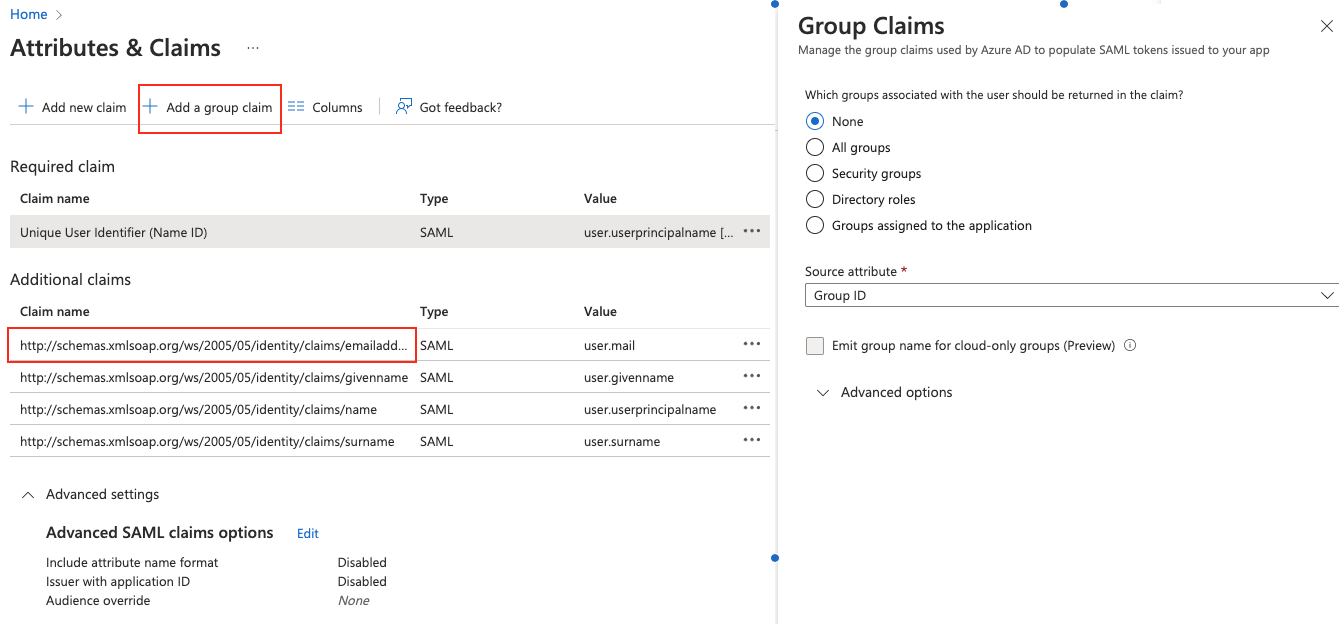
Figure 35. Add a group claim
From this same page:
Click the first claim Unique User Identifier to assign users to LogScale on the IDP side.
Copy and note down the
http://schemas.xmlsoap.org/ws/2005/05/identity/claims/emailaddressclaim as you will need it later to synchronize your group in LogScale.
In the Manage claim window, ensure that Name identifier format and Source are set as in figure below:
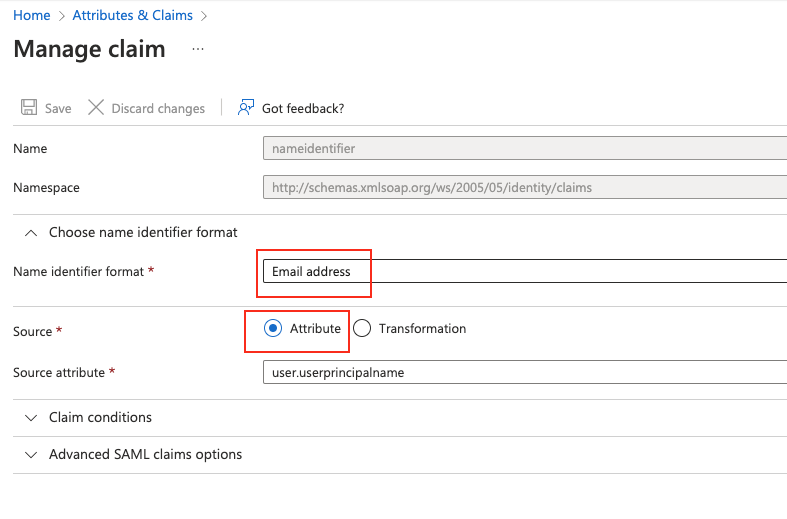
Figure 36. Manage claim
Still in the Manage claim window, click under Scoped Groups to select the new group and assign user type (e.g. Members, Admin) and as the value:
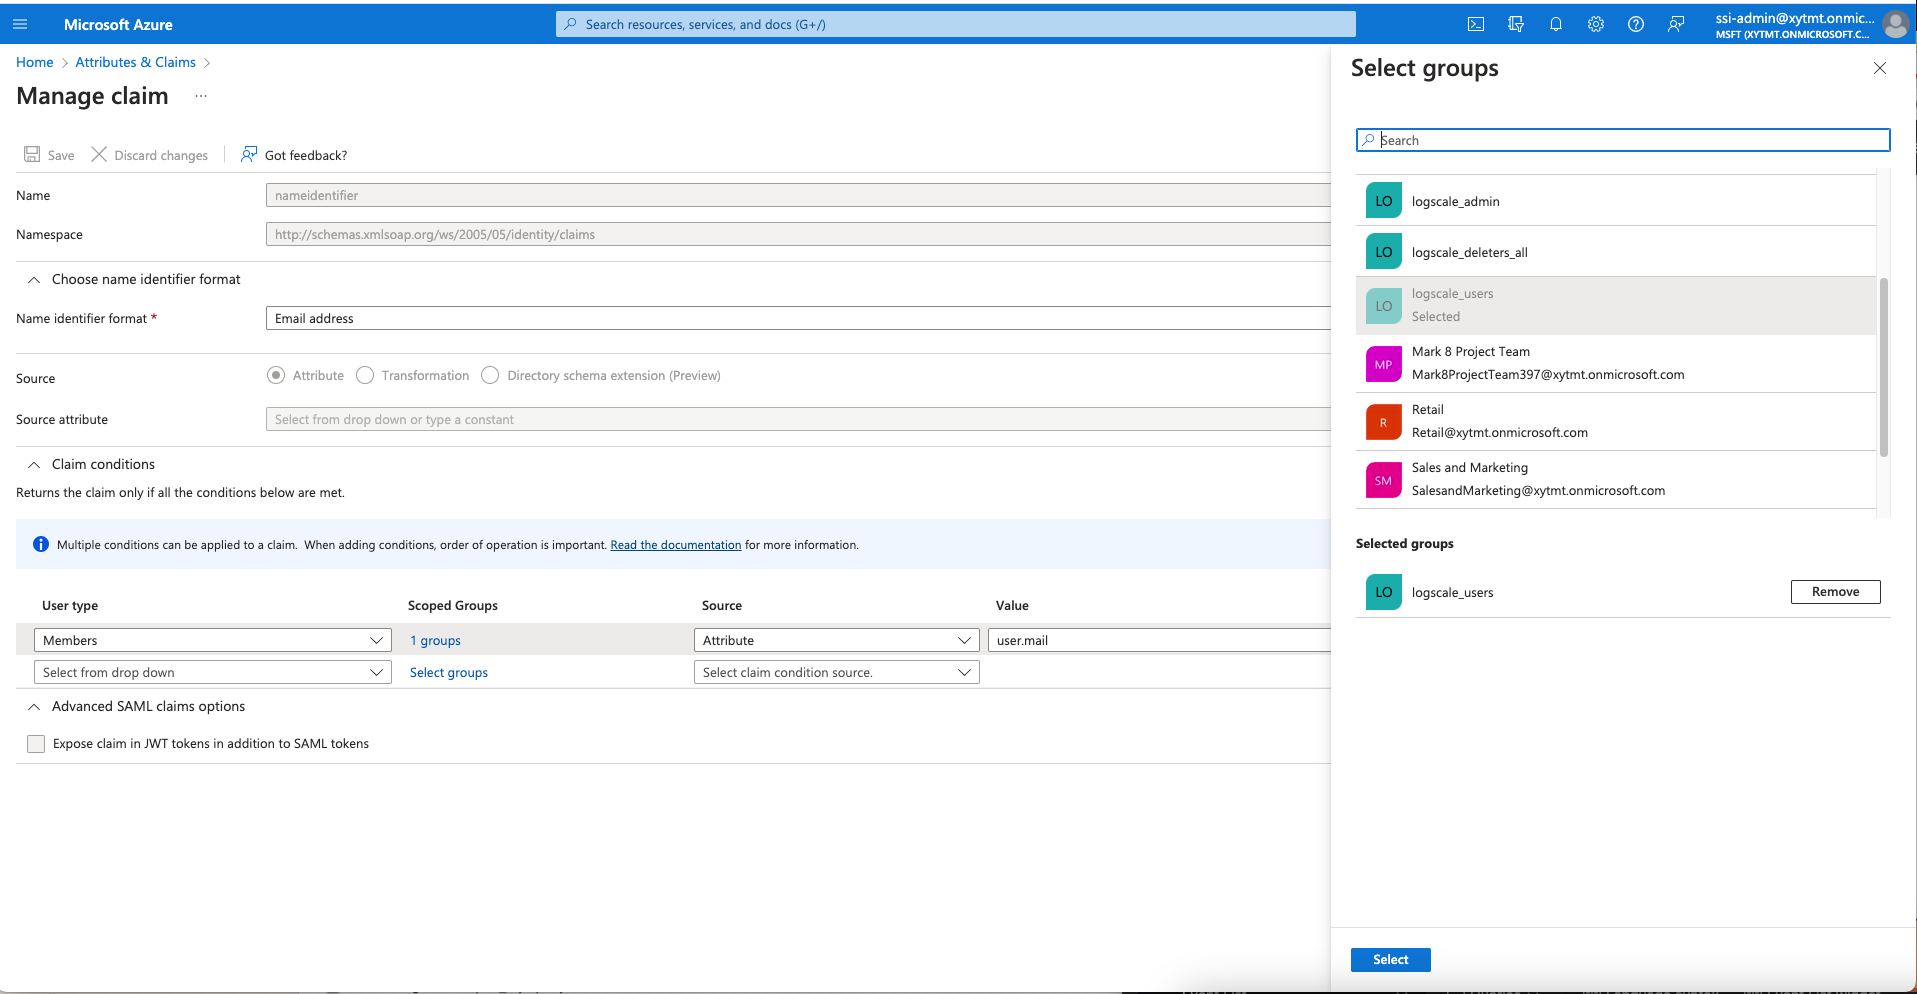
Figure 37. Add user types to group
Configuring LogScale to use Azure AD
You finished configuring Azure AD to work with LogScale. Next step is having LogScale configured to work with Azure AD: for that, you need to contact Support and submit a ticket, and they will take care of this configuration for you.
See also Configure LogScale SAML for Cloud for more information on what you need to supply to Support.
Group Synchronization
After LogScale has been configured to use Azure AD (see previous section), you need to align the Azure AD groups' Object ID in LogScale.
Go back to Azure AD and from your group's page, copy the Object ID:
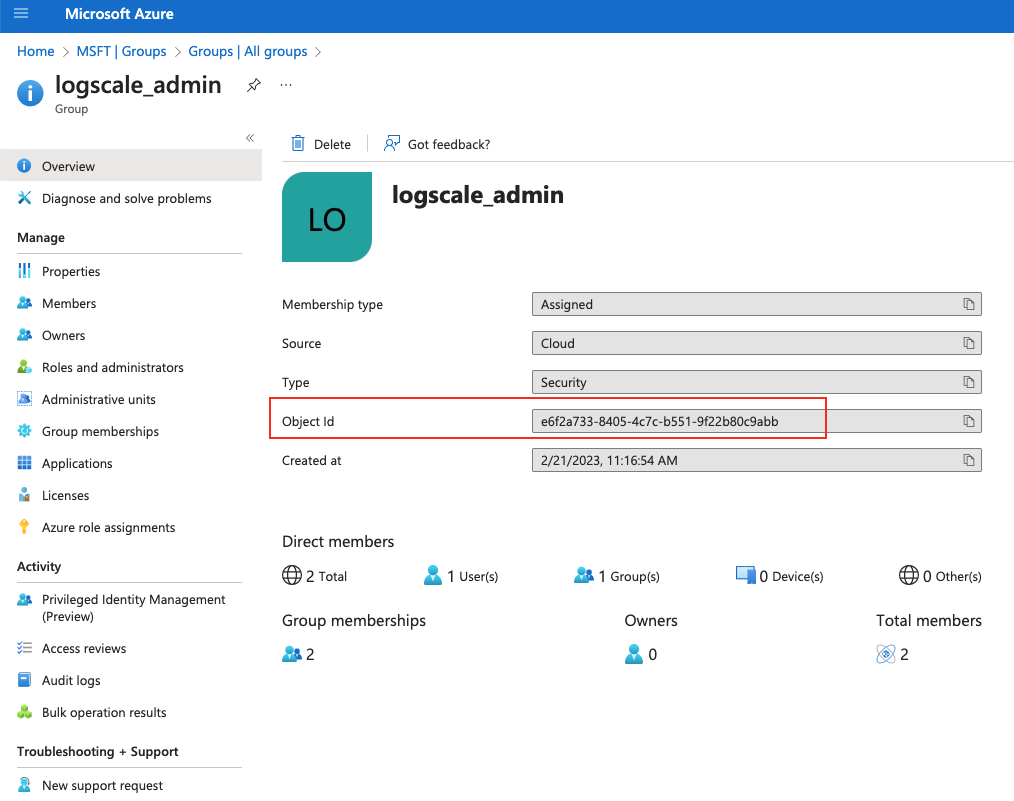
Figure 38. Copy Object ID from Azure AD
In LogScale, first create the group manually (provide a name that is similar to the group name set in Azure AD) and then paste the Object ID into the Mapping Name field, under the External provider tab:
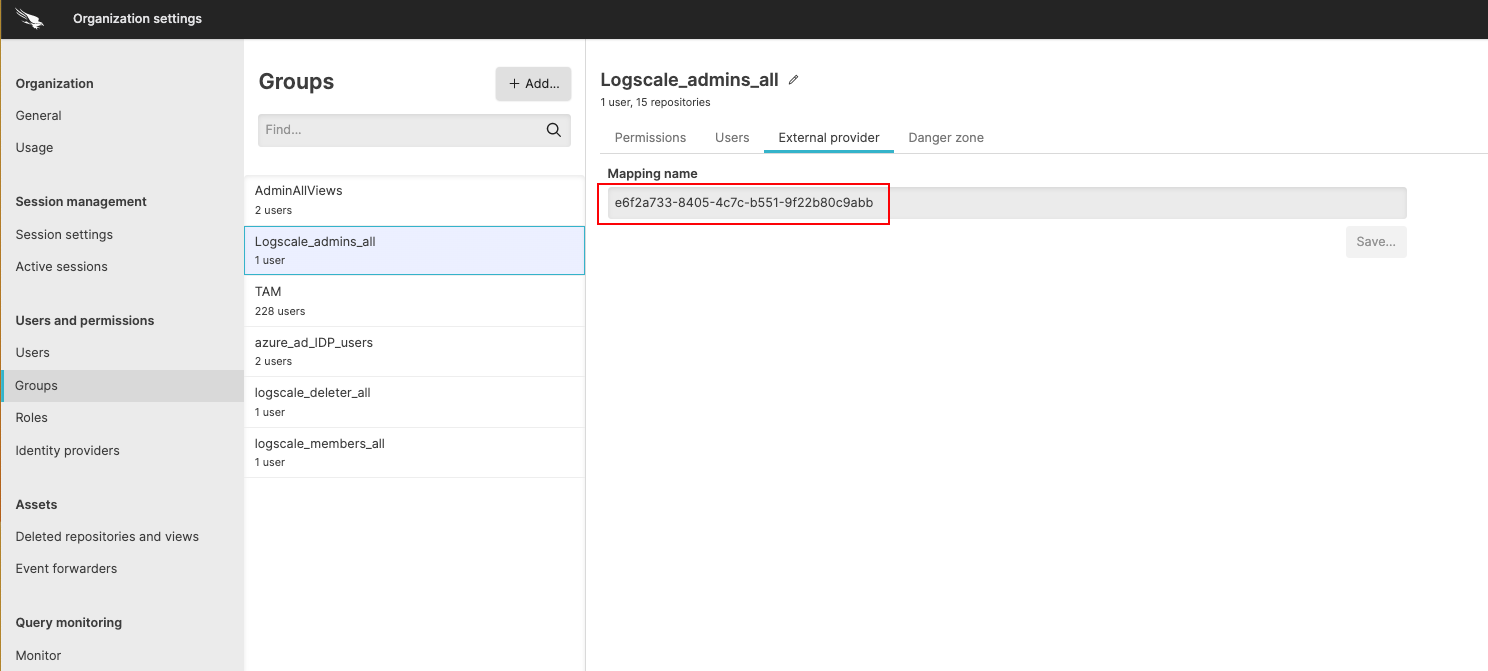
Figure 39. Mapping Name
Refer to Azure portal for more information on SAML 2.0 integration.
To use SAML with LogScale Cloud, go to the Authentication & Identity Providers documentation page.
See the Azure Active Directory Documentation for more information on Azure AD.