
Lookup Files
Security Requirements and Controls
Data read accesspermission
Lookup files are used to add additional context to data, enabling you to attach or replace fields from events recorded in a repository when searched. Lookup files can also be used to filter data by calling the lookup file in a query function.
To add a lookup file, create or import a CSV (comma-separated value) or JSON
file and upload it to the repository or view.
An overview table allows for searching and
filtering to easily find and manage the available
files.The Lookup
files page allows for searching to easily find and manage
lookup files.
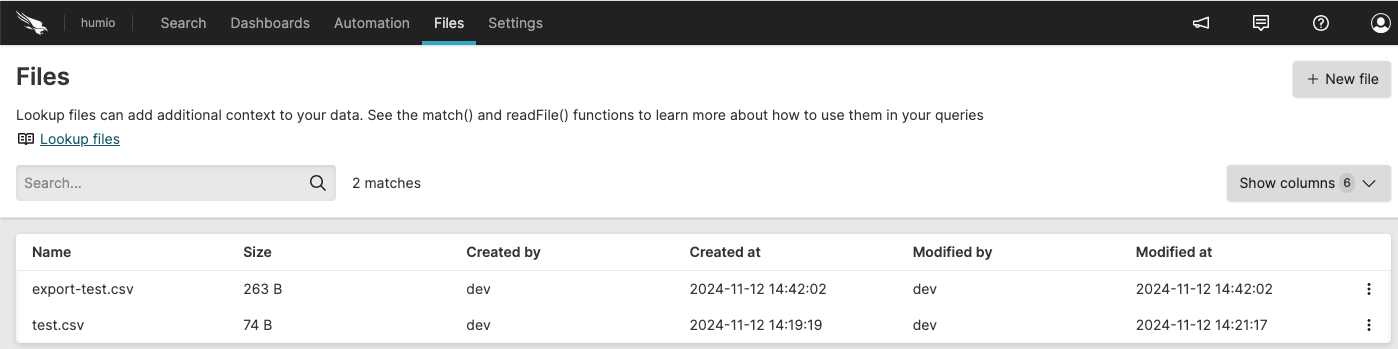 |
Figure 48. Files View
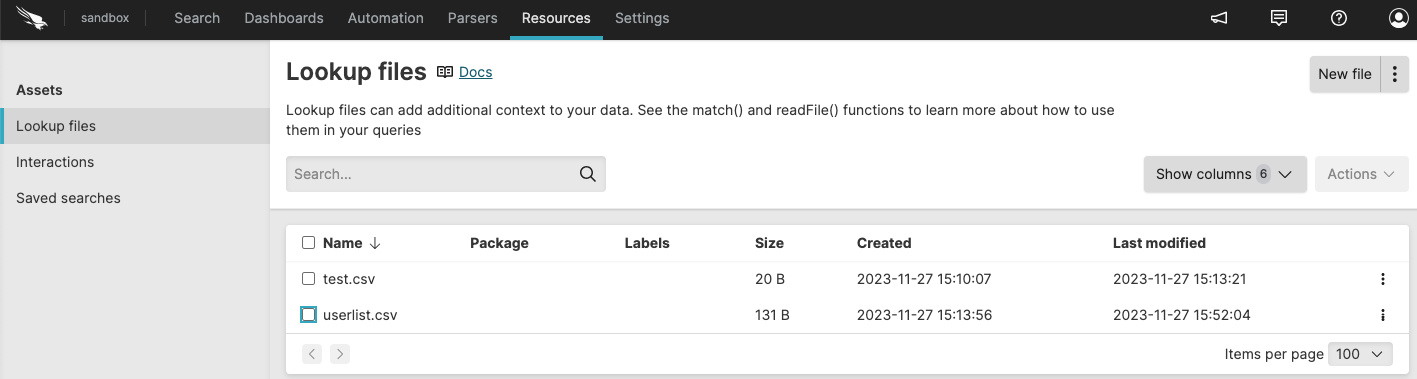 |
Figure 49. Lookup Files Interface
The files can be used together with query functions to provide lookups and
matching using the match() function.
The feature also works with the readFile() function for
reading a file which is used as data input for your query.
For information on the different lookup file formats that can be used, see Supported File Types and Formats.
Once uploaded, files are synchronized across all the nodes within the cluster. Depending on the size of the file, and what queries may be being executed, there may be a delay before the updated file is available to queries.
The following operations are available:
Create a Lookup File — by either creating a new file or uploading an external file
Manage Lookup Files — such as update or delete files
Lookup Files Operations with match() — how lookup files interact with the rest of the system when using
match()