Manage Lookup Files
You can manage all available lookup files in your repository from the web interface.
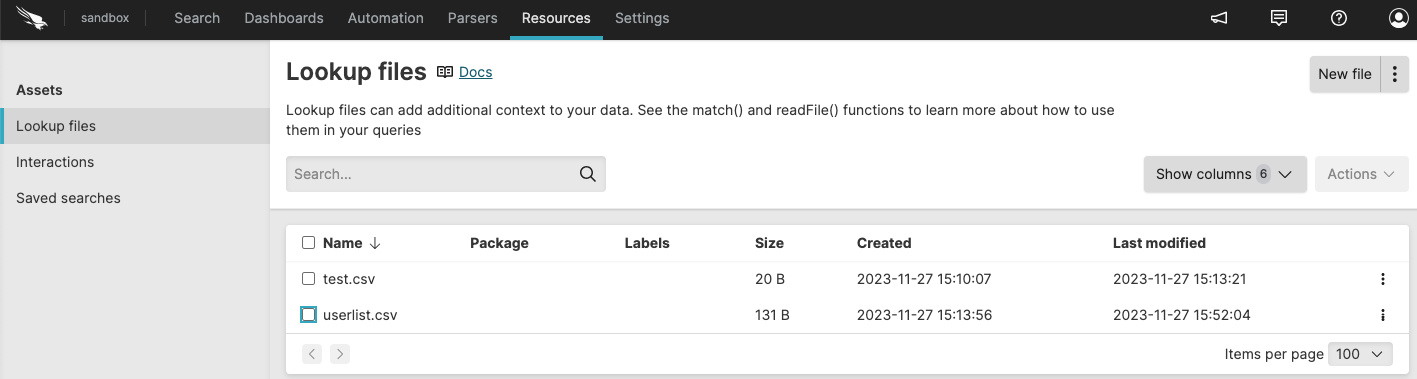 |
Figure 57. Lookup Files Interface
From the table you can:
Update lookup files
Security Requirements and Controls
Update Filespermission
Sometimes it's necessary to update the content of lookup files. If you are running a trigger with a lookup file action, you can configure the action to update the file automatically based on the results of the trigger.
If you are not updating the lookup file automatically with a trigger as described above, the following methods are available to update lookup files:
Update the lookup file from the menu → :
Click on the file to update
Update the file as needed: add or remove columns and rows, update contents, and so on.
Click
Update the lookup file externally and upload it to LogScale. To do this, export the lookup file and open it in another tool, make the necessary changes, and upload the file again.
Note
If you want the lookup file to be updated, appended, or overwritten by a query in a scheduled search, you must select the lookup file in an action attached to the scheduled search and choose the desired behavior when the query runs. For more information, see Action Type: Upload File.
Export lookup files
Security Requirements and Controls
Update Filespermission
You can export lookup files from LogScale, for example to augment content in third-party tools where it is easier to manipulate large amounts of data.
To export a file, click the ⋮ menu in the file row → select :
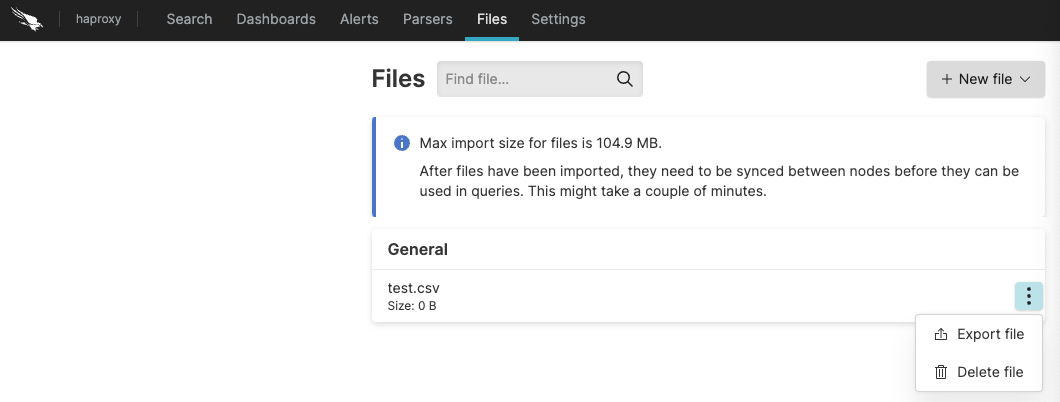 |
Figure 58. Exporting individual lookup files
You can also export the lookup file when the file is open by clicking :
You can also export the lookup file when the file is open by clicking :
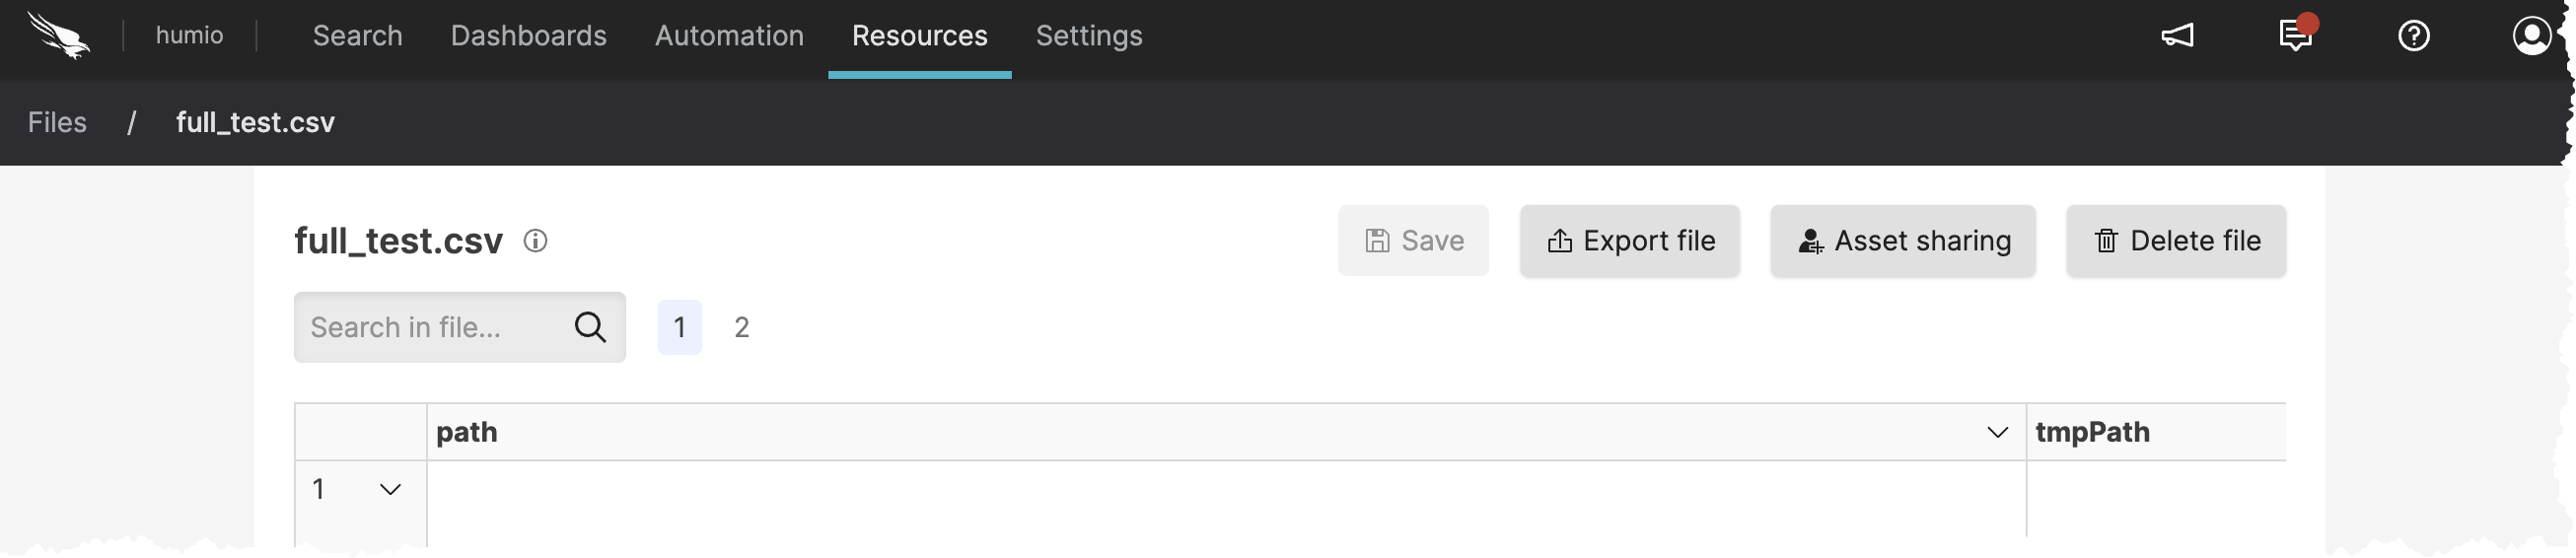 |
Figure 59. Export file
Delete a lookup file
Security Requirements and Controls
Delete Filespermission
Warning
Deleting a file that is actively used by live queries will stop those queries.
To delete a file click the ⋮ menu icon next to a file in the files' overview table.
You can also delete the lookup file when the file is open by clicking .
You can also delete the lookup file when the file is open by clicking .
|
Figure 60. Delete file
Assign permissions for lookup files
Security Requirements and Controls
Change user accesspermission
Sometimes you might want to collaborate with another user on a file, but that user does not have permission to files in the view. If you have permissions to do so, you can grant permissions to that user to edit and delete a particular file in a view. For more information about asset permissions, see Asset permissions.
If you do not have
Change user access
permission on the repository, you will see a list of users only (no
groups) that already have at least Read permissions on the repository.
You can select from these users and give them more permissions (up to
the same permissions you have).
To grant access to edit or delete a file to another user or group:
The creator of an asset and regular users can share the same permissions that they have to the asset with users who already have read access to the view. You cannot share access with users who do not have read access to the view. You cannot share access with groups at all.
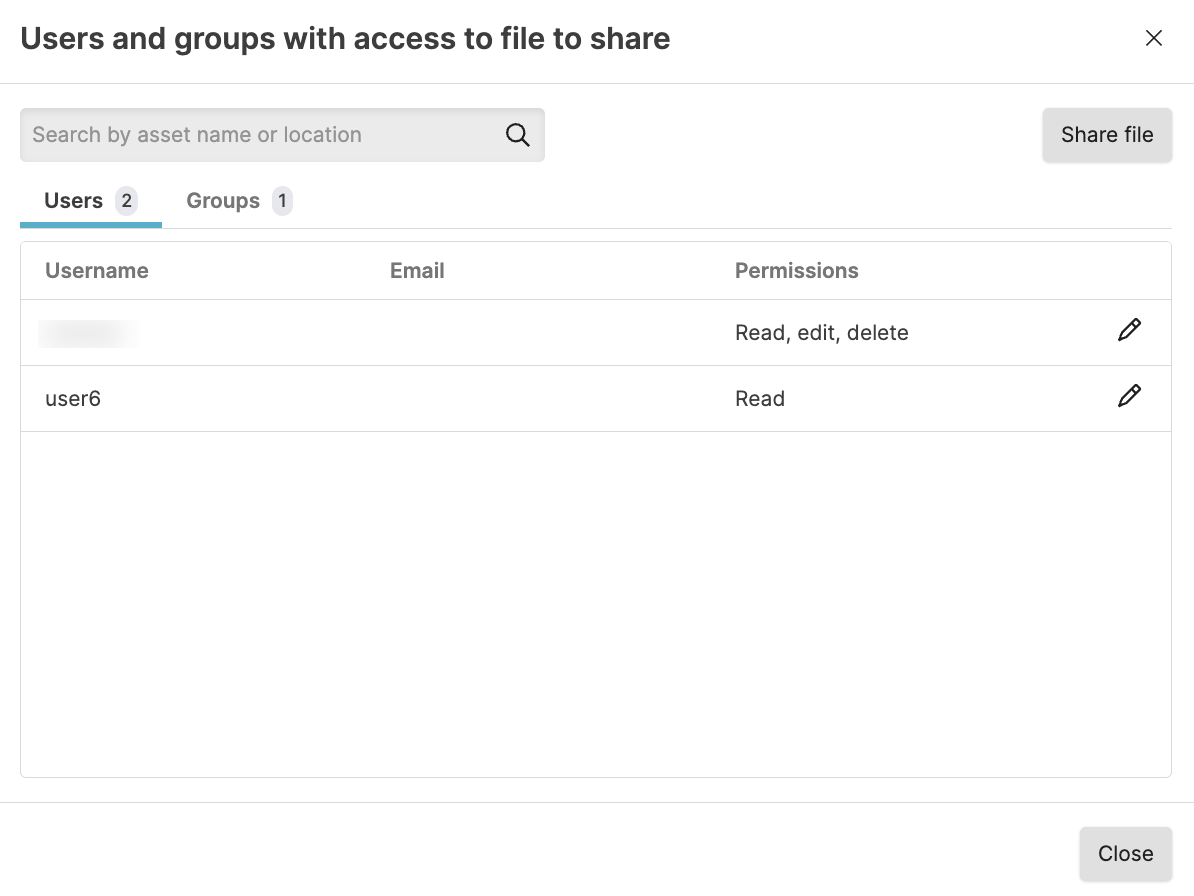
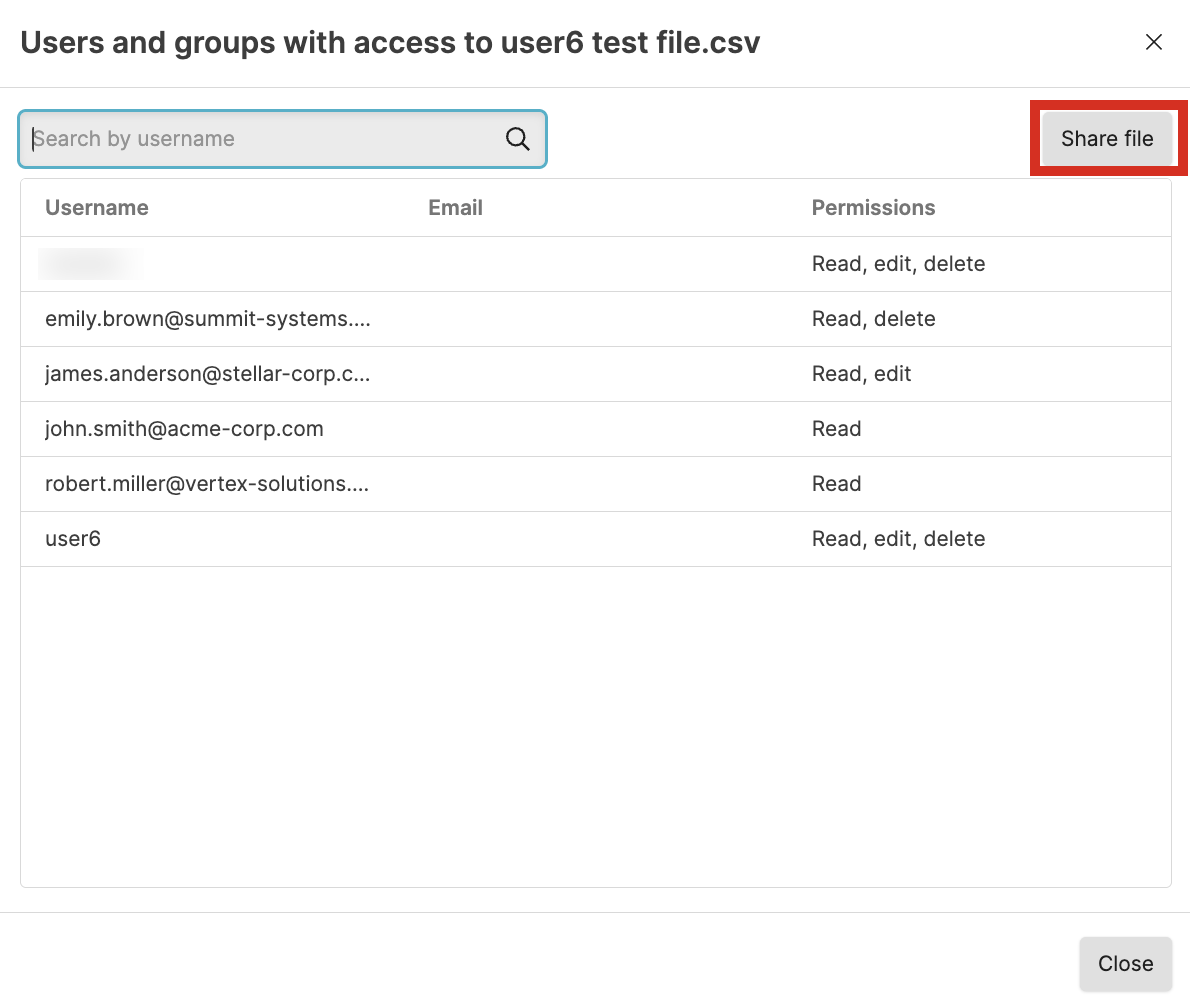
Click ⋮ next to the file you want to share and select .
In the Users and groups with access window you see users who currently have access to the file and what access they have.
Click .
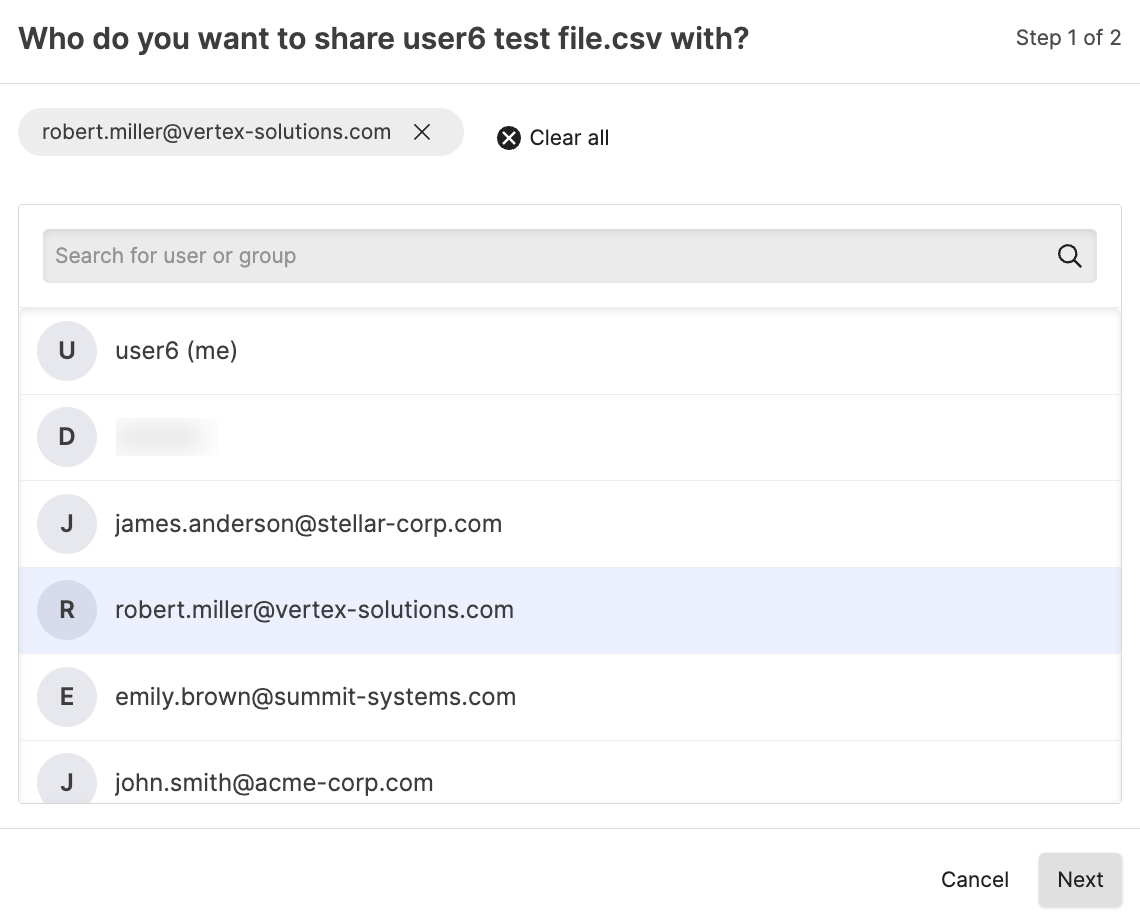
Click to select the user to get additional permissions. Note that you can only see users who already have read permission to the view. Click .
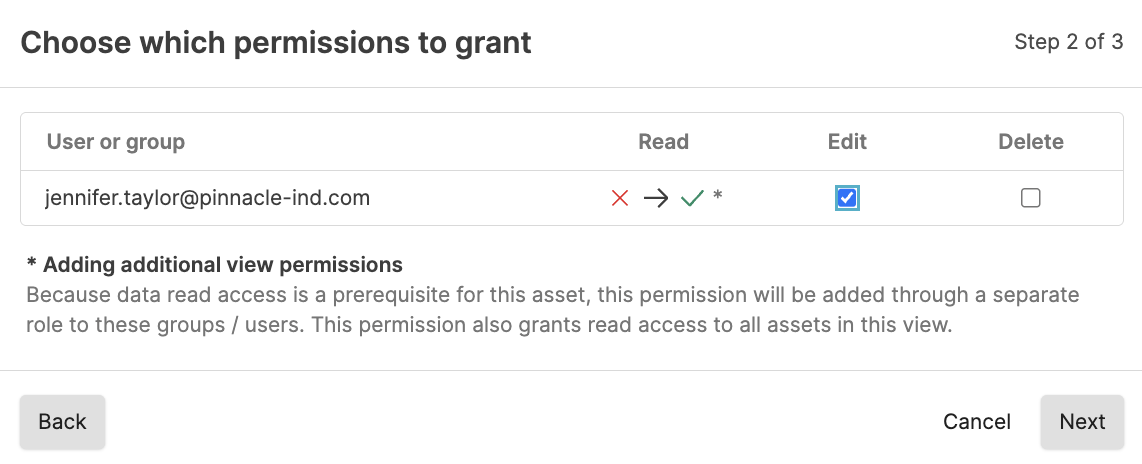
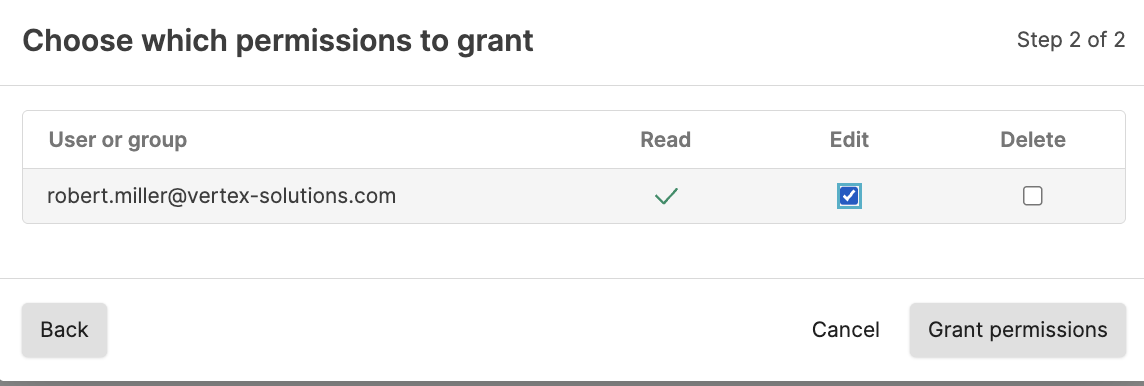
Select the appropriate permissions to assign the permissions. You can only grant up to the same permissions you have. Click .
With
Change user accesspermission, you can grant permission to users, including read permission if the user does not have that, and permissions that you do not have yourself. You can also see groups and group members and what permissions they have in the Groups tab, but you cannot change the permissions for the group in the Groups tab. To be able to change the permissions directly from the group tab, you must haveChange organization permissionspermission.To grant additional permissions to a user that already has read access to the view:
Click ⋮ next to the file you want to share and select .
In the Users and groups with access window you see users and groups who currently have access to the file and what access they have.
Click the button next to the user in the list.
Click to assign the permissions. Click .
Click .
If you have the
Change user accesspermission and you want to share permissions to the file with a user or group not in the list, or you want to give a group that is in the list additional permissions:
Click .
Click to select the group or user who should get additional permissions. Click .
Select the appropriate permissions to assign. Be aware of the message that the user or group gets Read access to all assets in the repository automatically when assigning asset permissions for one asset in the repository. Click .
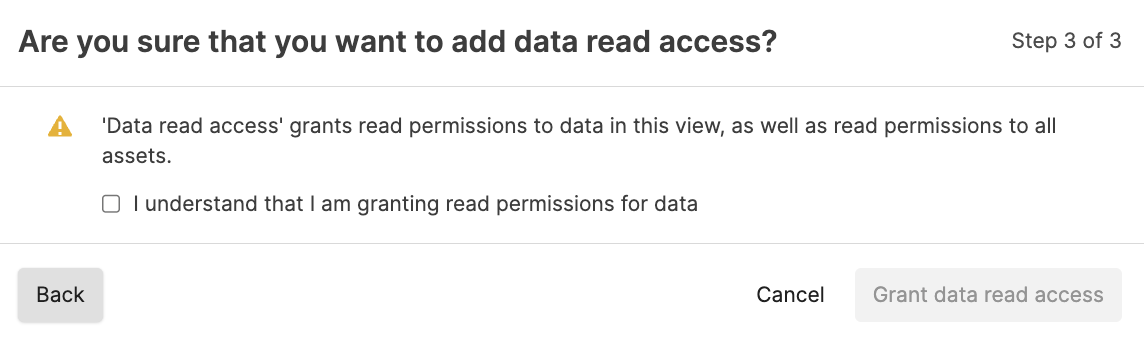
Confirm that you understand that you are granting Read access to all assets in the repository by adding the asset permission for the user or group. Click .
Click .