Creating Scheduled Reports
Security Requirements and Controls
Change scheduled reportpermission
There are two ways to create a new Scheduled PDF Report:
To configure a new report:
Step 1 of 5
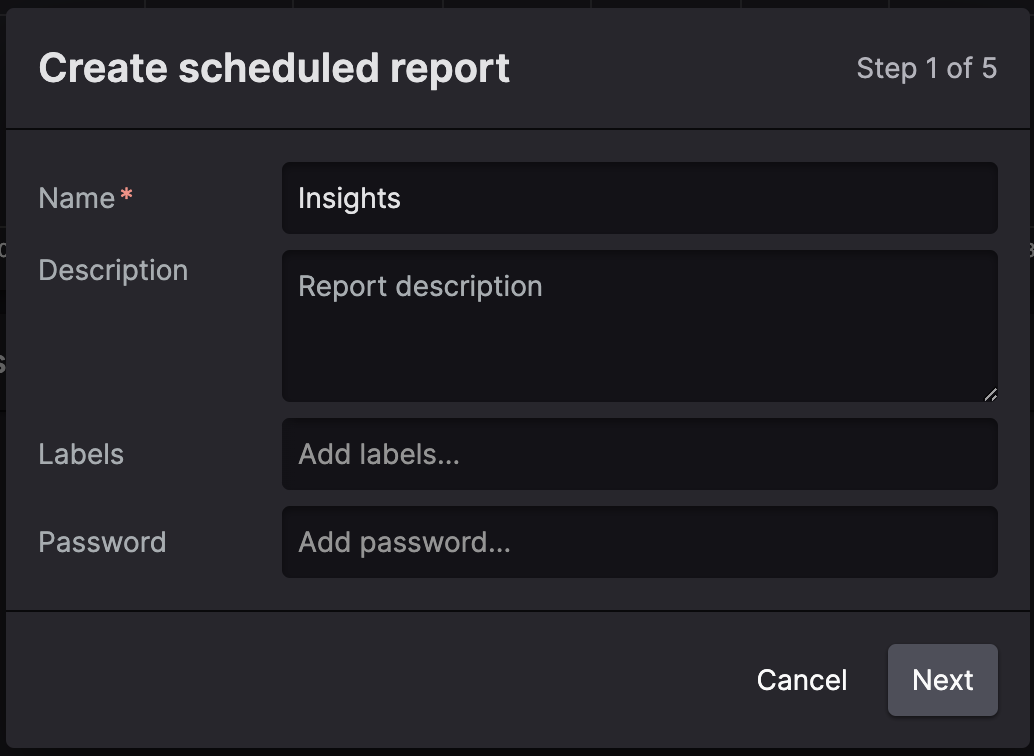
Fill in the fields as required: Name will be used as a title in your PDF report. An optional Description can be used for additional information for report receivers. Optional Labels allow for easier categorization of reports.
A password can be added to the generated PDF file so that the configured password is required to open the PDF file.
Click to continue.
Step 2 of 5
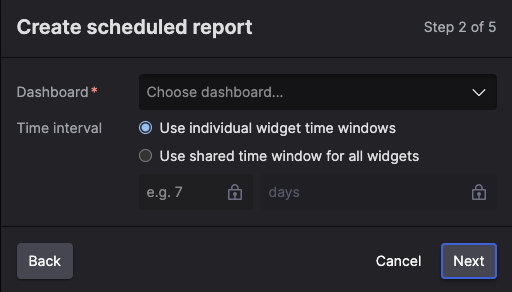
Choose the dashboard from which you want to generate the report. If you started the process from a dashboard, this step will be skipped.
Any changes applied on the source dashboard after the scheduled report is created will be reflected in your PDF report going forward.
Select the time range for the report. You can use either the individual widget time selections, or set a shared time for all widgets. The time ranges are calculated relative to the time the report is scheduled to run.
If the dashboard has parameters, configure the list of values to use when generating the report.
Click to continue.
Step 3 of 5
Set the schedule for the report. Supported frequencies in the Simple mode are: daily, weekly and monthly. The Use cron expression mode allows you to set up complex scheduling with cron expressions.
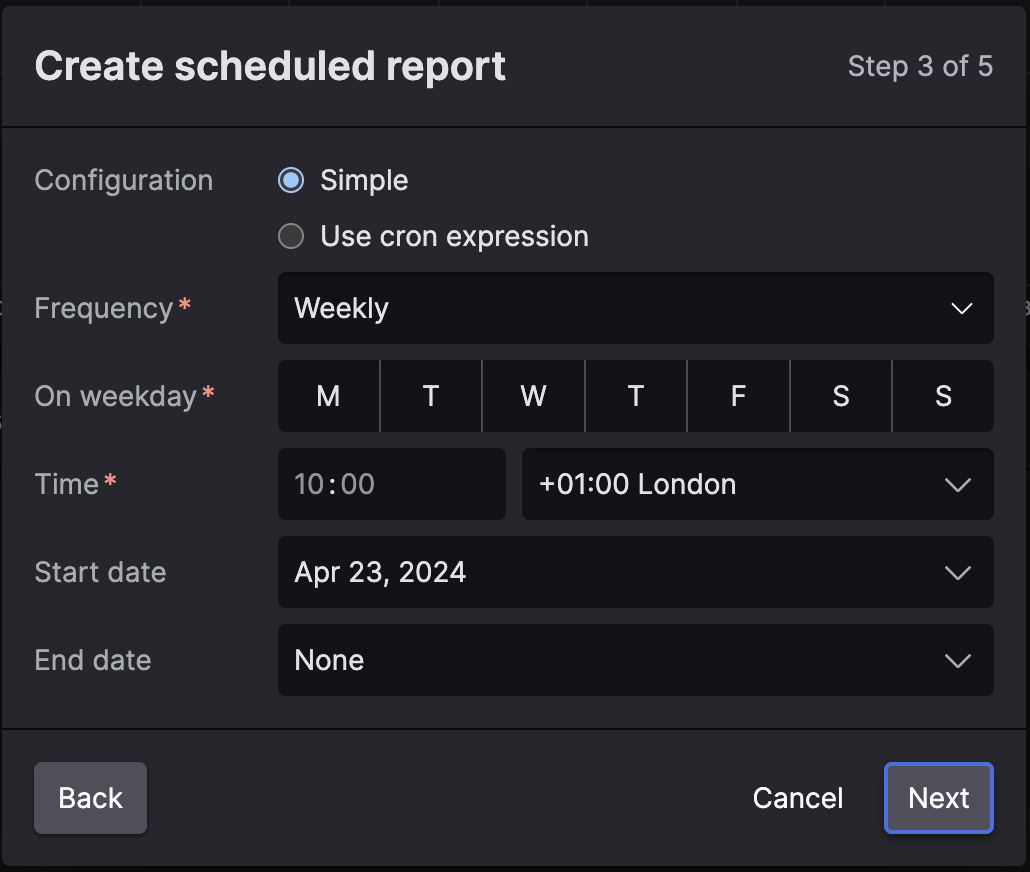
Set Start date and End date to restrict report generation to a specific date range. If the end date is set to none, the schedule will be active until the report is disabled.
Click to continue.
Note
The report frequency cannot be more than once per hour.
Step 4 of 5
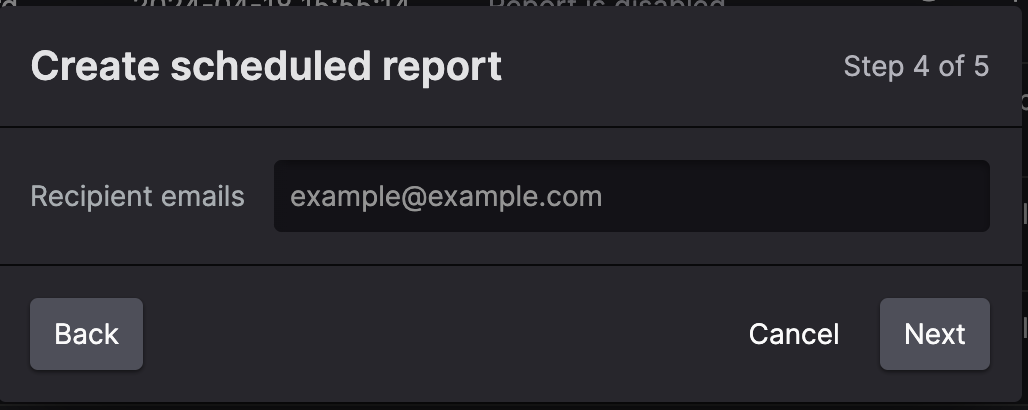
Enter the list of recipient emails. The email will not be sent if the domain is not on the allowlist of Email Action Security Policy.
Click to continue.
You can skip this setting if you want to save your report as a draft. The report will not be triggered in this case and you can add the recipients later.
Step 5 of 5
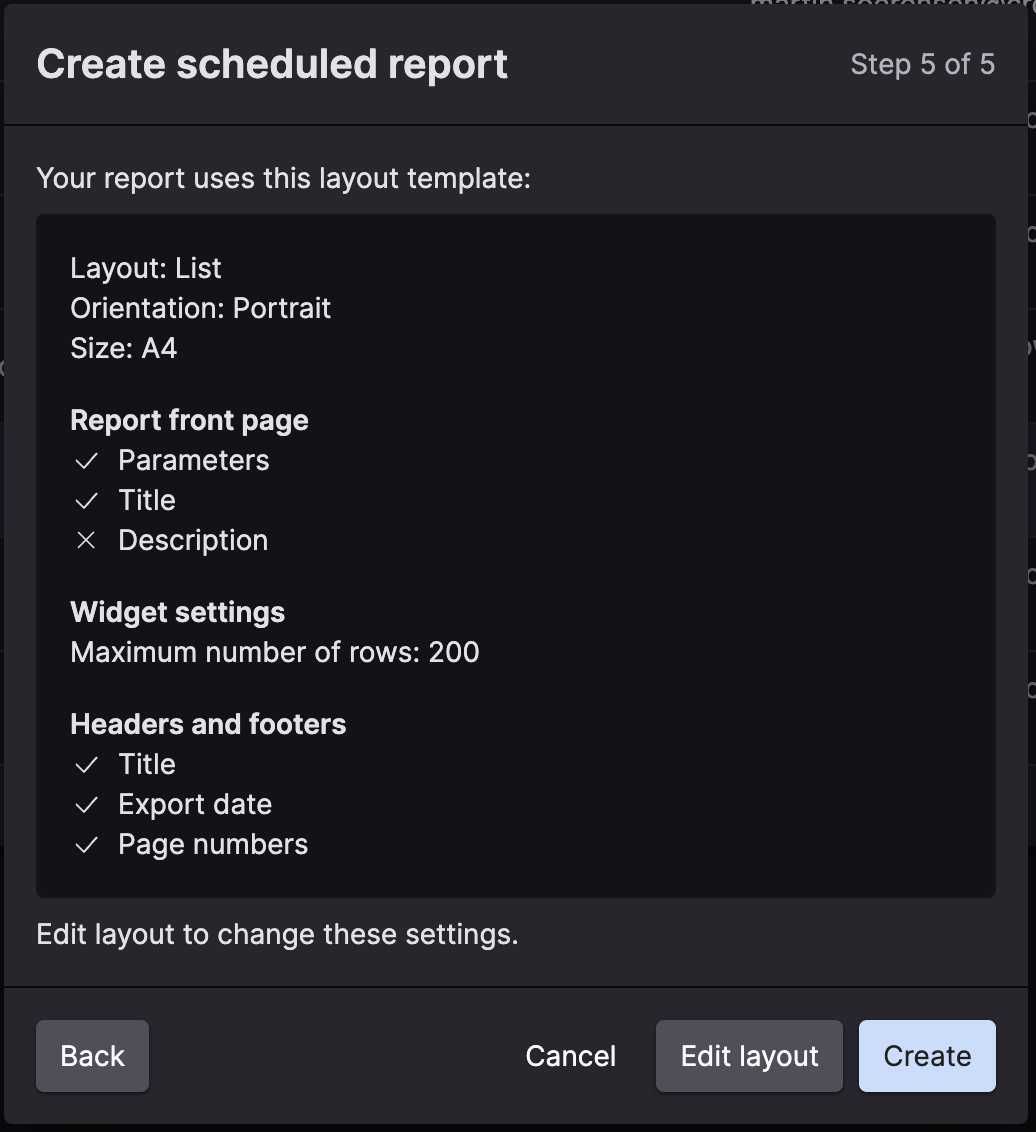
Review the layout setting for your report and click Edit layout to preview and adjust the settings. See PDF Export Options page for the available formatting options.
Click to finish. The report is now visible on the
Scheduled
                Reports
page.