
Managing Your Account
You can manage your LogScale account from anywhere in the UI by clicking on your user or account icon — the generic person icon in the screenshot — located in the top, right corner of any page. Then select from the menu.
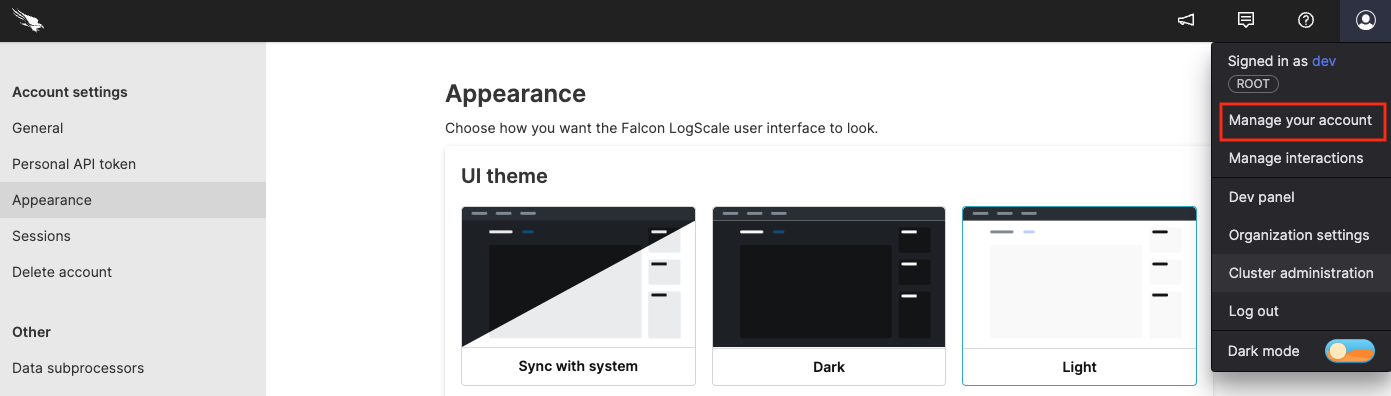 |
Figure 13. Manage Your Account
You can manage a few items related to your account under the Account Settings section. Below is a list of them with links to the sub-sections on this page containing more information:
This where you can set or change your name and user name for your account. You can also set some preferences for the UI.
Here you can generate Personal API tokens to use with REST and GraphQL APIs.
This where you adjust how the UI appears; At this point, it's just whether the UI uses light or dark mode.
You can get a list of open sessions for the current user — including inactive ones. This is a useful security feature since you can shutdown unused sessions here.
Although we may wish you wouldn't do so, if you want to delete your account, you can do that here.
Here you can view a list of CrowdStrike products and services of third-party sub-processors used by your LogScale account.
General Settings
This section allows you to change the first and last name for your account, and set the username. You can also set some UI preferences.
Click the account icon and select .
In the dialog screen that appears, select from the tree in the left margin.
In the Personal information box there's a field labeled, First name for you to enter the first name of the user and a Last name field to specify the last name.
The Preferences area contains preferences which can be enabled and disabled by clicking the checkboxes. These preferences impact different parts of the UI.
The Timezone area allows Changing the Default Time Zone.
When you finish making changes, click on the button to save your changes.
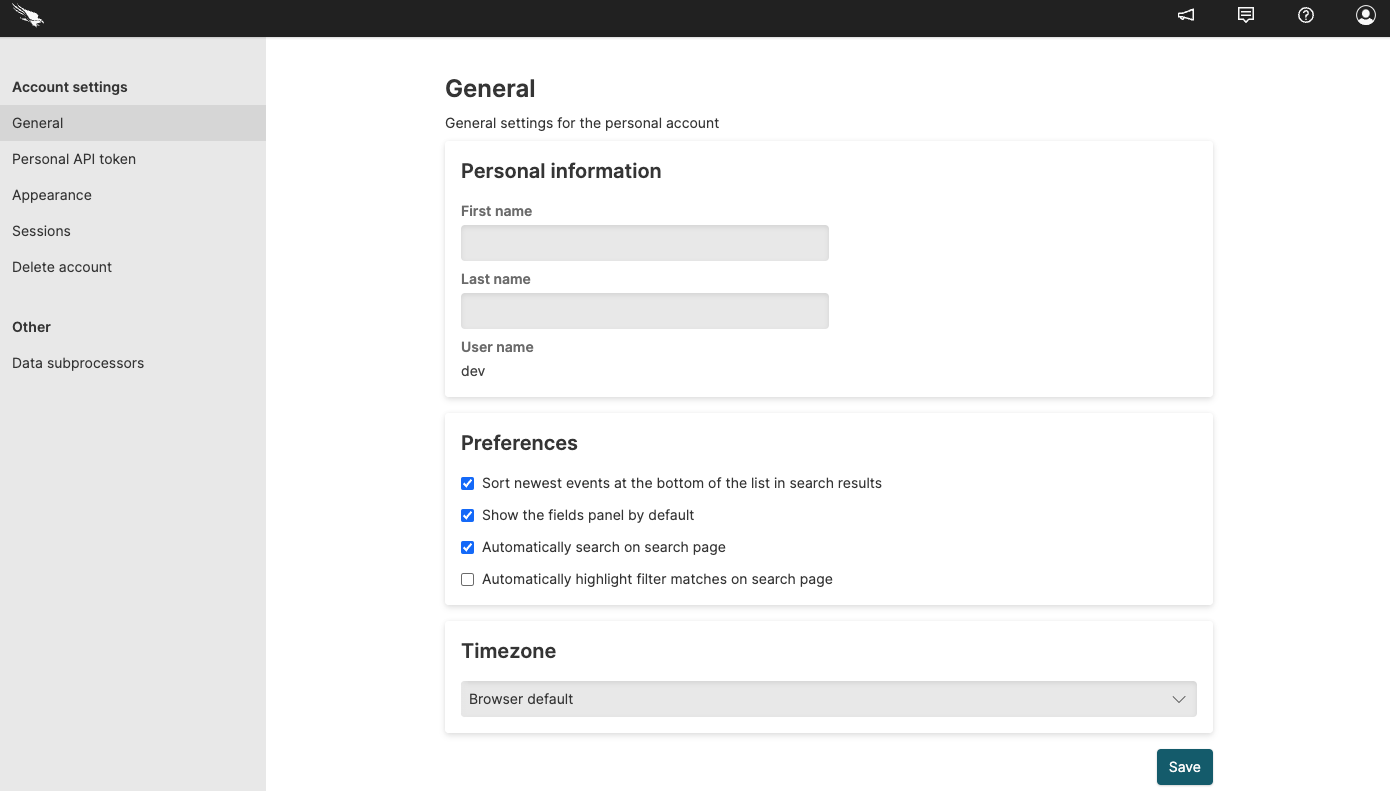 |
Figure 14. General Settings
Personal API Token
Security Requirements and Controls
Personal API Tokensecurity policy
You can create a Personal API Token to be used when querying the LogScale instance through either the REST or GraphQL APIs. To access the section click the account icon and select . From the tree in the left margin, select under .
Important
Your Personal API token is only revealed once at creation. Although you cannot view a token that has already been created, you can always recreate the token by using the button.
Appearance
This section allows you to choose the way LogScale appears in the UI, in the web browser.
Click the account icon and select .
From the tree in the left margin, select under .
To set the mode click on the mode, Light, Dark or Sync with system which will match the mode to that of your system.
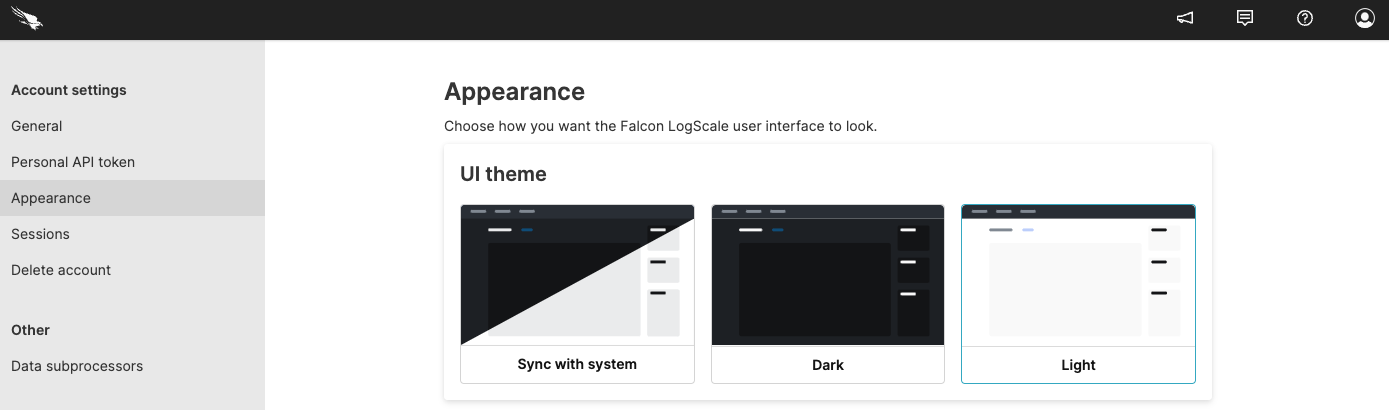 |
Figure 15. Appearance
Sessions
This section allows you to see all the sessions for your account.
To view this information:
Click the account icon and select .
From the tree in the left margin, select under .
For more information, see Session management.
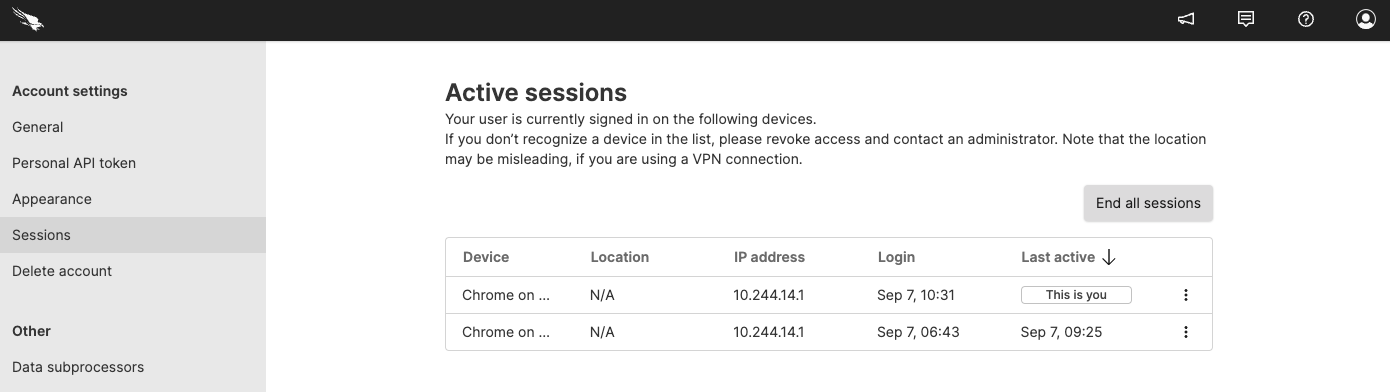 |
Figure 16. Sessions
Delete Account
This section allows you delete an account when it is no longer required.
Warning
Once an account is deleted it cannot be retrieved.
Click the account icon and select .
From the tree in the left margin, select under .
Click .
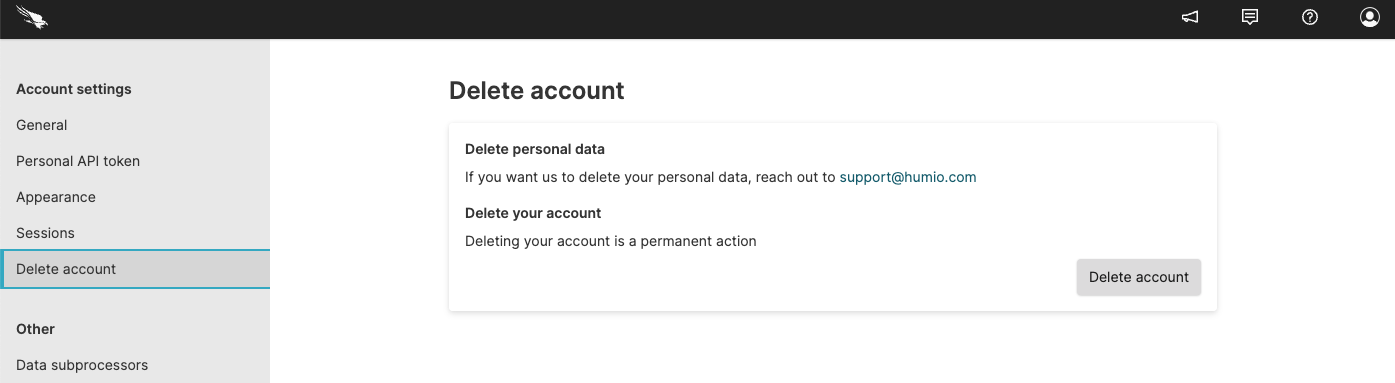 |
Figure 17. Delete Account
Data Sub-Processors
This section lists CrowdStrike products and services third party subprocessors of personal data. To access this information:
Click the account icon and select .
From the tree in the left margin, select under .
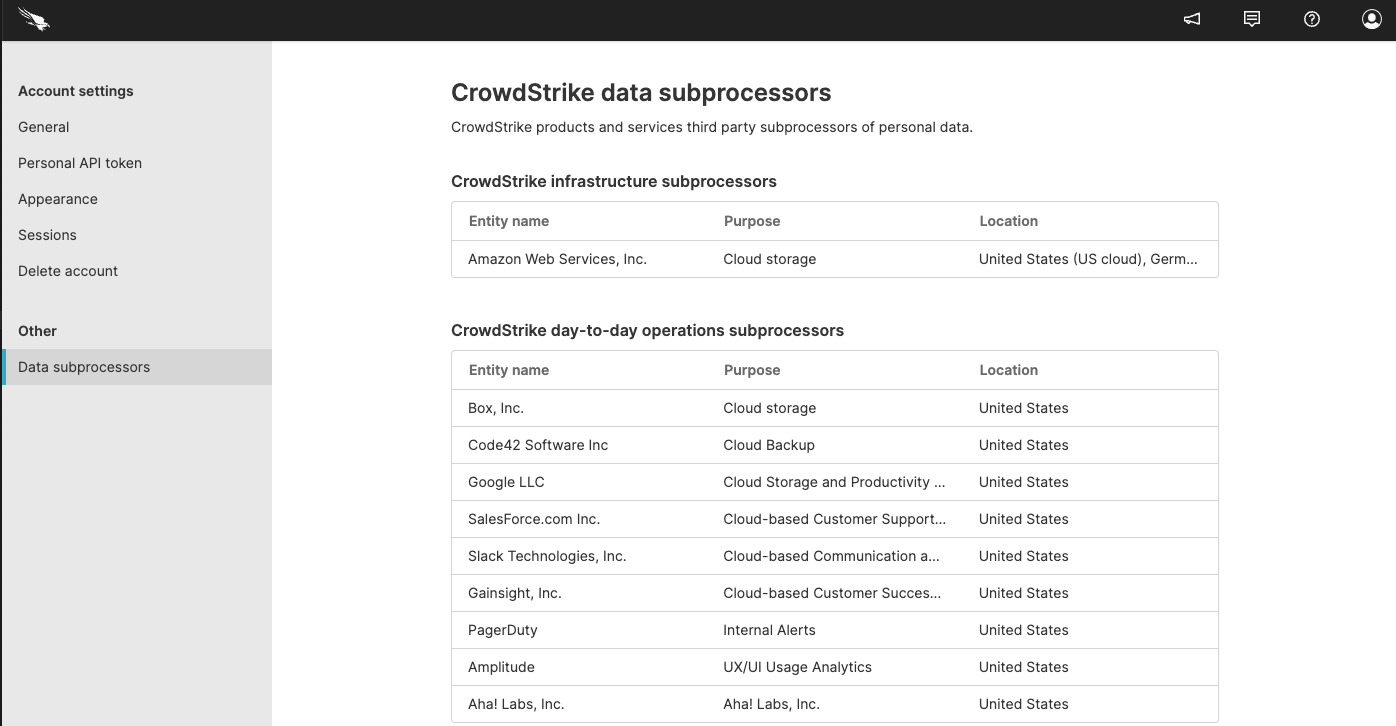 |
Figure 18. Data Sub-processors