Manage Actions
Security Requirements and Controls
Update Actionspermission
The Actions interface allows for the
comprehensive management of actions within a repository, including how to
create, delete, export, duplicate, and set permissions for actions, and it
provides filtering capabilities and a menu-driven system for each action.
Security requirements and the specific steps needed for each management task
are also covered.
Use the Actions page to create, delete,
export, and duplicate actions.
To manage Actions, click the tab within a repository and select from the sidebar menu. Actions are managed and organized according to the repository that the query is executed within. The main page displays a list of the configured actions for the repository:
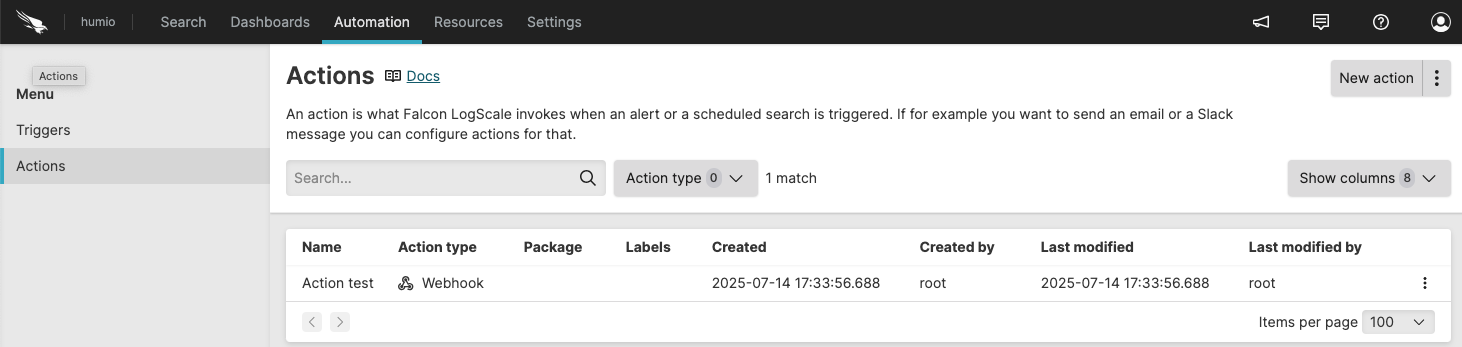 |
Figure 159. Actions Overview Page
Search existing actions by using the Search box. The box will filter the list of available actions according to their name or type.
Create a new action using the button. See Create Actions.
Choose one the filter names from the Action type dropdown, for example VictorOps to show only that type of action.
Click the menu icon ⋮ next to an action to perform the following operations on that individual action:
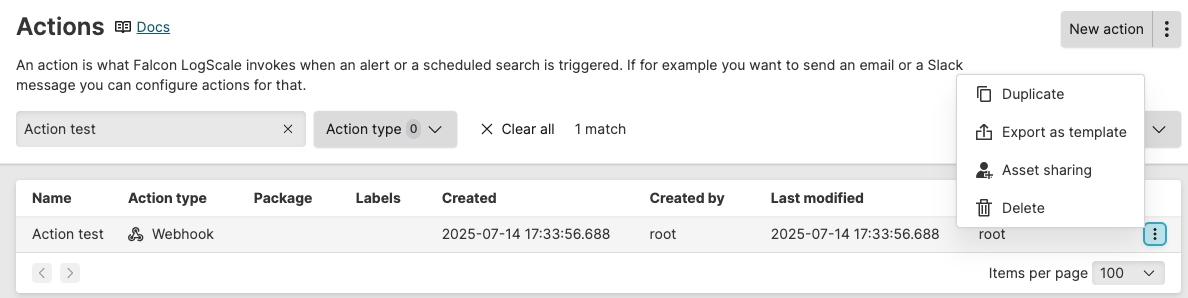
Figure 160. Action Management Popup Menu
Duplicates the action and all the configuration parameters. See Duplicate an action.
Exports an action and configuration information as a YAML file that can then be used as the basis for new actions.
Deletes an action, providing that action is not associated with an existing alert. See Delete an action.
Allows you to give another user or group access to read, edit, or delete actions
The sidebar menu shows options to navigate between and . The filter buttons provide options for filtering the information on the page. Click to create a new trigger, and click ⋮ to import actions from templates or packages.
allows you to
customize the Actions
overview by showing or hiding columns in the table. The columns provide
information such as the trigger name, type, status of the trigger, last
executed, last triggered, the status of the action attached to the trigger,
and so on. Available columns are:
| Column | Description |
|---|---|
| Name | Action name. |
| Action type | Type of action, for example Action Type: Email, Action Type: OpsGenie, etc. |
| Package | Package associated with action. |
| Labels | Labels applied to the action. |
| Created at | Date and timestamp when action was created. |
| Created by | User who created or imported the action. |
| Last modified | Date and timestamp when action was last changed. |
| Last modified by | User who last changed the action. |
Duplicate an action
Duplicating an action copies the entire configuration of an existing action to a new name. Either action can then be updated with different parameters, for example, updating the forwarding repository or changing the email template used for the action.
To duplicate an existing action:
Go to the Repository and Views page.
Select a Repository or View.
Click the tab on the top bar of the User Interface
Select from the menu on the left
Locate the action that will be duplicated, then click the menu icon ⋮ next to the action name and choose
The Duplicate action prompt will be displayed. Name the new duplicated item in the Name field. The name should not already exist.
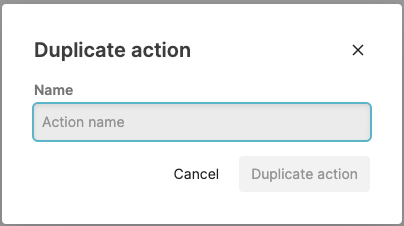
Figure 161. Duplicating an Action Dialog
Click the button. The new action should appear in the list.
When duplicating an item, the item is an exact copy of the original, including the configurations and settings, templates, and other parameters. The new action should be modified and associated with an alert or scheduled search before it can be used.
Export an action
Exporting an action saves the entire definition of an action to a YAML file on the client machine. The export action can then be used as the basis for new actions, or copied between clusters.
To export an action:
Go to the Repository and Views page.
Select a Repository or View.
Click the tab on the top bar of the User Interface
Select from the menu on the left
Locate the action that will be exported, then click the menu icon ⋮ next to the action name and choose
The operating system native dialogue for saving a file will be shown. Choose a location for the file, and a filename: the file will be saved with a
.yamlextension.Click the button: the action will be saved to the file on disk on the client machine.
The saved file contains a complete copy of the configuration information; enough to completely recreate the action.
Delete an action
Security Requirements and Controls
Delete actionspermission
Deleting an action removes the action and configuration. An action that has been assigned to a working alert cannot be removed; the alerts must be edited to remove the actions and then the action can be deleted.
Hint
Before deleting, if you think you might need the action again, you can export the action to a YAML file. See Export an action
To delete an action:
Go to the Repository and Views page.
Select a Repository or View.
Click the tab on the top bar of the User Interface
Select from the menu on the left
Locate the action that will be deleted, then click the menu icon ⋮ next to the action name and choose
The Delete action dialog will be presented to confirm the action deletion.
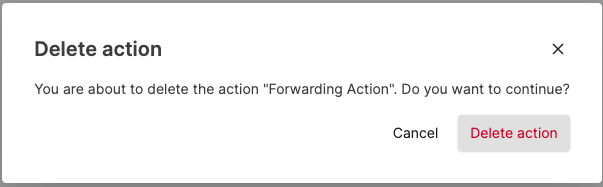
Figure 162. Deleting an Action Dialog
If the action is configured or assigned to a scheduled search or alert, an alert will be presented to show that the action could not be deleted. The action should be removed for any configured searches and alerts before you delete the action.
Grant permissions for actions
Security Requirements and Controls
Change user accesspermission
Sometimes you might want to collaborate with another user on an action, but that user does not have permission to actions in the view. If you have permissions to do so, you can grant permissions to that user to edit and delete a particular action in a view. For more information about asset permissions, see Asset permissions.
If you do not have
Change user access
permission on the repository, you will see a list of users only (no
groups) that already have at least Read permissions on the repository. You
can select from these users and give them more permissions (up to the same
permissions you have).
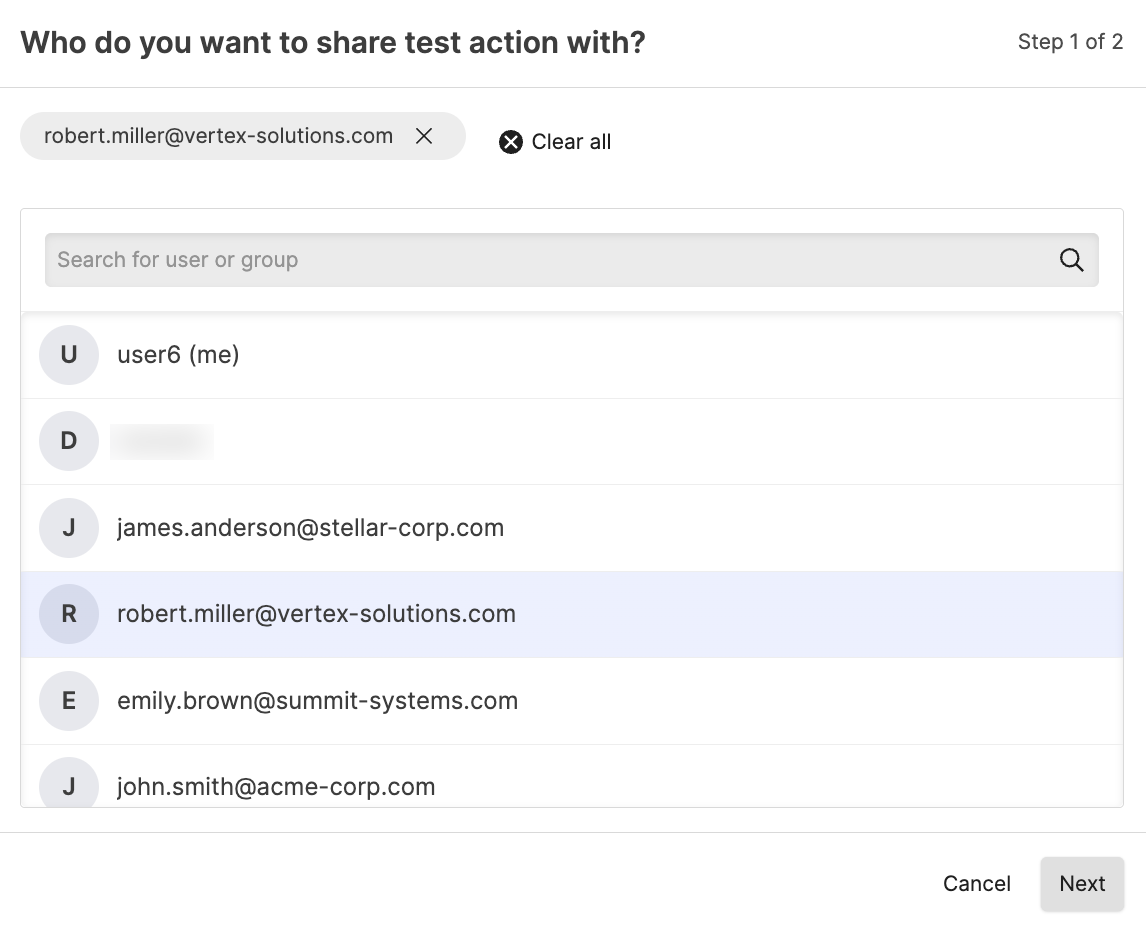
To grant access to edit or delete an action to another user or group:
The creator of an asset and regular users can share the same permissions that they have to the asset with users who already have read access to the view. You cannot share access with users who do not have read access to the view. You cannot share access with groups at all.
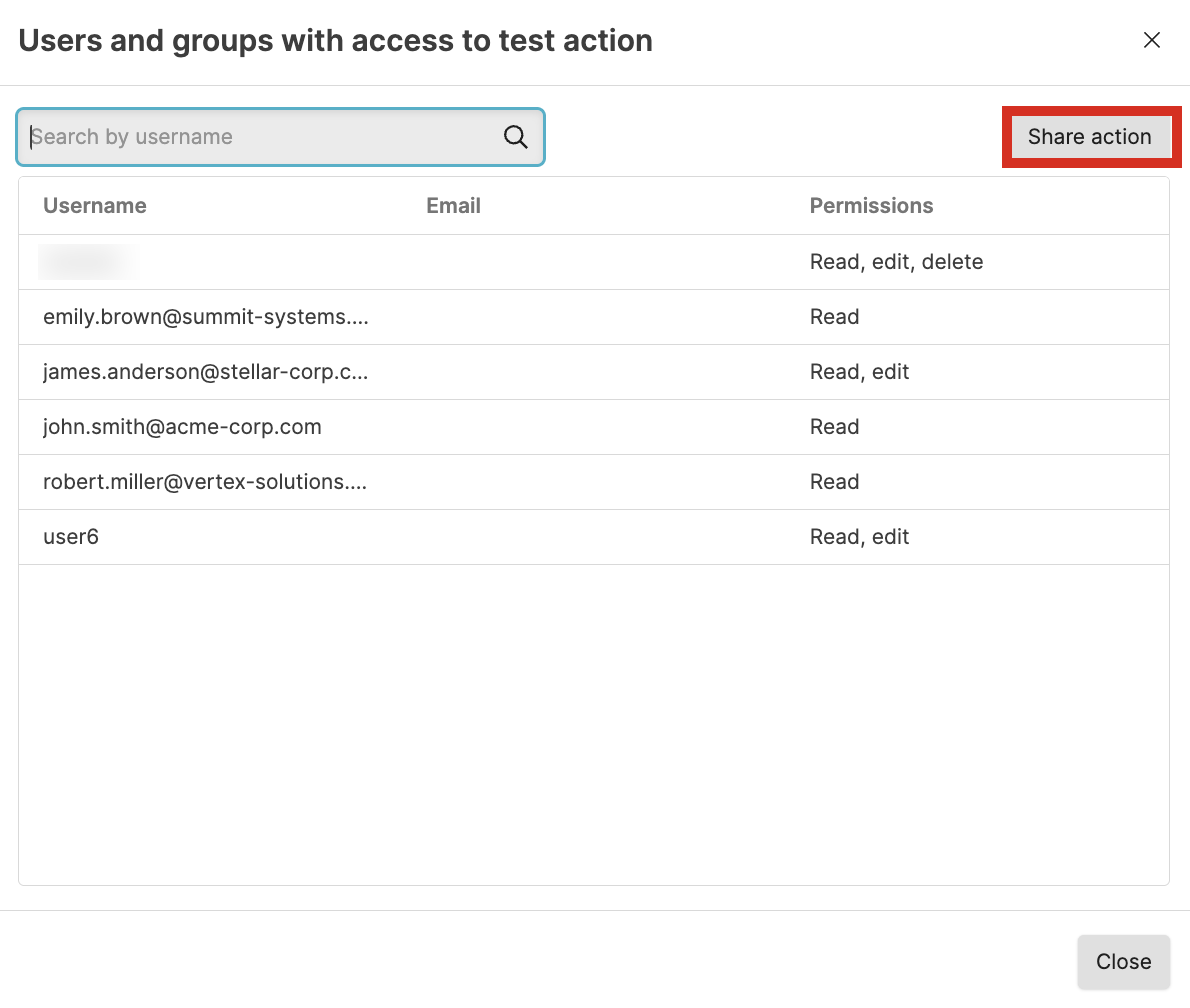
Click ⋮ next to the action you want to share and select .
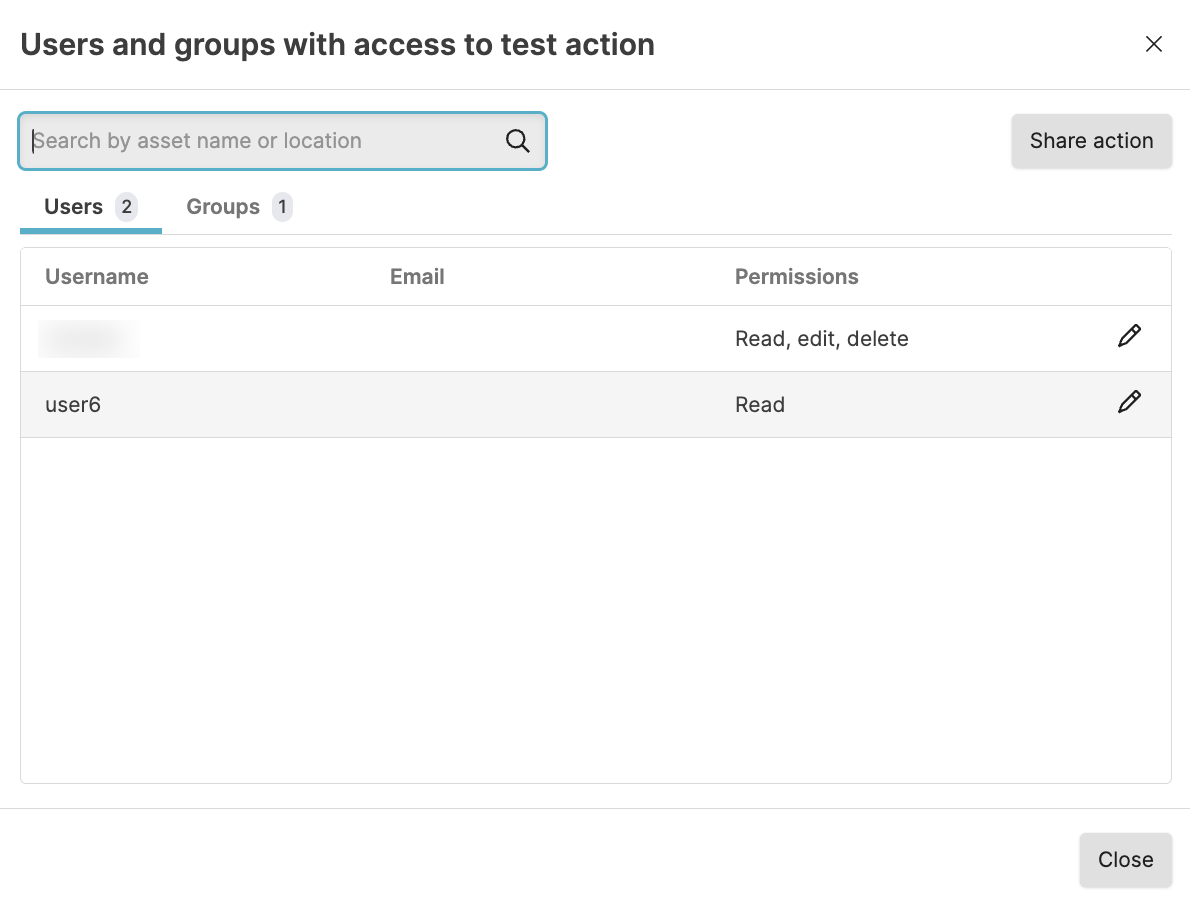
In the Users and groups with access window you see users who currently have access to the action and what access they have.
Click .
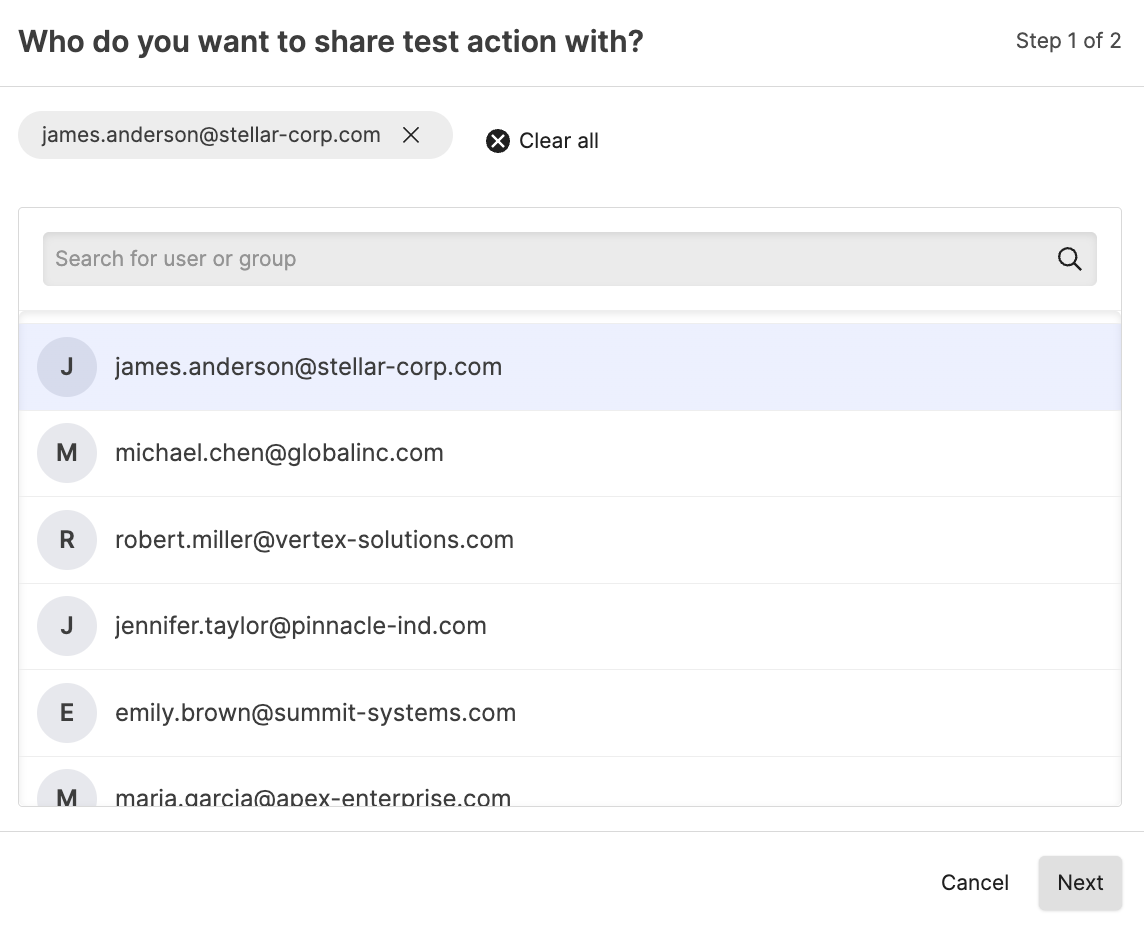
Click to select the user to get additional permissions. Note that you can only see users who already have read permission to the view. Click .
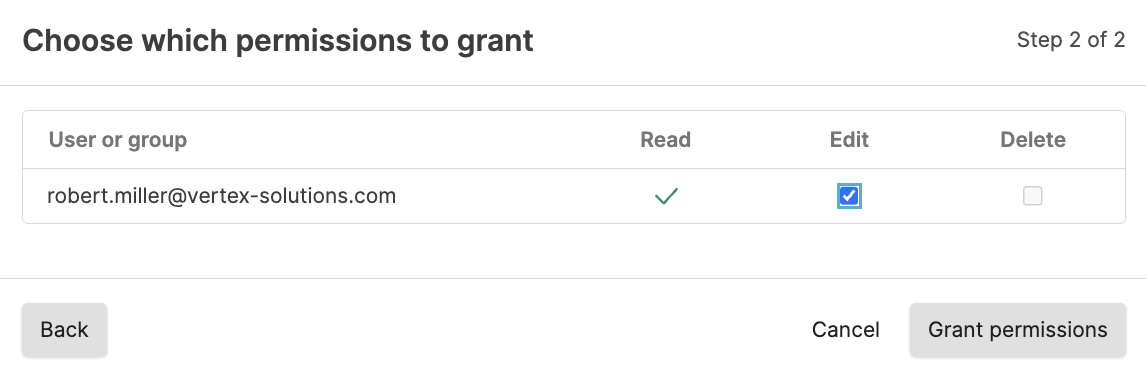
Select the appropriate permissions to assign. Click .
With
Change user accesspermission, you can grant permission to users, including read permission if the user does not have that, and permissions that you do not have yourself. You can also see groups and group members and what permissions they have in the Groups tab, but you cannot change the permissions for the group in the Groups tab. To be able to change the permissions directly from the group tab, you must haveChange organization permissionspermission.To grant additional permissions to a user that already has read access to the view:
Click ⋮ next to the action you want to share and select .
In the Users and groups with access window you see users who currently have access to the action and what access they have.
Click the button next to the user or group in the list.
Click to assign the permissions. Click .
Click .
If you have the
Change user accesspermission and you want to share permissions to the action with a user or group not in the list, or you want to give a group that is in the list additional permissions:
Click .
Click to select the group or user who should get additional permissions. Click .
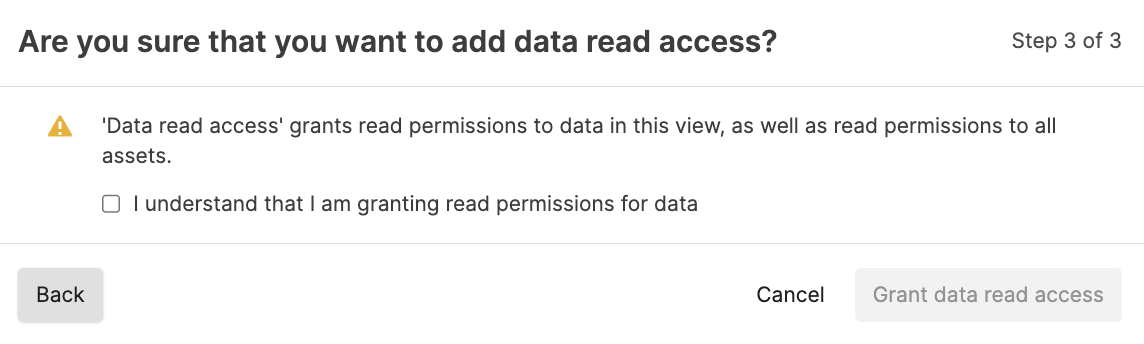
Select the appropriate permissions to assign. Be aware of the message that the user or group gets Read access to all assets in the repository automatically when assigning asset permissions for one asset in the repository. Click .
Confirm that you understand that you are granting Read access to all assets in the repository by adding the asset permission for the user or group. Click .
Click .