Change the Time Interval
The time range of the query can be set in the web interface. It is strongly recommended to limit the time range of queries as much as possible. This ensures that LogScale is searching the relevant data to the information required, improving efficiency and reducing unnecessary data processing.
 |
Figure 76. Query Time Selector
Elements of the time range include:
Time zone picker to set a temporary time zone for your search. This setting will influence how time ranges using calendar definitions such as fixed time range and intervals like
todayor last month and calculate the query's start and end timestamps. For more information on setting the time zone, see Set Time Zone.Time Selector to specify the time range for the query.
Use the navigation arrows < and > to move the time interval earlier or later.
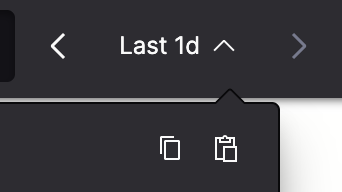
Use the icon to to quickly extend the time range by the same interval (for example, from 5 min to 10 min ago), making it easy to expand your search scope incrementally.
Live checkbox. LogScale offers two modes for running queries: live and static.
Live queries are ideal for monitoring scenarios where you need to observe the data as it arrives.
These queries use a time interval relative to the current moment (for example, last 5 minutes, last 1 day).
When enabled, results will update as soon as new data becomes available.
Time intervals that use anchoring (for example: today, yesterday) are not supported in live queries.
Static queries are better suited for investigating past events.
All time interval definitions are supported in this mode.
Available time intervals:
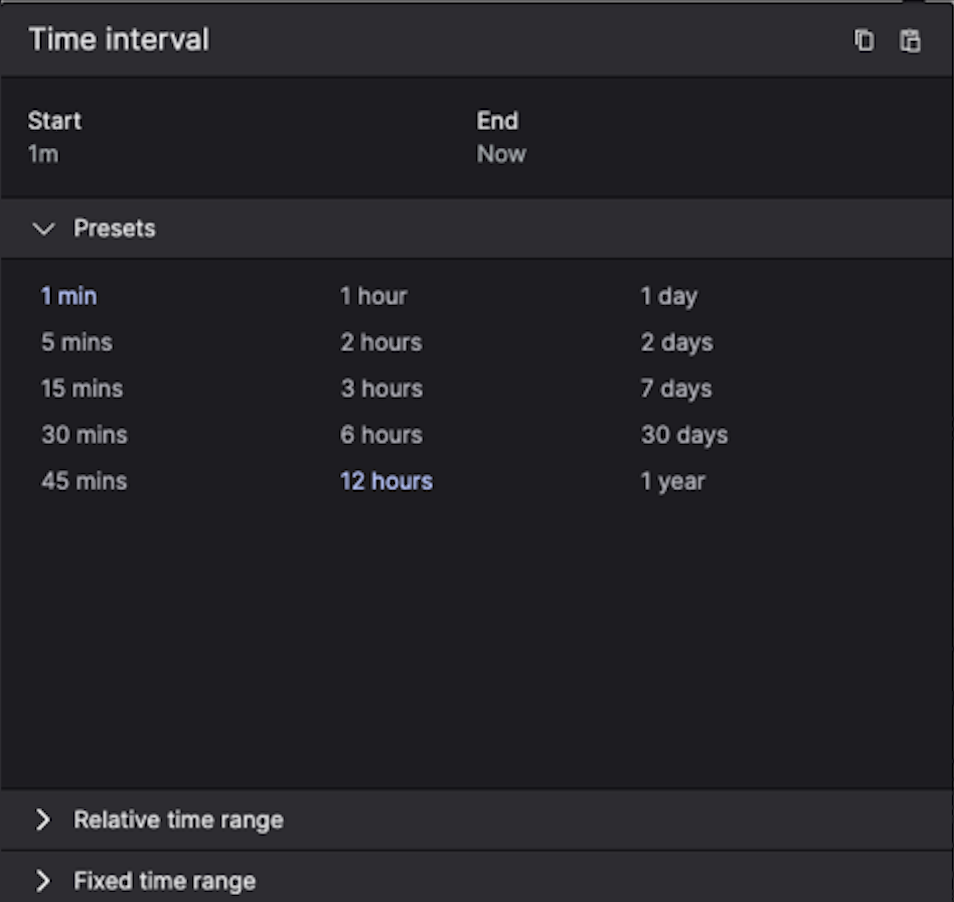
Presets enables quick selection from commonly used time intervals.
Use case: ideal for frequent searches, allowing you to select standard time ranges, like
last 24 hoursorlast 7 dayswith a single click.
Relative Time Range allows selecting a relative time range.
Fixed Time Range allows selecting fixed start and end dates as the time interval.
Additional features include:
Time intervals can be copied and pasted between search session using the and icons available from the Time Selector.

The Time field selection controls which time field (@timestamp or @ingesttimestamp) is used when evaluating the time range for a query. By default, @timestamp is used.
For example, use @ingesttimestamp when validating an Aggregate Alert query, see Select alert timestamp for more information.
Note
The following specific behaviors exist when using the time interval selection:
Live mode is only available when using relative time ranges.
When you change the timetable from the Time dropdown, the liveness of the query is not impacted unless you enable the checkbox in order to run it as a live query instead, while the timeframe previously selected is kept.
When you disable the checkbox, the query running will be stopped.
The query on the page also stops if you change to a relative or fixed time while it is running. Press Enter or click in the query editor to make it run again.
Warning
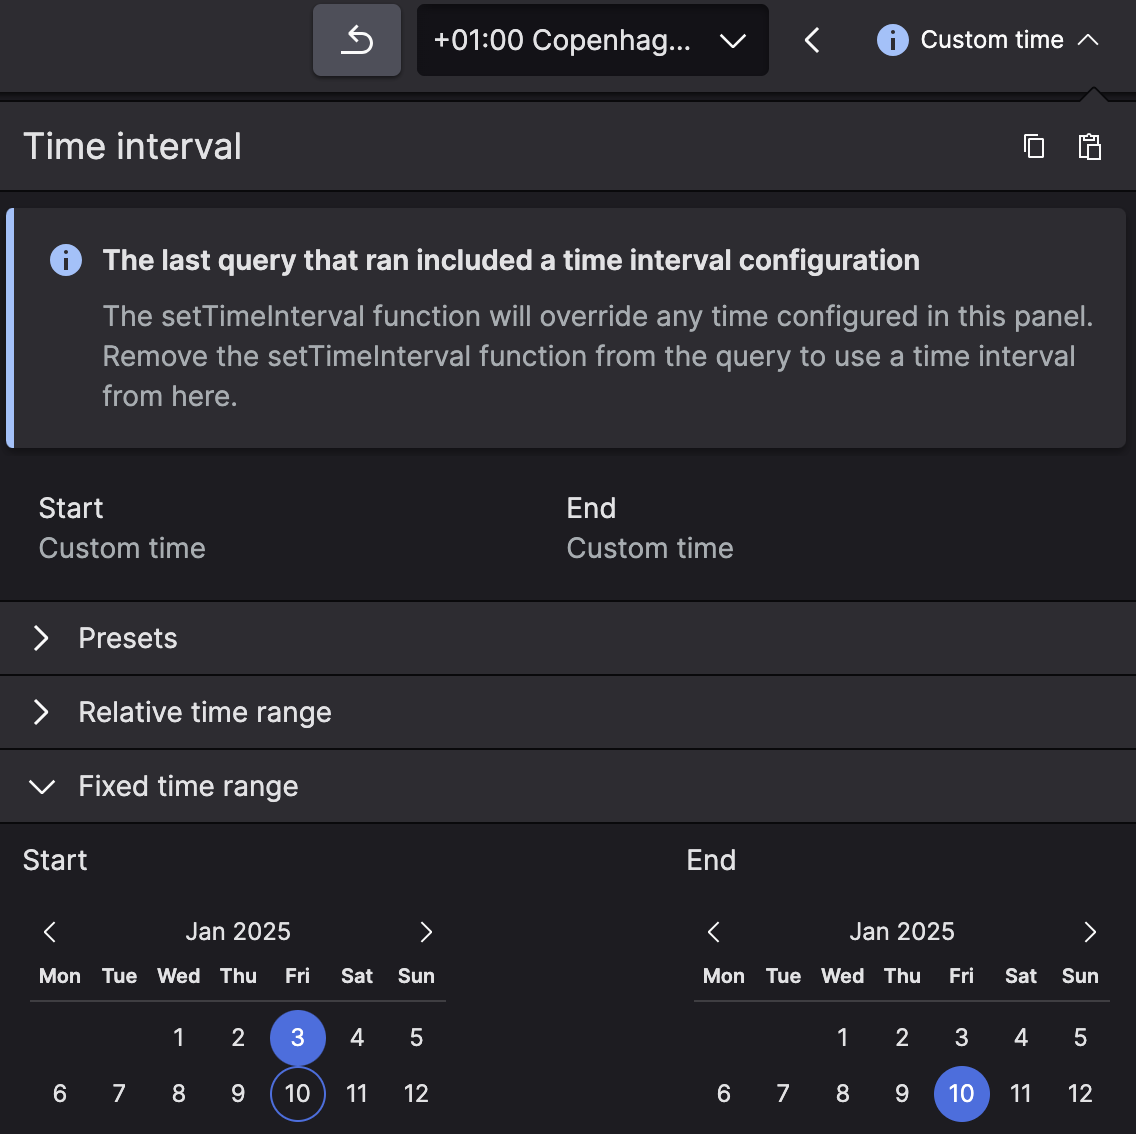
The Time Selector becomes
ineffective when a query includes the
setTimeInterval() function. This means that the
panel will display the time specified in the query, along with a
Custom time label:
 |
The setTimeInterval() function also prevents zooming
in on the events distribution chart.