Manage Roles
Security Requirements and Controls
Manage userspermission
Manage and customize user roles in LogScale, including creating new roles, setting permission levels, and modifying existing predefined roles like Reader, Admin, Member and Deleter. Users with Organization Owner status or appropriate permissions can access the Roles page to configure role-based access controls, assign granular permissions, and view aggregate permissions across multiple roles to maintain security best practices.
All roles available and the permissions granted via the roles are
displayed in the User Interface in the
Roles page.
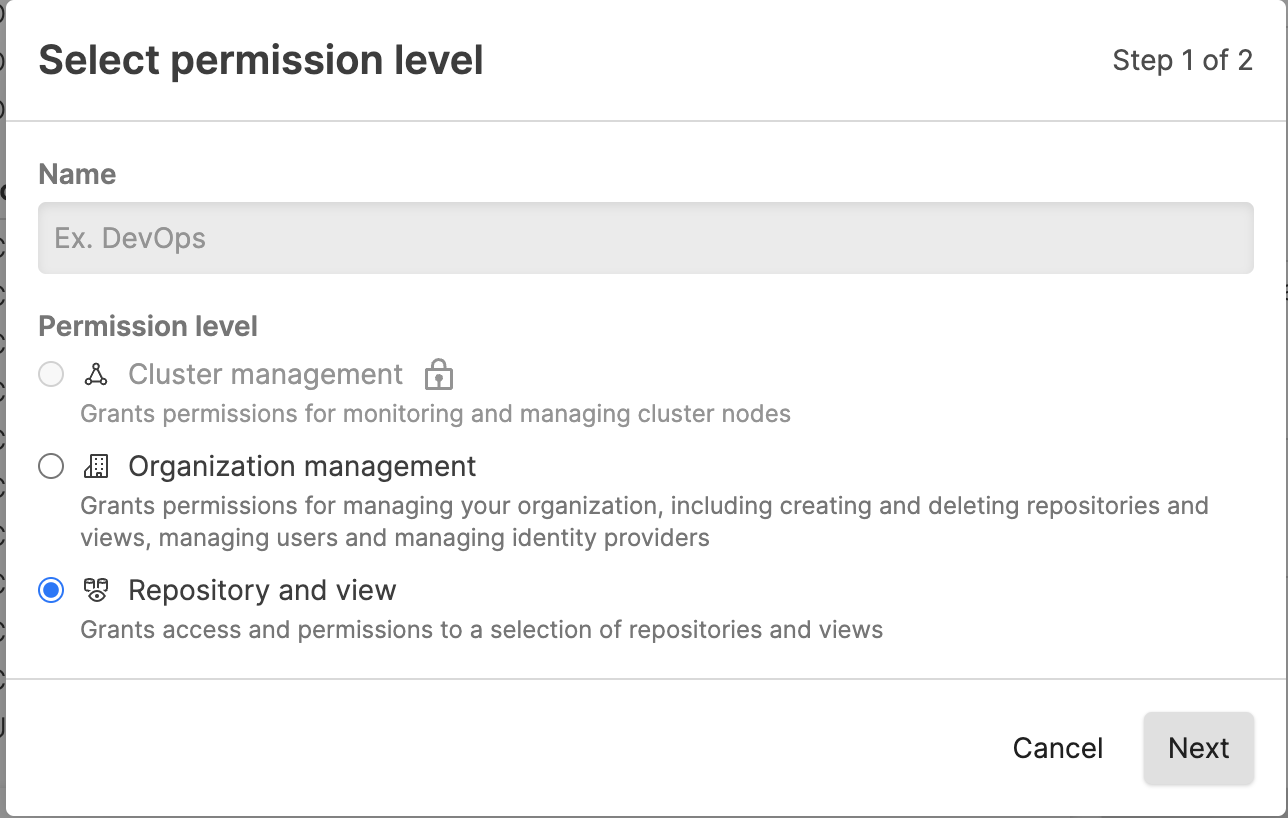
Depending on the system level permission you've chosen, you can assign different permissions for any new role you create. For example, you can create an Organization management role type and name it, say, "Operations", to which grant permissions such as the capability to view all internal notifications, or to manage other users.
While LogScale comes with a predefined set of roles — Admin, Member and Deleter — they may be customized to your specific needs. Keep in mind that it's generally a good idea to grant as few permissions as possible and to add more as needed.
Note
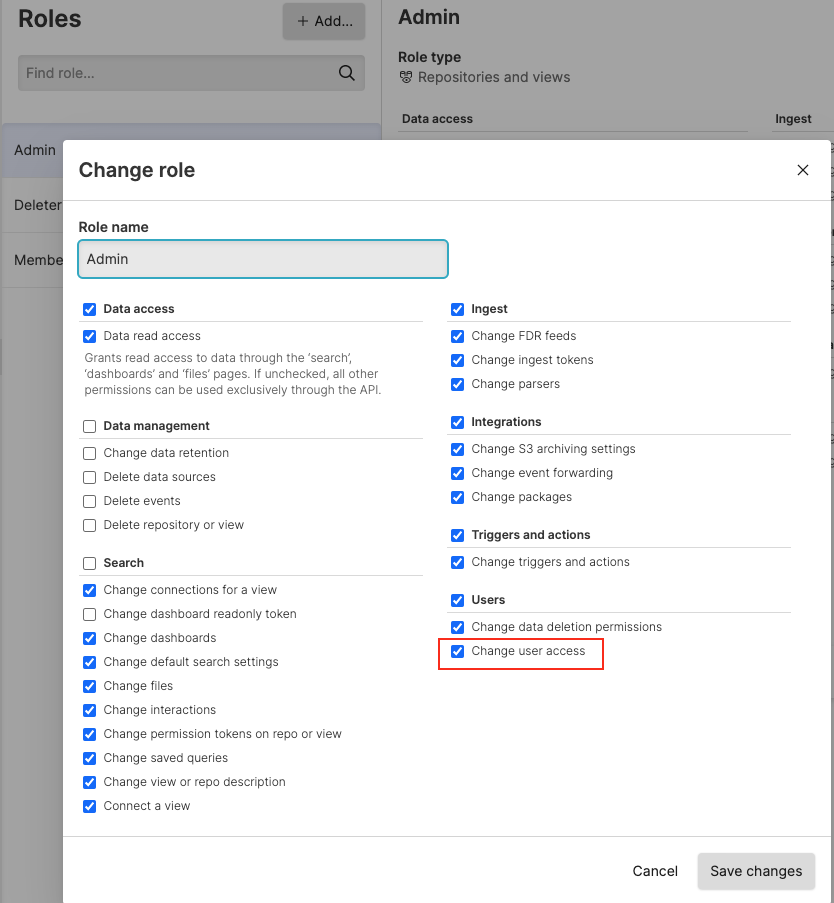
You need to be an Organization Owner on Cloud or a root user on
self-hosted installations to have access to the
Roles page and assign
roles to users. Or you need to have the
Change user access
permission:
 |
Figure 112. Change User Access
See the full list of available permissions along with descriptions of their usage at Repository and View Permissions.
To add new roles or customizing existing roles:
Click on the user menu icon in the upper right corner and select Organization Settings → Roles on the left.

Figure 113. Roles
Click + Add, enter a name for your new role such as "Operations" and select a Role type e.g. Organization management.

Figure 114. Adding Roles
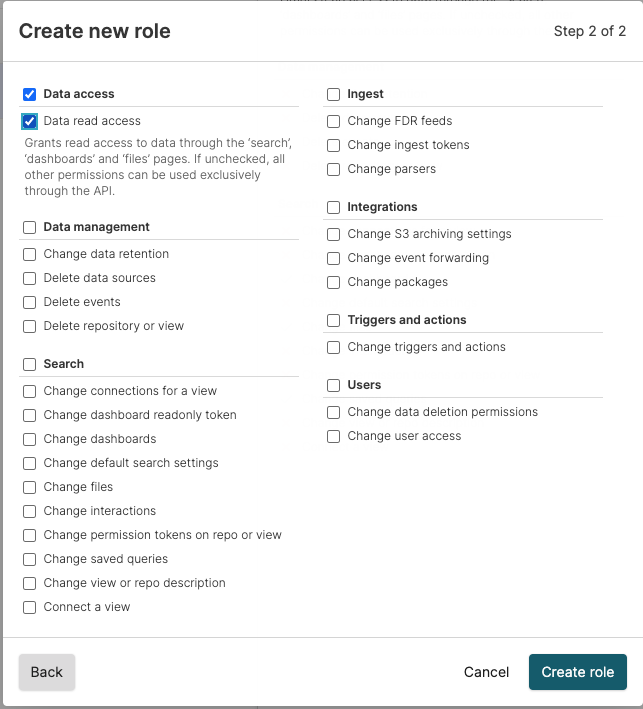
Set the permissions for the new role. For example, if you wish to create a strictly read-only role, select the Data access checkbox and nothing else, then click Create role:

Figure 115. Assigning Permissions to Roles
The new role can now be assigned to groups via the
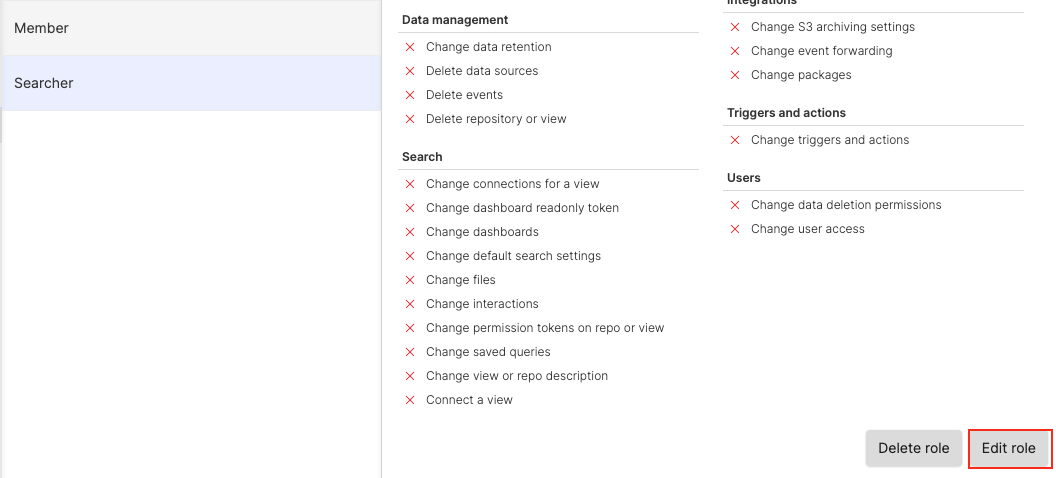
Groupspage of the User Interface, where you are prompted to configure the permission levels for a group — see Figure 105, “New Group Created”.To customize an existing role and change its permissions, or to remove it, select the role and click Edit role or Delete role:

Figure 116. Customizing or Removing Roles